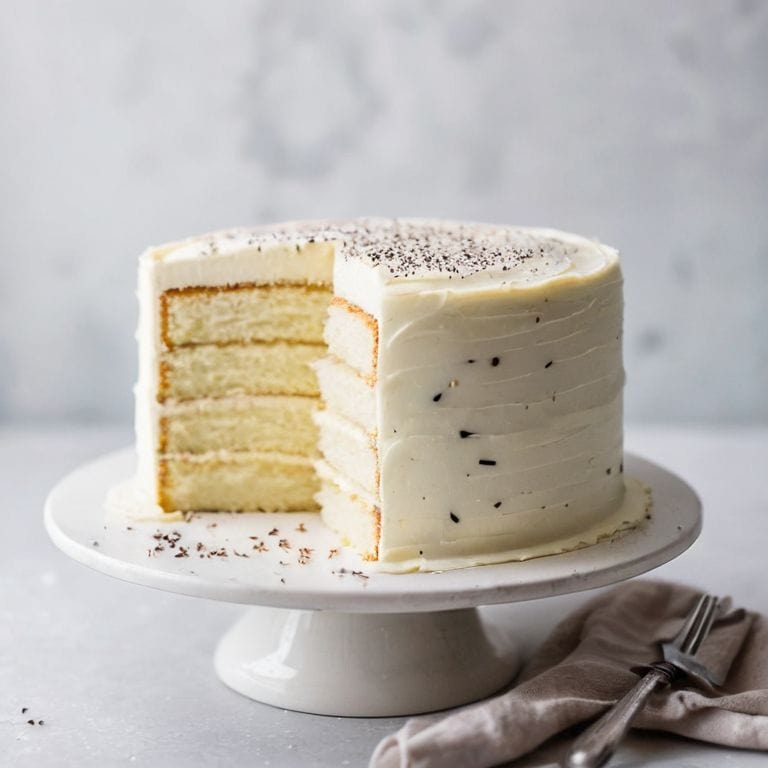
I still remember the first time I attempted to make a classic vanilla bean layer cake recipe – it was a disaster. The cake was dry, the flavors were dull, and the presentation was lackluster. I had followed a popular recipe to the letter, but somehow, it just didn’t turn out as expected. This experience taught me that there’s more to baking than just following a recipe. It’s about understanding the science behind the ingredients and the techniques that bring them together. As I delved deeper into the world of pastry-making, I discovered that a classic vanilla bean layer cake recipe is not just about throwing together some flour, sugar, and vanilla extract, but about creating a harmonious balance of flavors and textures.
In this article, I promise to share my experience-based advice on how to craft the perfect classic vanilla bean layer cake. I’ll guide you through the process of selecting the finest ingredients, from the highest-quality vanilla beans to the richest, most flavorful butter. I’ll also share my tips and tricks for achieving a moist and tender crumb, and for creating a stunning presentation that’s sure to impress. My goal is to empower you with the knowledge and skills to create a truly exceptional cake that will elevate your baking to the next level. Whether you’re a beginner or an experienced baker, I invite you to join me on this journey to create a masterpiece that’s both delicious and visually stunning.
Table of Contents
Recipe Details
Ingredients
- 2 3/4 cups all-purpose flour (sifted)
- 2 1/2 teaspoons baking powder
- 1 teaspoon salt
- 1 cup unsalted butter, softened
- 1 3/4 cups granulated sugar
- 3 large eggs, at room temperature
- 2 teaspoons pure vanilla extract
- 1/2 cup whole milk, at room temperature
- 1/2 cup heavy cream, at room temperature
- 2 vanilla beans, split lengthwise
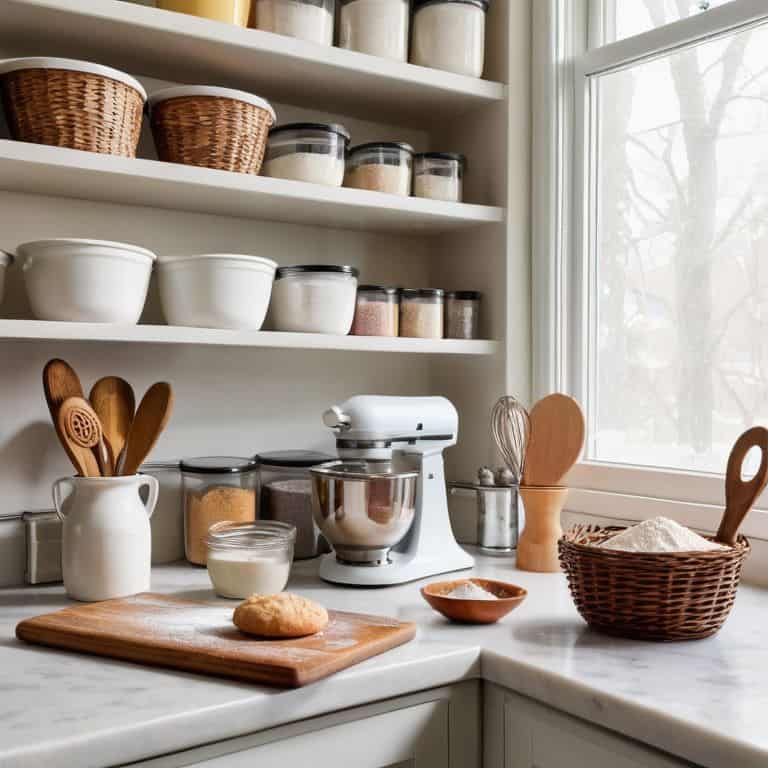
Tools & Supplies
- Large mixing bowl
- Hand mixer or stand mixer
- 9-inch round cake pans (3)
- Non-stick cooking spray
- Oven thermometer
Recipe Instructions
Step 1
To begin crafting our exquisite classic vanilla bean layer cake, preheat your oven to 350°F (175°C). It’s essential to ensure your oven is at the correct temperature, as this will significantly impact the texture and consistency of your cake. Precision is key in baking, and I always recommend investing in a reliable oven thermometer to guarantee accurate readings.
Step 2
Next, prepare your cake pans by greasing them with a thin, even layer of unsalted butter and coating them with a dusting of granulated sugar. This step may seem mundane, but trust me, it’s a crucial detail that will help your cakes release smoothly from the pans and add a delicate, caramelized crust to the exterior. For this recipe, you’ll need three 8-inch (20cm) round cake pans.
Step 3
Now, let’s move on to the cake batter. In a medium-sized bowl, whisk together 2 3/4 cups (315g) of cake flour, 2 1/2 teaspoons of baking powder, and 1 teaspoon of salt. I always emphasize the importance of using high-quality ingredients, especially when it comes to your flour and vanilla beans. Take a moment to appreciate the delicate aroma of your ingredients – it’s a sensory experience that will enhance your overall baking journey.
Step 4
In a large mixing bowl, use an electric mixer to cream together 1 cup (200g) of unsalted butter, softened to a luxurious consistency, and 1 3/4 cups (450g) of granulated sugar. Yes, it’s a generous amount of sugar, but balance is essential in creating a truly exceptional cake. As you cream the butter and sugar, imagine the tender crumbs and moist texture you’re about to create.
Step 5
With your mixer still running, add 3 large eggs, one at a time, allowing each egg to fully incorporate before adding the next. This delicate process is where the magic happens, and your cake begins to take shape. Be patient and gentle, as overmixing can lead to a dense, unpleasant texture. Once your eggs are fully incorporated, add 2 teaspoons of pure vanilla extract and mix until just combined.
Step 6
Now it’s time to alternate between adding your dry ingredients and 1 cup (240ml) of whole milk, beginning and ending with the dry ingredients. Mix each addition just until combined, being careful not to overmix. As you work, envision the layers of your cake coming together in perfect harmony – it’s a beautiful symphony of flavors and textures.
Step 7
Divide your batter evenly among the prepared pans and smooth the tops. Take a step back to admire your handiwork – the batter should be smooth and even, with no visible air pockets or imperfections. If necessary, use a small offset spatula to create a uniform surface.
Step 8
Bake your cakes for 25-30 minutes or until a toothpick inserted into the center of each cake comes out clean. Rotate your pans halfway through the baking time to ensure even cooking. As your cakes bake, the aroma of vanilla and sweet butter will fill your kitchen, teasing you with the promise of the exquisite dessert to come.
Step 9
Once your cakes are baked, remove them from the oven and let them cool in the pans for 5 minutes. Then, transfer them to a wire rack to cool completely. This crucial cooling process allows the cakes to set and become more stable, making them easier to handle and assemble. Be patient – the end result is well worth the wait.
Step 10
As your cakes cool, you can begin preparing the vanilla bean buttercream that will bring your layer cake together. In a large mixing bowl, beat 2 cups (400g) of unsalted butter, softened to a creamy consistency, until it’s light and airy. Gradually add 4 1/2 cups (540g) of powdered sugar, beating until smooth and creamy. Finally, add 2 teaspoons of pure vanilla extract and mix until just combined. Your buttercream is now ready to bring your cake layers together in perfect harmony.
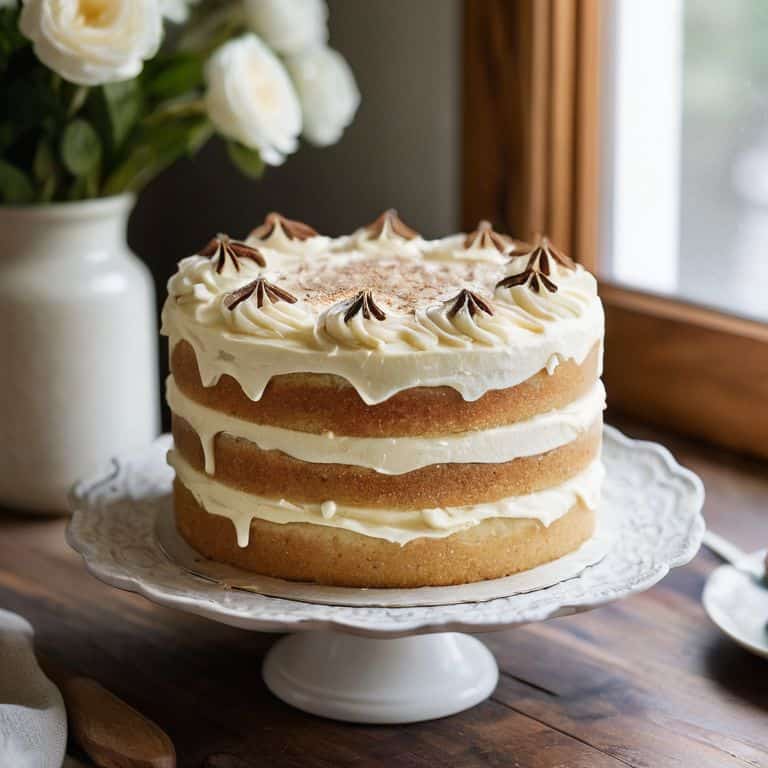
Mastering Classic Vanilla Bean Layer Cake
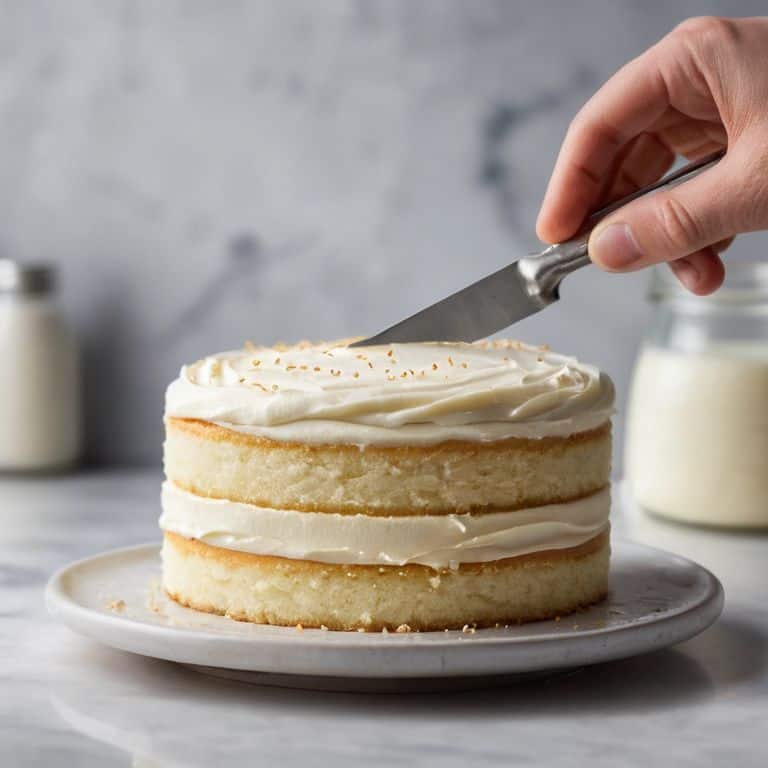
As I delve into the world of layer cake stacking techniques, I’m reminded of the importance of precision and patience. A beautifully stacked cake is not just a matter of placing one layer on top of another, but rather an art form that requires attention to detail and a steady hand. To achieve a seamless stack, I recommend using a thin layer of classic buttercream frosting to act as a adhesive between each layer, ensuring a sturdy and even foundation.
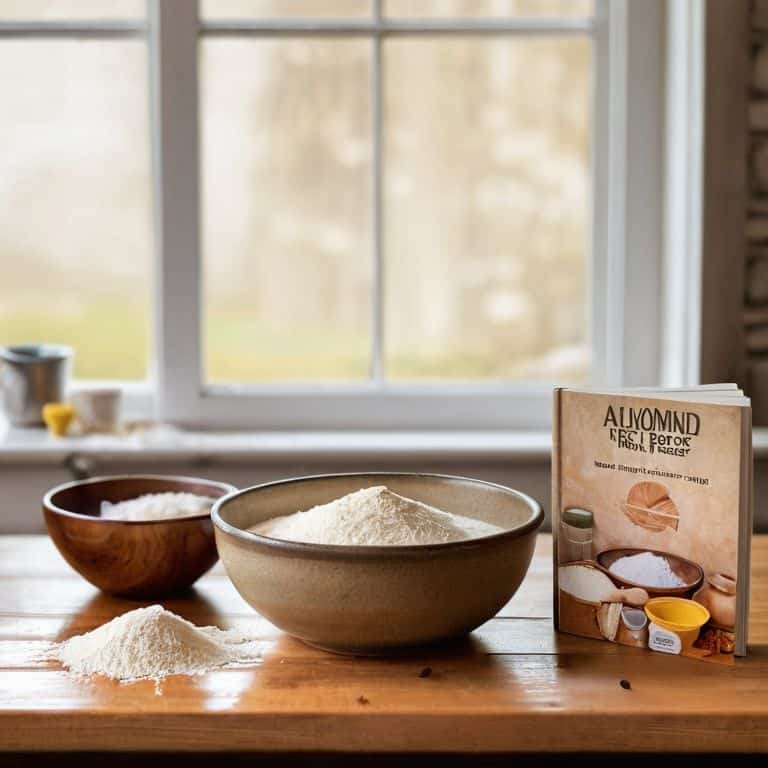
When it comes to the type of flour used, I’m often asked about the difference between cake flour vs all purpose flour. In my experience, cake flour produces a tender and delicate crumb, while all-purpose flour can result in a slightly denser texture. For a classic vanilla bean layer cake, I opt for cake flour to achieve a light and airy consistency. Additionally, I’m a firm believer in the benefits of using vanilla bean paste for an intense and authentic flavor.
To take your vanilla bean layer cake to the next level, consider experimenting with vanilla extract substitutes, such as vanilla beans or vanilla-infused oil. These alternatives can add a unique and intriguing flavor profile to your cake. When it comes to decorating, the possibilities are endless, and I encourage you to get creative with your layer cake decorating ideas. Whether you’re a fan of intricate piping or simple, elegant designs, the key is to have fun and make the cake your own.
Buttercream Frosting Techniques
To create a sublime buttercream frosting, I always begin by softening my butter to room temperature. This ensures it whips up light and airy, providing the perfect canvas for my vanilla bean paste. I then gradually add in my powdered sugar, sifting it to avoid any lumps, and finish with a touch of salt to balance the sweetness. The key to a smooth, velvety frosting is to whip it just until it reaches the desired consistency – over-whipping can lead to a grainy texture.
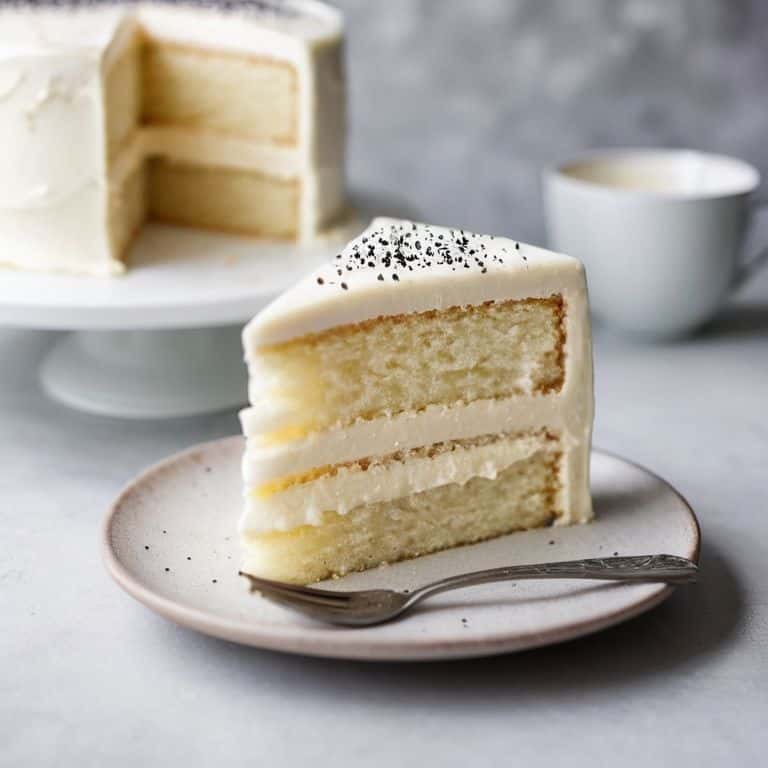
When it comes to frosting my classic vanilla bean layer cake, I opt for a simple yet elegant approach. I apply a thin layer of frosting to the outside of the cake, using an offset spatula to create a smooth, even surface. This is followed by a decorative border, piped on with precision and flair. The result is a cake that exudes sophistication and refinement, perfect for any special occasion.
Elevating With Vanilla Bean Paste
To take our classic vanilla bean layer cake to new heights, I swear by the richness of high-quality vanilla bean paste. This precious ingredient is the backbone of a truly exceptional cake, imbuing each bite with the deep, velvety smoothness of real vanilla. Unlike extract, which can sometimes come across as one-dimensional, vanilla bean paste adds a multidimensional flavor profile that is simply irresistible.
When selecting a vanilla bean paste, look for one that boasts a high vanilla bean content and minimal additives. I adore the way the tiny black specks of vanilla seeds dance throughout the batter, a promise of the decadence to come. By incorporating this sublime paste into our recipe, we’re not only amplifying the vanilla flavor but also introducing a depth that will leave everyone wondering what magic we’ve woven into our cake.
5 Essential Tips for Crafting a Sublime Classic Vanilla Bean Layer Cake
- Use high-quality vanilla bean paste for an unparalleled depth of flavor, and make sure to scrape the seeds from real vanilla pods for added texture and visual appeal
- Select the finest European-style butter for its rich, creamy flavor and tender crumb, and always bring it to room temperature before creaming
- Invest in a digital scale to ensure precision measurements, as this will significantly impact the final texture and structure of your cake
- Don’t overmix the batter, as this can lead to a dense, tough crumb – instead, gently fold the ingredients together until just combined, then stop mixing immediately
- Allow your cakes to cool completely in their pans before attempting to frost or assemble, as this will help prevent breakage and ensure a smooth, even application of buttercream
Key Takeaways for the Perfect Vanilla Bean Layer Cake
Elevate your cake game by using high-quality ingredients, particularly vanilla bean paste, to infuse a deep, velvety flavor into your dessert
Master the art of buttercream frosting techniques, from achieving the perfect consistency to intricate piping designs, to take your cake from beautiful to breathtaking
Remember, practice makes perfect: don’t be discouraged if your first attempts at crafting a classic vanilla bean layer cake don’t turn out exactly as envisioned – with patience, persistence, and a keen eye for detail, you’ll soon be creating show-stopping desserts that impress and delight
The Essence of a Timeless Dessert
A classic vanilla bean layer cake is more than just a recipe, it’s a mastery of balance and restraint, where the subtle dance of vanilla, butter, and sugar creates a culinary symphony that transcends trends and touches the heart.
Alison Lawson
The Art of Perfection: A Lasting Impression
As we conclude our journey through the classic vanilla bean layer cake recipe, let’s reflect on the essential elements that make this dessert truly special. From the elevated use of vanilla bean paste to the meticulous techniques required for a smooth buttercream frosting, each component plays a vital role in creating a culinary masterpiece. By mastering these elements, you’ll not only impress your friends and family but also develop a deeper appreciation for the art of baking.
As you embark on your own baking adventures, remember that the pursuit of perfection is a lifelong journey. Don’t be afraid to experiment, to try new things, and to push the boundaries of what’s possible with every layer and every stroke of frosting. With practice, patience, and a passion for creativity, you’ll unlock the secrets to crafting breathtaking desserts that inspire and delight – and that’s the greatest reward of all.
Frequently Asked Questions
What are the key differences between using vanilla extract and vanilla bean paste in a classic vanilla bean layer cake recipe?
The distinction between vanilla extract and vanilla bean paste lies in their depth of flavor and texture. Vanilla extract provides a subtle, aromatic hint, while vanilla bean paste bursts with intense, creamy flavor and visible vanilla specks, elevating the cake to a new level of sophistication and visual appeal.
How do I ensure that my buttercream frosting is smooth and evenly colored when decorating a vanilla bean layer cake?
To achieve a smooth and evenly colored buttercream, I swear by ensuring my butter is at room temperature and using a high-quality vanilla bean paste for consistent flavor and hue. Then, it’s all about whipping the buttercream to the perfect consistency, just until it’s light and airy, before gently folding in any additional color or flavor elements.
Can I substitute or combine different types of flour to enhance the texture and flavor of a classic vanilla bean layer cake?
While experimenting with flour types can be intriguing, I recommend using high-quality cake flour for a tender crumb. However, you can try substituting up to 20% of the cake flour with bread flour for added structure or using pastry flour for a slightly denser texture.