I still remember the first time I tried to achieve the perfect drip on a drip cake. It was a disaster – the icing was too thin, the colors didn’t match, and the whole thing looked like a mess. But, as I delved deeper into the world of baking, I realized that getting that perfect drip wasn’t just about following a recipe, it was an art form. The question on every baker’s mind is, how to get a perfect drip on a drip cake without sacrificing taste or presentation. As someone who’s spent countless hours experimenting with different techniques, I can confidently say that it’s all about experimentation and a little bit of patience.
In this article, I’ll share my personal journey and the honest, no-hype advice I’ve gathered from professional bakers on how to get a perfect drip on a drip cake. You’ll learn the secrets to achieving a smooth, even drip, and how to troubleshoot common issues that can make or break your masterpiece. From the type of icing to use, to the temperature and consistency, I’ll cover it all. By the end of this guide, you’ll be equipped with the knowledge and confidence to create stunning drip cakes that will impress even the most discerning palates. Whether you’re a beginner or a seasoned baker, this article will provide you with the tools and inspiration to take your baking to the next level and create perfect drip cakes that are almost too beautiful to eat.
Table of Contents
Guide Overview: What You'll Need
Total Time: 2 hours 30 minutes
Estimated Cost: $20 – $40
Difficulty Level: Intermediate
Tools Required
- Piping Bag (with a small round tip)
- Turntable (for easy cake rotation)
- Offset Spatula (for smoothing cake surfaces)
- Measuring Cups (for accurate ingredient measurement)
Supplies & Materials
- Cake (fully cooled and crumb-coated)
- Buttercream Frosting (in a color of your choice)
- Ganache (for creating the drip effect)
- Parchment Paper (for protecting your work surface)
Step-by-Step Instructions
- 1. To start your journey to the perfect drip on a drip cake, begin by preparing your cake. This involves baking and cooling it completely, as you’ll want a stable surface for your artistic endeavor. I like to think of this step as laying the foundation for the masterpiece that’s to come.
- 2. Next, you’ll need to prepare your drip icing. This is where the magic happens, and it’s all about finding the right consistency. You want it to be thin enough to flow smoothly but not so thin that it loses its viscous appeal. Experimenting with different ratios of icing sugar to liquid is key here, and don’t be afraid to taste and adjust as you go.
- 3. Now, it’s time to color your icing if desired. This can add an extra layer of visual appeal to your cake. When choosing colors, consider the theme or occasion for which the cake is intended. For a classic look, a single, bold color can be stunning, but don’t shy away from mixing and matching to create something truly unique.
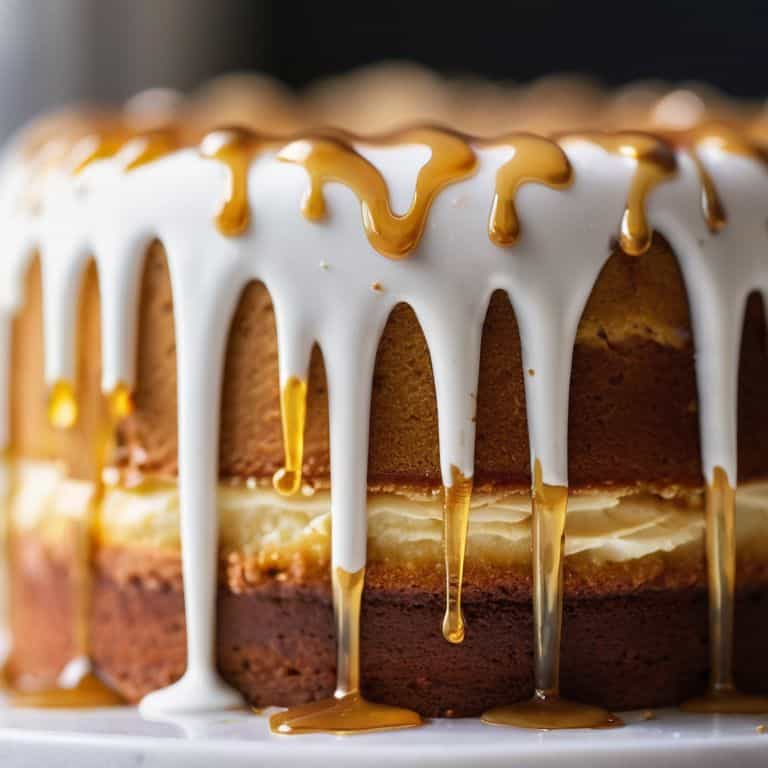
- 4. With your icing ready, it’s time to apply it to the cake. Start by placing a small amount on top of the cake and using an offset spatula or spoon to create a small pool. This pool will be the starting point for your drip effect. Gently tilt the cake or use your spatula to encourage the icing to start dripping down the sides, creating a smooth, even flow.
- 5. As the icing begins to drip, use your spatula or a toothpick to guide the drips and create the desired pattern. This is where patience comes into play, as you’ll need to wait for the icing to set slightly between adjustments. Don’t worry if it gets a bit messy; that’s all part of the creative process.
- 6. To add an extra layer of detail, consider decorating the top of the cake with additional icing patterns, fresh fruits, or nuts. This not only adds texture and flavor but also elevates the visual appeal of your masterpiece. Remember, the key to a beautiful drip cake is balance, so don’t overdo it – sometimes, less is more.
- 7. Finally, step back and admire your handiwork. The perfect drip on a drip cake is all about experimentation and patience. Don’t be too hard on yourself if it doesn’t turn out exactly as planned; every imperfection is a part of what makes your cake truly unique and handmade. With practice, you’ll find your own rhythm and style, and that’s what makes this journey so rewarding.
Perfect Drip Pursuit
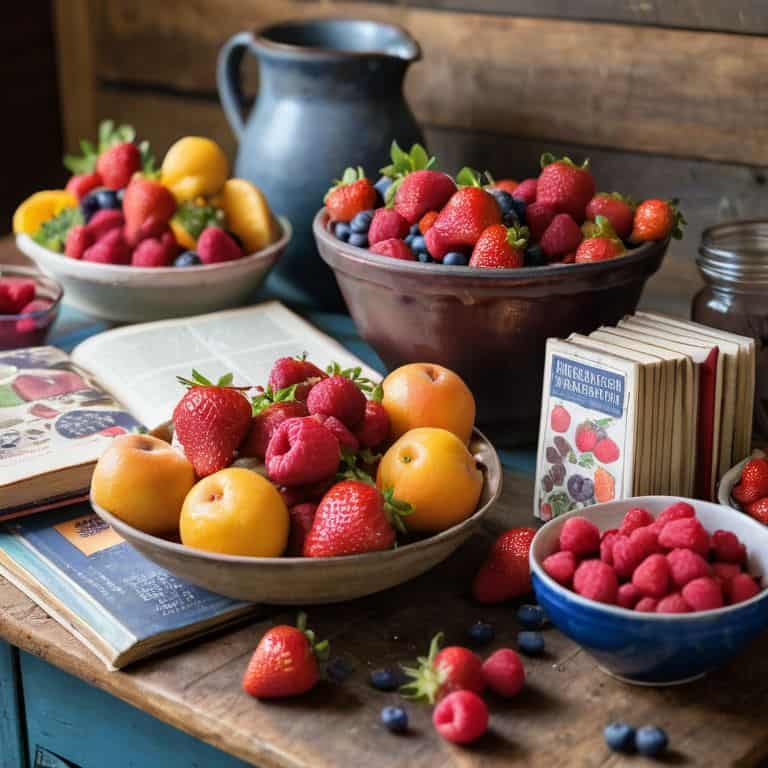
As I delved deeper into the world of drip cakes, I discovered that drip cake design inspiration can come from the most unexpected places. A walk through a local farmers’ market on a weekend, where I love to collect vintage cookbooks and experiment with new sourdough recipes, can spark ideas for unique flavor combinations and presentation styles. For instance, a beautifully arranged display of fresh fruits can inspire a colorful and vibrant drip cake design. I also found that experimenting with different chocolate ganache recipes can elevate the overall appearance of the cake.
To achieve a smooth and velvety ganache, it’s essential to focus on tips for achieving smooth ganache, such as using high-quality chocolate and carefully heating the cream to the right temperature. I’ve also learned that drip cake decorating techniques for beginners often involve starting with simple designs and gradually building up to more complex patterns. By mastering these fundamental techniques, bakers can create stunning drip cakes that are almost too beautiful to eat.
One of the most critical aspects of creating a stunning drip cake is avoiding common mistakes in drip cake creation, such as overmixing the batter or using too much ganache. By being mindful of these potential pitfalls, bakers can ensure that their drip cakes turn out perfectly. Additionally, considering drip cake photography tips can help showcase the cake’s beauty, making it a true masterpiece that’s sure to impress.
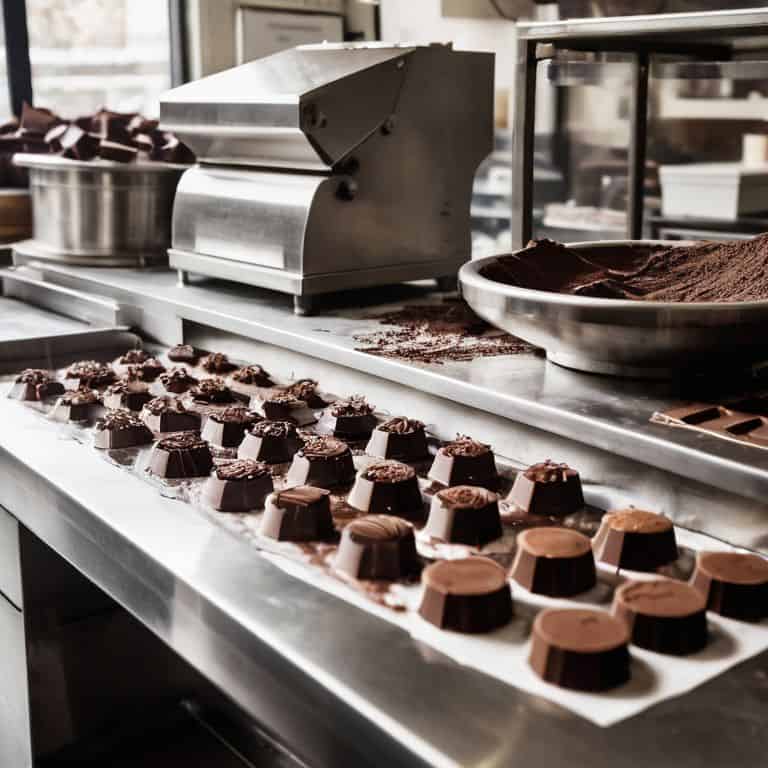
Chocolate Ganache Recipe Secrets
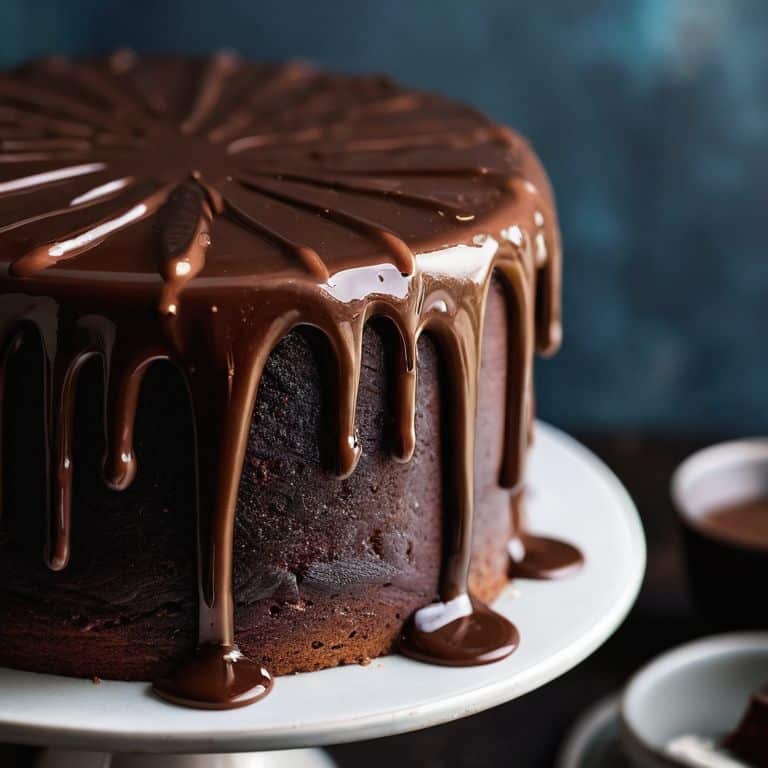
As I delved deeper into the world of drip cakes, I discovered that the perfect chocolate ganache is the crowning glory. It’s all about striking the right balance between rich, velvety smoothness and a deep, dark flavor. I’ve found that using high-quality dark chocolate with a high cocoa content makes all the difference. The key is to heat the cream to just the right temperature, so it’s hot but not boiling, and then pour it over the chopped chocolate, letting it melt into a luscious, glossy pool.
I’ve learned a few secrets from the masters: using a pinch of flaky sea salt to bring out the flavors, or adding a teaspoon of espresso powder to deepen the chocolate flavor. These subtle tweaks can elevate the entire cake, making it a true showstopper.
Drip Cake Design Inspiration
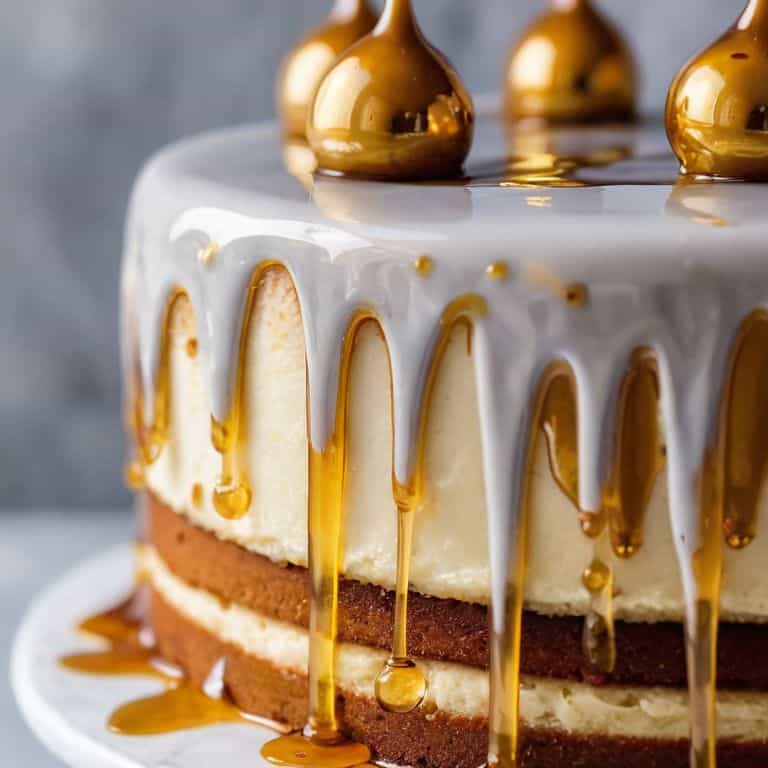
As I delve deeper into the world of drip cakes, I find myself drawn to the endless design possibilities. The perfect drip is not just about technique, but also about aesthetics. I’ve spent hours scouring social media and baking books for inspiration, and I’m always amazed by the creativity of fellow bakers. From vibrant colors to intricate patterns, the designs are as unique as the bakers themselves.
I’ve experimented with different flavors and hues, from rich chocolate to pastel pink, and each one has led me down a new path of discovery. The drip cake has become a canvas, waiting for the brushstrokes of imagination and skill. Whether you’re a seasoned pro or a beginner, the world of drip cake design is a thrilling journey, full of surprises and delights.
The Art of the Drip: 5 Essential Tips for a Perfect Finish
- Ditch the perfectionism and experiment with different drip speeds to find your signature look
- Temperature control is key: make sure your ganache is at the right consistency before dripping it onto the cake
- Less is often more – don’t overdo it with the drips, sometimes a single, perfectly placed drip can make a bigger statement
- Play with the viscosity of your ganache by adjusting the ratio of chocolate to cream for a unique, velvety texture
- Practice makes perfect: don’t be discouraged if your first few attempts at the perfect drip don’t turn out as expected – it’s all part of the process
Key Takeaways for the Perfect Drip
Embracing experimentation and patience is crucial for achieving the perfect drip on a drip cake, as it allows for a deeper understanding of how different ingredients and techniques interact
Finding inspiration in various drip cake designs and experimenting with unique flavor combinations, such as those using chocolate ganache, can elevate your baking to the next level
By focusing on the story and passion behind each recipe, and not just the technical aspects, you can create baked goods that not only taste amazing but also carry a sense of community and connection
The Drip of Perfection
The perfect drip on a drip cake is not just about precision, it’s about embracing the beauty of imperfection – it’s the subtle dance between control and chaos, where every delicate drop tells a story of patience, passion, and the pursuit of sweetness.
David Dunne
Beyond the Drip: A Lasting Impression
As I reflect on our journey to achieving the perfect drip on a drip cake, I’m reminded of the importance of patience and experimentation in the baking process. From understanding the fundamentals of cake design to mastering the art of chocolate ganache, each step is a crucial part of the puzzle. The perfect drip is not just about aesthetics; it’s about the story behind the bake, the passion that goes into crafting each element, and the joy of sharing that with others. Whether you’re a seasoned baker or just starting out, the pursuit of the perfect drip is a rewarding journey that encourages creativity and community.
As you put down your piping bag and step back to admire your handiwork, remember that the true beauty of baking lies not just in the finished product, but in the process itself. The perfect drip on a drip cake is a celebration of the human touch, a symbol of the love and dedication that goes into every detail. So, don’t be afraid to get creative, to try new things, and to share your passion with the world. For in the end, it’s not just about the cake – it’s about the connections we make, the stories we tell, and the love we share, one delicious drip at a time.
Frequently Asked Questions
What's the ideal consistency for the chocolate ganache to achieve a smooth and even drip?
For a smooth and even drip, I’ve found that the ideal consistency for chocolate ganache is when it’s just barely pourable, like honey on a warm day. If it’s too thick, it won’t drip nicely, and if it’s too thin, it’ll be too runny – but when it’s just right, it’s pure magic!
How do I prevent the drip from pooling at the bottom of the cake or creating an uneven edge?
To prevent pooling or uneven edges, I’ve found that slightly chilling the cake before drizzling helps the ganache set faster and more evenly. Also, using a turntable to spin the cake while drizzling can create a beautiful, uniform drip effect – it’s all about the flow and temperature of the ganache, my friends!
Are there any specific techniques or tools that can help me control the flow and pattern of the drip for a more visually appealing design?
For a more visually appealing drip, I swear by using a warm ganache and a squeeze bottle with a small nozzle – it’s all about the flow control. Some bakers also use a spatula or spoon to gently guide the drip, creating those beautiful, organic patterns that make each cake unique. Experimenting with different temperatures and tools can help you achieve the perfect, Instagram-worthy drip.