I still remember the first time I walked into a professional bakery, and my eyes landed on a stunning display of artisanal breads and pastries. It was as if I had stumbled into a world where beauty and taste coexisted in perfect harmony. As I delved deeper into the world of baking, I realized that a crucial part of this magic was a guide to food styling. It’s amazing how often we underestimate the power of presentation, isn’t it? The way a perfectly glazed croissant or a delicately decorated cake can evoke emotions and create an unforgettable experience.
As someone who’s spent years exploring the baking industry, I’ve learned that mastering the art of food styling is not just about making your creations look appealing; it’s about telling a story. In this article, I promise to share practical tips and tricks for creating visually stunning dishes that will elevate your baking game. From understanding lighting and composition to selecting the right props and backdrops, I’ll guide you through the process of transforming your baked goods into Instagram-worthy masterpieces. Whether you’re a professional baker or a passionate home cook, this guide to food styling will help you unlock the secrets of presenting your creations with confidence and flair.
Table of Contents
Guide Overview: What You'll Need
Total Time: 2 hours 30 minutes
Estimated Cost: $50 – $100
Difficulty Level: Intermediate
Tools Required
- Camera (with macro lens capability)
- Lighting Kit (natural or artificial light sources)
- Tripod (for stabilizing the camera)
- Props (e.g., linens, utensils, garnishes)
Supplies & Materials
- Food and ingredients (fresh and of high quality)
- Styling boards or surfaces (e.g., wooden boards, marble, or granite)
- Garnishes and decorations (e.g., fresh herbs, edible flowers, or small decorative items)
- Kitchen towels and cleaning supplies (for cleaning and wiping down surfaces)
Step-by-Step Instructions
- 1. First, let’s start with the basics: understanding the concept of balance in food styling. This means arranging your dish in a way that’s pleasing to the eye, considering factors like color, texture, and height. I like to think of it as creating a mini still life, where every element works together to tell a story.
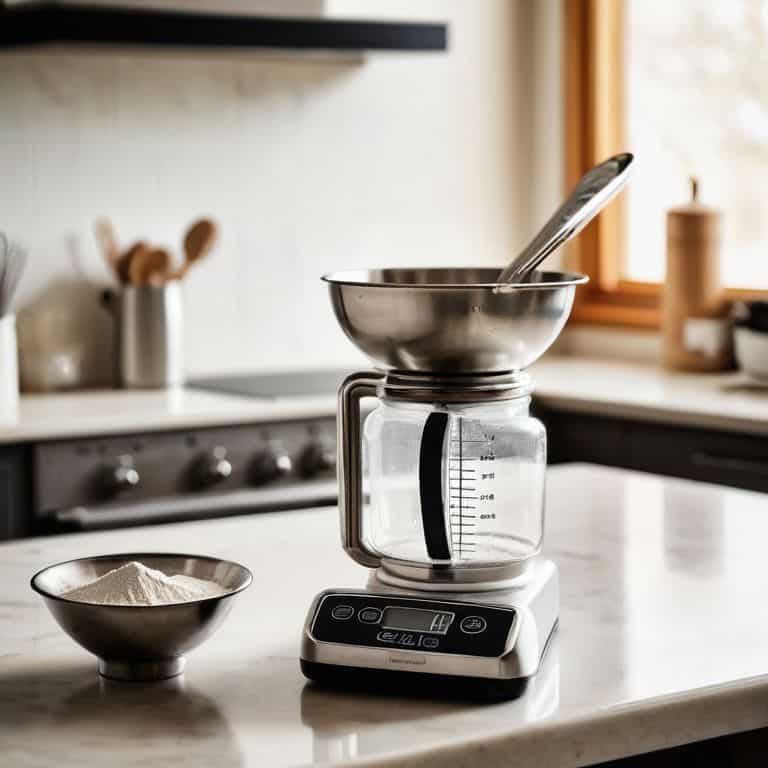
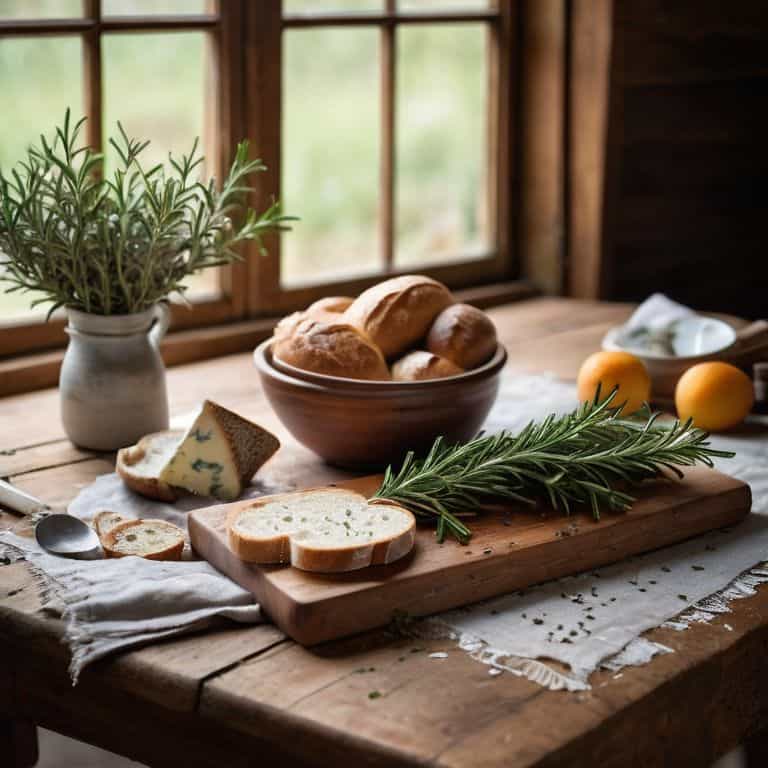
- 2. Next, gather your ingredients and props, because the right tools of the trade can make all the difference. This might include a variety of linens, vintage utensils, or fresh herbs to add a pop of color and freshness to your setup. I’ve found that thrifting and antique shopping can be a great way to find unique and interesting items to incorporate into your food styling.
- 3. Now it’s time to think about the _hero of the dish_, the star of the show that will draw the viewer’s eye. This might be a perfectly glazed pastry, a beautifully roasted piece of meat, or a vibrant, fresh salad. Whatever it is, make sure it’s placed prominently and styled in a way that showcases its best features.
- 4. As you begin to build your composition, consider the _rule of thirds_ and how you can use it to create a more dynamic, interesting image. This means placing your hero ingredient off-center, using negative space to create a sense of simplicity and elegance. Don’t be afraid to experiment and try out different arrangements until you find one that feels right.
- 5. Lighting is another crucial element in food styling, and can really make or break the mood of your image. Natural light is always the most flattering, so if possible, try to set up your shoot near a window or outside. If you’re shooting indoors, invest in a good lighting kit that will allow you to create a soft, warm glow.
- 6. Once you have your basic composition in place, it’s time to start thinking about the details – the _tiny touches_ that will take your image from good to great. This might include adding a sprinkle of fresh herbs, a drizzle of sauce, or a few decorative elements like vintage spoons or linens. Remember, the key is to keep it simple and not over-accessorize, so edit your choices carefully.
- 7. Finally, take a step back and evaluate your composition as a whole, making any final tweaks as needed. Ask yourself if the image feels balanced and harmonious, and if there’s a clear sense of story or narrative. Don’t be afraid to make adjustments or try out new ideas – the more you practice, the more comfortable you’ll become with the process of food styling.
A Guide to Food Styling
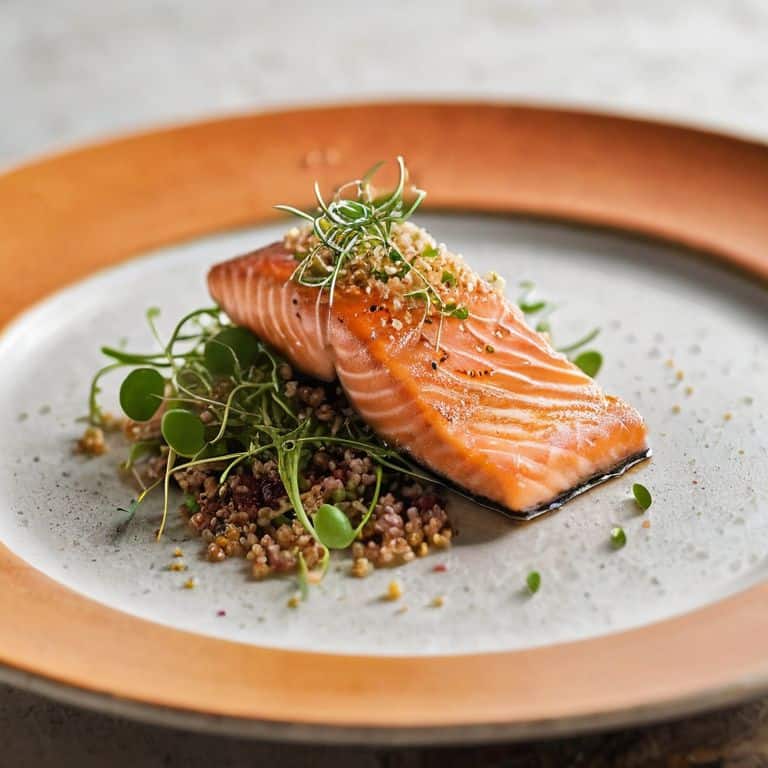
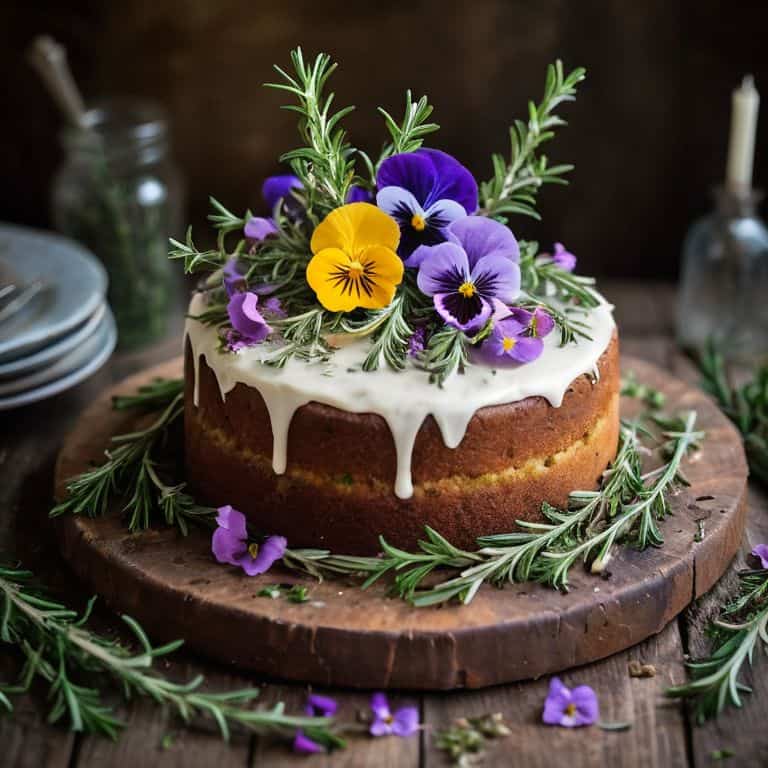
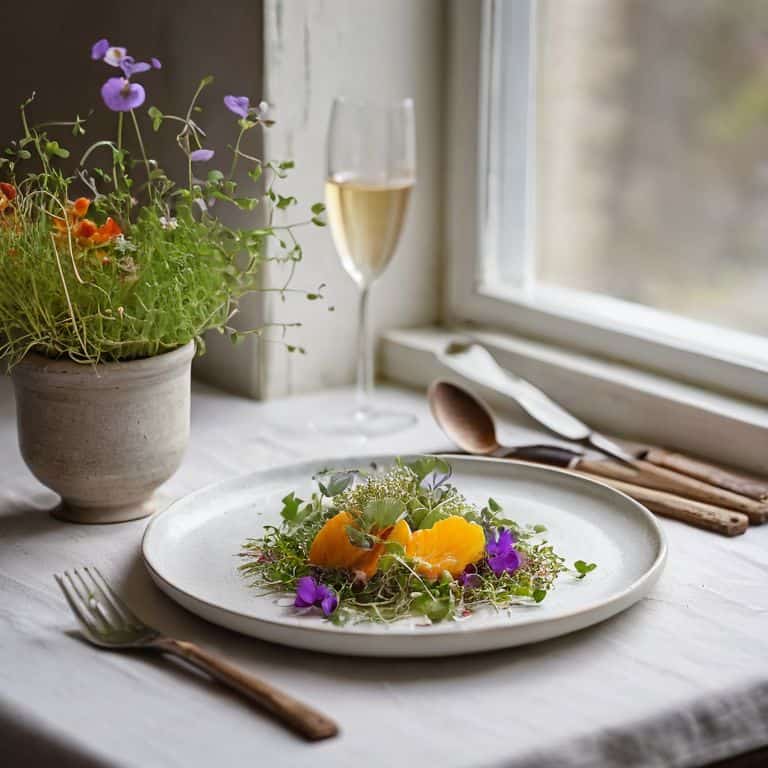
As I delve into the world of food styling, I’m constantly amazed by the creative food plating techniques that can elevate a dish from ordinary to extraordinary. One of my favorite tips is to experiment with using garnishes in food styling, adding a pop of color and freshness to the plate. Whether it’s a sprinkle of microgreens or a slice of citrus, garnishes can make all the difference in creating a visually stunning image.
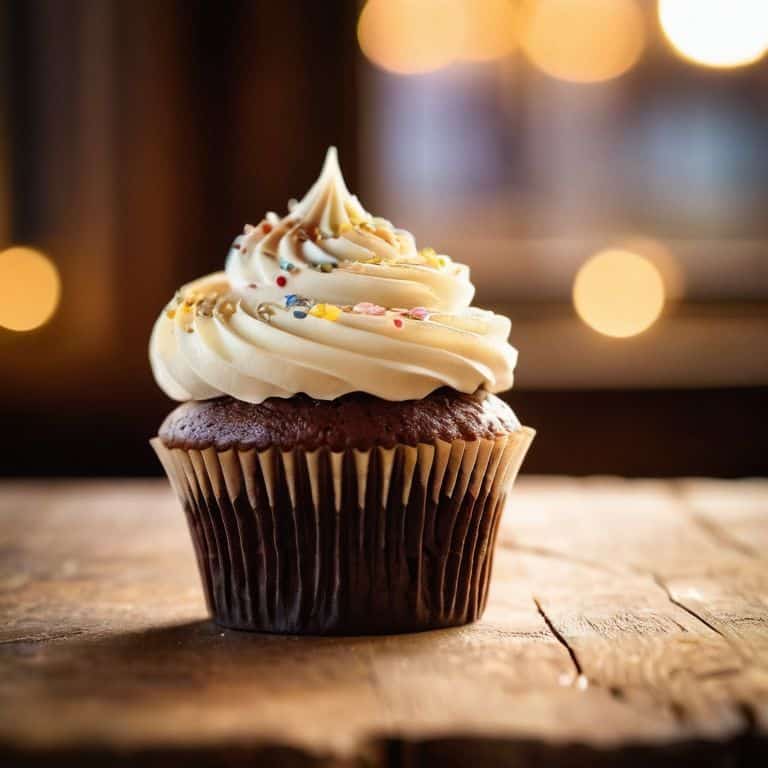
When it comes to styling desserts for photos, I’ve learned that it’s all about balance and harmony. A beautifully set table with table setting ideas for food blogs can add context and warmth to the image, making the dessert the star of the show. I also appreciate the importance of food photography lighting tips, which can make or break the mood of the photo. Natural light is always my first choice, but learning to work with artificial light has been a game-changer in my food photography journey.
In today’s digital age, food styling for social media requires a unique set of skills. With the rise of Instagram and other visual platforms, the pressure to create stunning, shareable content is higher than ever. By mastering the art of food styling and photography, bloggers and influencers can take their content to the next level, making their audience crave more.
Beyond the Loaf Creative Food Plating
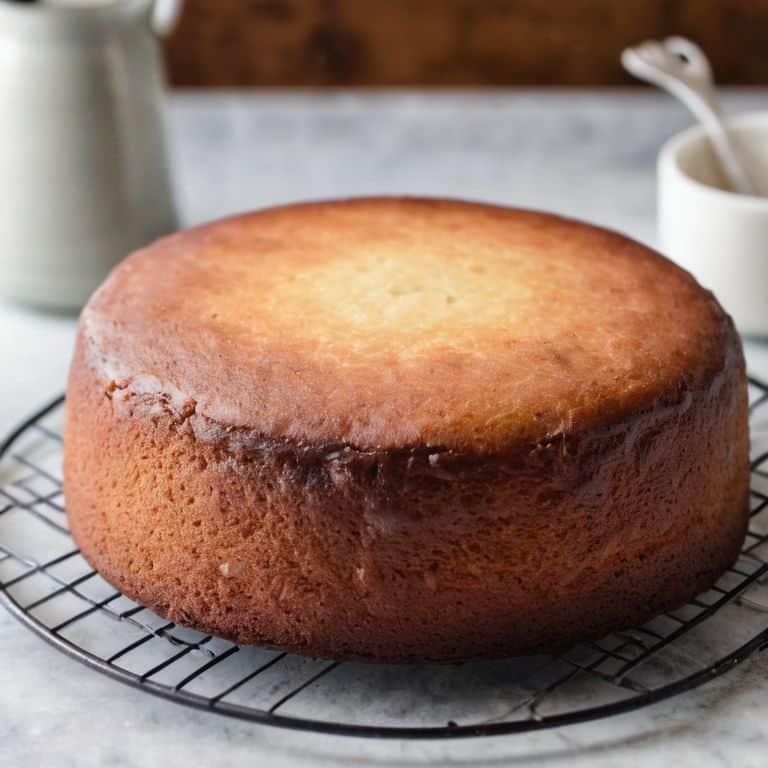
As I stepped into the cozy bakery, I was struck by the artful arrangements of freshly baked goods. The baker’s attention to detail was evident in every carefully placed pastry and sprinkled topping. Creative food plating is an extension of the baking process, where every element, from the colors to the textures, comes together to tell a story. It’s about creating an experience that beckons you to take a bite.
I’ve seen bakers use natural elements like leaves and twigs to add a whimsical touch, while others opt for sleek, modern designs that showcase the beauty of the ingredients. The key is to have fun and experiment with different styles, just as you would with a new recipe. By doing so, you’ll not only elevate the visual appeal of your creations but also convey the passion and dedication that goes into crafting each and every item.
Styling Desserts With Passion and Light
As I stepped into the bakery, I was struck by the artful arrangement of desserts on display. Each pastry was carefully positioned to tell a story, with soft light dancing across the delicate textures. The baker’s passion was palpable, and I found myself drawn to the vibrant colors and delicate patterns. I watched, mesmerized, as the baker carefully styled a tray of macarons, each one a masterpiece of balance and harmony.
In this world of sweet creations, lighting is everything. Soft, natural light can elevate even the simplest dessert into a work of art, while harsh shadows can detract from the beauty of the pastry itself. I’ve seen bakers use everything from linen tablecloths to vintage lace to add texture and depth to their creations, making each dessert a true masterpiece.
Plating with Passion: 5 Essential Food Styling Tips
- Let natural light be your best friend: it can make even the simplest dishes look like a million bucks
- Experiment with textures: combining smooth, rough, and soft elements can add depth to your food styling
- Balance is key: don’t be afraid to leave some negative space on the plate to let the ingredients shine
- Garnishes are not just for show: use fresh herbs, edible flowers, or microgreens to add a pop of color and freshness
- Tell a story with your food: use props, linens, and backdrops to create a narrative that draws the viewer in and makes them want to take a bite
Key Takeaways from My Journey into Food Styling
I’ve learned that the art of food styling is not just about making dishes look good, but about telling the story of the people and passion behind them
Pay attention to light: natural, warm, and soft lighting can elevate even the simplest of dishes into a culinary masterpiece, and don’t be afraid to experiment with shadows and textures
Remember, food styling is a form of self-expression and a celebration of the culinary craft, so don’t be afraid to add your personal touch and let your passion shine through in every plate and every photograph
The Art of Presentation
Food styling is not just about making dishes look beautiful, it’s about telling the story of the people and passion behind every ingredient, every technique, and every perfectly placed garnish.
David Dunne
Conclusion: The Art of Food Styling Revealed
As we conclude this journey through the world of food styling, it’s essential to remember the basics: understanding your audience, selecting the right props, and mastering the art of lighting. We’ve delved into the realm of creative food plating, exploring how balance, color, and texture can elevate a dish from ordinary to extraordinary. Whether you’re a professional photographer or an enthusiastic home cook, these principles will help you unlock the full potential of your culinary creations. By embracing the art of food styling, you’ll not only enhance the visual appeal of your dishes but also tell a story that invites others to share in your passion.
As you embark on your own food styling adventures, I encourage you to experiment and innovate, pushing the boundaries of what’s possible. Don’t be afraid to try new things, to make mistakes, and to learn from them. The world of food styling is a vibrant, ever-evolving community, and by joining it, you’ll become part of a larger narrative that celebrates the beauty of food, the joy of creativity, and the power of connection. So, go ahead, get styling, and let your passion shine through – the world is waiting to taste your story!
Frequently Asked Questions
What are some common mistakes to avoid when styling food for photography?
As I’ve learned from photographers and stylists, common mistakes to avoid include over-accessorizing, using too much prop clutter, and neglecting the power of negative space – all of which can distract from the star of the show: the food itself.
How can I use natural light to enhance the visual appeal of my food styling?
Natural light is a game-changer for food styling. I love positioning my subjects near a window, where soft, indirect light can dance across the dish, highlighting textures and colors. It’s all about experimenting with the angle and intensity to create a warm, inviting glow that makes your creations look almost irresistible.
What are some creative ways to garnish and add texture to my dishes for a more visually appealing presentation?
I love experimenting with garnishes and textures in my own kitchen. For a pop of color and freshness, try adding edible flowers or microgreens to your dishes. You can also add crunch with toasted nuts or seeds, and create visual interest with artistic drizzles of sauce or honey.