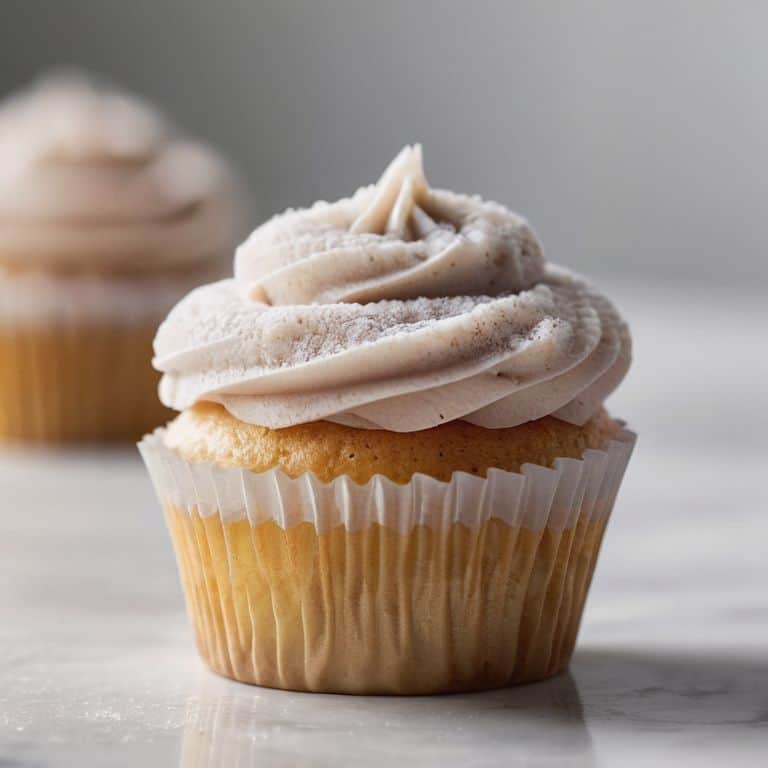
I still remember the first time I had to troubleshoot a failed cake in my culinary school days. It was a disaster – dense, dry, and completely inedible. My instructor at the time told me that learning how to troubleshoot common baking mistakes was just as important as mastering a recipe. And that’s exactly what I want to share with you today. When it comes to baking, we’ve all been there – our cake is too dense, our cookies are too burnt, so what’s going wrong and how can we fix these common baking mistakes? The truth is, baking is a science, and with the right knowledge, you can identify and fix even the most frustrating errors.
In this article, I’ll be sharing my personal approach to how to troubleshoot common baking mistakes, gained from 20 years of teaching and experimenting in the kitchen. You’ll learn how to identify the root causes of common baking problems, from overmixing to incorrect oven temperatures. I’ll walk you through a step-by-step process to diagnose and fix your baking mistakes, so you can achieve consistent, delicious results. By the end of this guide, you’ll be equipped with the practical knowledge and confidence to tackle even the most challenging recipes, and troubleshoot like a pro.
Table of Contents
Guide Overview: What You'll Need

Total Time: 1 hour 15 minutes
Estimated Cost: $0 – $10
Difficulty Level: Easy
Tools Required
- Measuring Cups (for accurate ingredient measurement)
- Measuring Spoons (for precise ingredient measurement)
- Oven Thermometer (to check oven temperature)
- Timer (to ensure accurate baking time)
Supplies & Materials
- Baking Powder (to check expiration date)
- Baking Soda (to check expiration date)
- Flour (to check for freshness)
- Sugar (to check for freshness)
- Eggs (to check for freshness)
- Butter or Oil (to check for freshness)
Step-by-Step Instructions
- 1. First, let’s start by understanding that troubleshooting is a science, and it requires a systematic approach to identify and fix the issue. When a bake doesn’t turn out as expected, take a step back, and try to recreate the scenario in your mind. Think about the recipe, the ingredients, the equipment, and the environment. This will help you pinpoint where things might have gone wrong.
- 2. Next, examine the evidence, which is the baked good itself. Look for any visible signs of what might have caused the issue, such as overmixing, underbaking, or incorrect ingredient ratios. Check the texture, color, and consistency of the bake. This will give you clues about what might have happened during the baking process. Remember, weighing ingredients is crucial, as it ensures that you’re using the right amounts, which can affect the final product.
- 3. Now, let’s talk about the importance of temperature and how it can impact your bake. If your oven is not at the correct temperature, it can cause a range of issues, from undercooked centers to overcooked exteriors. Invest in an oven thermometer to ensure that your oven is at the right temperature. This is a simple but crucial step in troubleshooting common baking mistakes.
- 4. The next step is to review your recipe and make sure you followed it correctly. Check that you used the right ingredients, in the right quantities, and that you didn’t skip any crucial steps. It’s also essential to understand the chemistry behind the recipe, as this will help you identify potential issues. For example, if a recipe calls for baking powder, make sure you’re using it correctly, as it can affect the rise and texture of the bake.
- 5. Once you’ve identified the potential cause of the issue, it’s time to conduct an experiment to test your hypothesis. This might involve re-baking a small batch of the recipe, using a different ingredient or technique. Remember to keep a record of your experiments, as this will help you track your progress and identify patterns. This is an essential part of the troubleshooting process, as it allows you to learn from your mistakes and refine your techniques.
- 6. Now, let’s discuss the art of adjusting ingredients, which is a critical part of troubleshooting. If you’ve identified that an ingredient is the cause of the issue, you’ll need to adjust the quantity or type of ingredient to get the desired result. This requires a deep understanding of ingredient interactions, as well as a willingness to experiment and take risks. Remember, practice makes perfect, and the more you bake, the more you’ll understand how ingredients interact and affect the final product.
- 7. Finally, don’t be afraid to start over, as this is often the best way to ensure that you’re starting with a clean slate. If you’ve tried troubleshooting and still can’t get the desired result, it might be time to re-examine your recipe and start from scratch. This can be frustrating, but it’s an essential part of the learning process, and it will ultimately make you a better baker. Remember to stay patient, persistent, and always keep a critical eye on your techniques and ingredients.
Troubleshoot Baking Mistakes
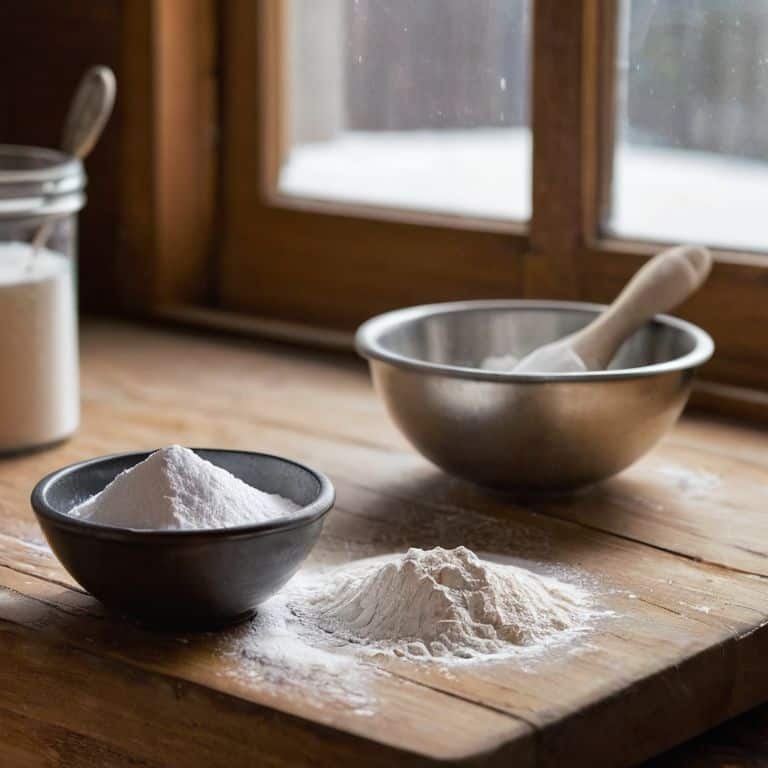
When it comes to identifying and fixing common baking errors, it’s essential to understand the role of leavening agents. Leavening agent tips can make all the difference in achieving the perfect texture and rise. For instance, using baking powder versus baking soda can significantly impact the outcome of your baked goods.
To prevent overmixing, which is a common mistake, it’s crucial to stop mixing once your ingredients are just combined. Overmixing prevention starts with understanding the importance of gentle folding and minimal stirring. This technique ensures that your batter or dough retains the necessary air pockets for a light and fluffy texture.
In my experience, oven temperature calibration is often overlooked, yet it’s a critical factor in achieving consistent results. Investing in an oven thermometer can help you identify any temperature discrepancies, allowing you to make adjustments and ensure that your baked goods are cooked to perfection. By paying attention to these details, you’ll be well on your way to mastering the art of baking and minimizing errors.
Mastering Leavening Agent Tips
To master leavening agent tips, it’s essential to understand the roles of baking powder and baking soda. These agents release carbon dioxide gas, causing dough or batter to rise. However, using them incorrectly can lead to disasters. I always advise my students to use the right ratio of leavening agents to other ingredients and to avoid overmixing, which can cause the agents to activate too quickly.
By following these simple guidelines and being mindful of the types of leavening agents used, you’ll be able to achieve the perfect rise in your baked goods. Remember, precision is key when working with leavening agents, so take the time to measure carefully and adjust as needed.
Preventing Overmixing Disasters
To prevent overmixing disasters, it’s essential to understand that mixing is not just about combining ingredients, but about developing gluten. When you overmix, you’re essentially over-developing the gluten, leading to tough, dense baked goods. I always tell my students to mix wet and dry ingredients separately and gently fold them together. This technique helps preserve the delicate balance of ingredients and prevents overmixing. By being mindful of your mixing technique, you can avoid common mistakes like tough cakes or dense cookies.
When in doubt, it’s better to err on the side of undermixing. You can always mix a bit more, but you can’t undo overmixing. Remember, the key is to mix until just combined, then stop. This will help you achieve the perfect texture and consistency in your baked goods.
5 Essential Tips to Rescue Your Bakes
- Stop and assess: when a bake goes wrong, don’t panic – take a moment to evaluate what might have gone wrong, from ingredient ratios to oven temperature
- Understand your leavening agents: knowing how baking powder and baking soda work is crucial to avoiding flat or over-risen disasters
- Respect the ratio: ensuring your ingredients are measured accurately, especially liquids, can make all the difference between a success and a failure
- Don’t overcomplicate it: sometimes, the simplest explanation is the correct one – if a recipe calls for room temperature eggs, don’t skip this step
- Practice patience: troubleshooting is about trial and error, and it’s essential to approach each attempt with a clear mind and a willingness to learn from your mistakes
Troubleshooting Essentials: 3 Key Takeaways
Understand the chemistry behind your ingredients to predict and prevent common baking mistakes, such as overmixing and leavening agent mishaps
Develop a systematic approach to troubleshooting, starting with identifying the root cause of the issue, whether it’s related to ingredient ratios, mixing techniques, or oven temperature
Practice patience and persistence in the kitchen, recognizing that every failed bake is an opportunity to learn and refine your skills, and that mastering the art of troubleshooting is a crucial step in becoming a confident and skilled baker
The Art of Troubleshooting
Baking is 90% science and 10% magic, but it’s in those moments of magical mishaps that we discover the true science of troubleshooting – where a pinch of patience and a dash of knowledge can transform a disaster into a masterpiece.
Beatrice Quinn
Conclusion: Baking with Confidence
As we’ve explored the world of troubleshooting common baking mistakes, it’s clear that understanding the science behind baking is key to success. We’ve covered essential topics such as preventing overmixing disasters and mastering leavening agent tips. By grasping these fundamental concepts and applying them in practice, you’ll be well on your way to becoming a skilled baker, capable of identifying and rectifying issues with ease. Remember, baking is a journey, and it’s okay to make mistakes – they’re an opportunity to learn and grow.
As you continue on your baking journey, keep in mind that confidence in the kitchen comes from knowledge and practice. Don’t be afraid to experiment and try new things – and when mistakes happen, use them as a chance to refine your skills. With time and patience, you’ll develop a keen sense of baking intuition, allowing you to navigate even the most complex recipes with ease. Happy baking, and I look forward to seeing the delicious creations you’ll bring to life!
Frequently Asked Questions
What are the most common signs of overmixing, and how can I adjust my mixing technique to avoid it?
To avoid overmixing, watch for signs like dense batter, tough dough, or a noticeable loss of aeration. Adjust your technique by mixing wet and dry ingredients separately, then gently folding them together, and stopping as soon as they’re just combined. Remember, overmixing is often a result of over-enthusiasm, so mix with a gentle touch!
How do I know if I've added too much or too little leavening agent to my recipe, and what are the consequences of each?
To determine if you’ve added too much or too little leavening agent, check your recipe’s balance and look for signs like over-proofing or flatness. Too little leavening agent will result in a dense product, while too much can cause it to collapse or taste soapy.
Are there any specific troubleshooting steps I can take if my baked goods are consistently turning out too dense or too dry, despite following the recipe accurately?
Let’s dive into the world of texture troubles. If your baked goods are turning out too dense or dry, check your leavening agents, liquid content, and mixing techniques. Overmixing or insufficient liquid can lead to dense treats, while overbaking or excess sugar can cause dryness. I recommend re-examining your recipe and adjusting these factors to find the perfect balance.