I still remember the first time I attempted to temper chocolate – it was a disaster. The chocolate was dull, brittle, and lacked that coveted snap. I soon learned that how to temper chocolate using a sous vide was not just about following a recipe, but understanding the science behind it. The common myth that tempering chocolate is a tedious, trial-and-error process is far from the truth. With the right techniques and tools, anyone can achieve perfectly tempered chocolate.
In this article, I’ll share my expertise on how to temper chocolate using a sous vide, gained from years of working in high-end pastry kitchens. You’ll learn the exact steps to temper chocolate like a pro, from preparing your ingredients to troubleshooting common issues. I’ll cut through the noise and provide you with honest, practical advice on how to achieve that perfect, glossy finish. By the end of this guide, you’ll be equipped with the knowledge and confidence to create stunning, professionally-tempered chocolate treats that will impress even the most discerning palates.
Table of Contents
- Guide Overview: What You'll Need
- Step-by-Step Instructions
- Sous Vide Chocolate Tempering
- Mastering the Art: 5 Essential Tips for Sous Vide Chocolate Tempering
- Mastering the Art: 3 Key Takeaways for Sous Vide Chocolate Tempering
- The Art of Tempering
- The Art of Sous Vide Chocolate Tempering: A Masterclass Conclusion
- Frequently Asked Questions
Guide Overview: What You'll Need
Total Time: 1 hour 15 minutes
Estimated Cost: $20 – $40
Difficulty Level: Intermediate
Tools Required
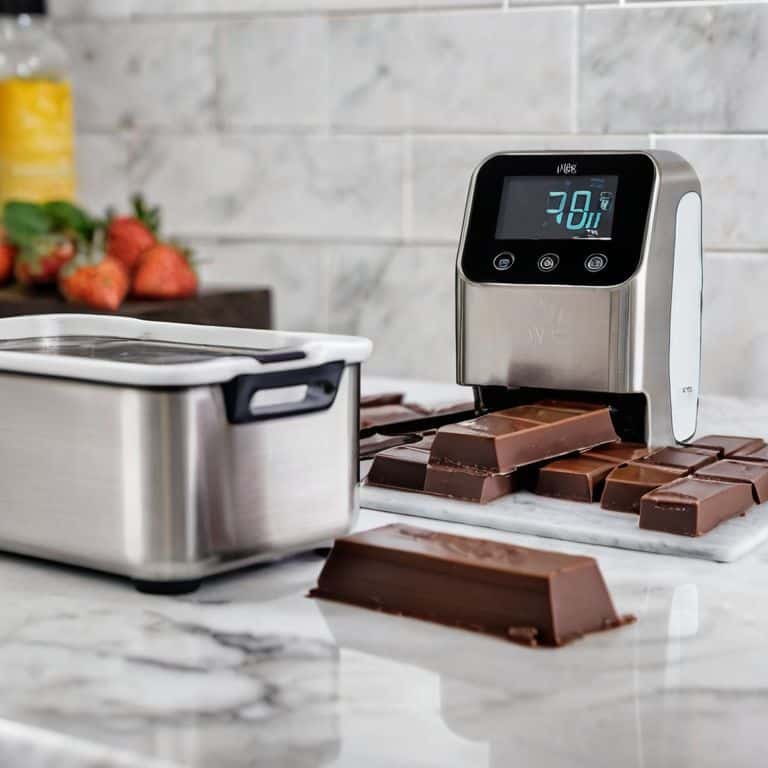
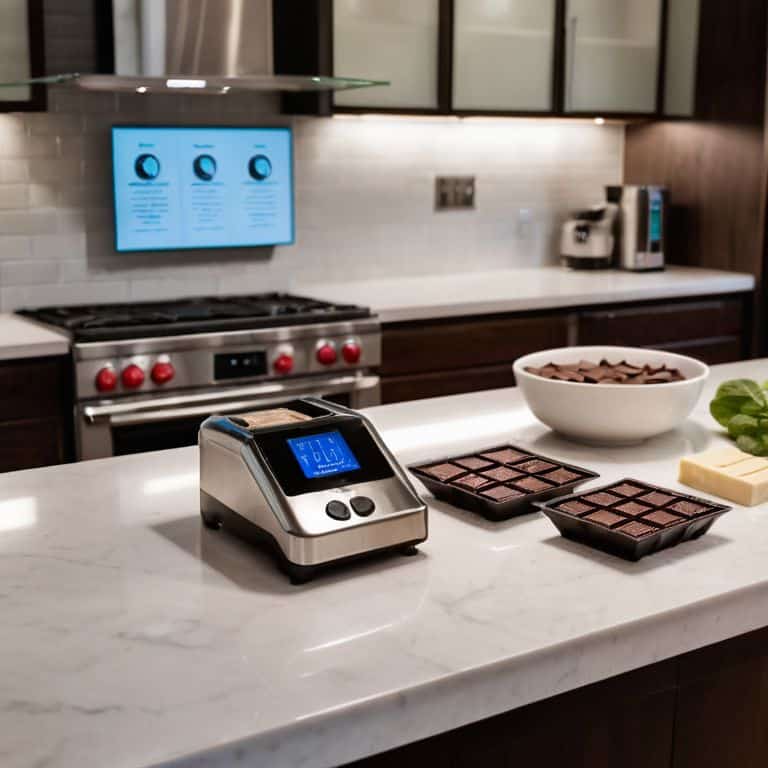
- Sous Vide Machine (with temperature control)
- Thermometer (for accurate temperature reading)
- Chocolate Tempering Bowl (heat-proof and stainless steel)
- Spreader or Offset Spatula (for smoothing chocolate)
Supplies & Materials
- Chocolate (high-quality with high cocoa butter content)
- Gloves (to prevent fingerprints on chocolate)
- Parchment Paper (for lining surfaces)
- Cooling Tray (for rapid cooling)
Step-by-Step Instructions
- 1. First, let’s start with the foundation of tempering: understanding the importance of temperature control. I always say that temperature is the most critical ‘ingredient’ in pastry, and when it comes to tempering chocolate, this couldn’t be more true. To begin, you’ll need to prepare your sous vide machine and set it to a precise temperature, typically around 105°F to 115°F (40°C to 46°C), depending on the type of chocolate you’re working with.
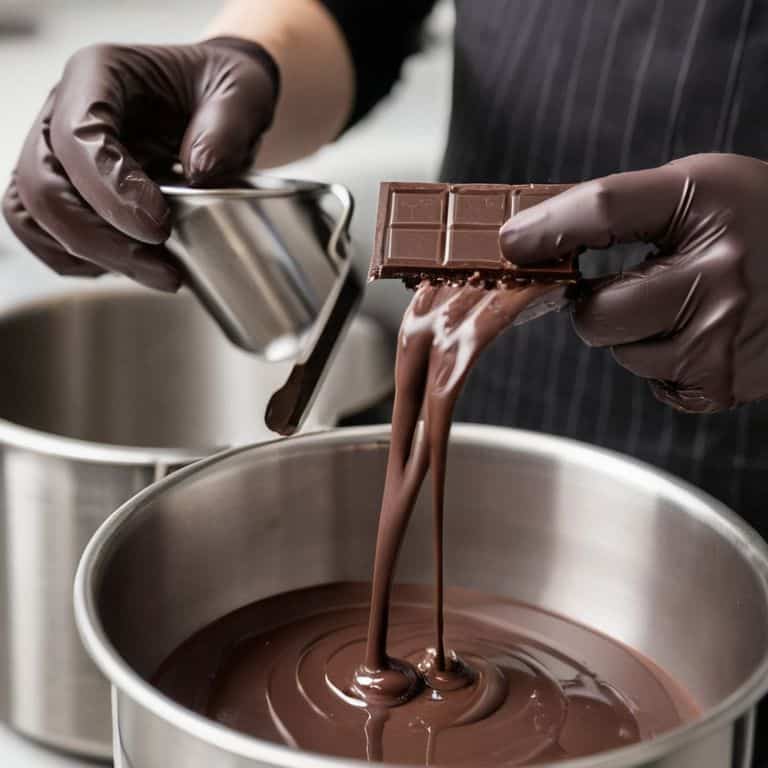
- 2. Next, you’ll need to _melt your chocolate_ to a temperature that’s slightly above the melting point, usually around 115°F to 120°F (46°C to 49°C). This is where the magic happens, and the chocolate begins to release its _flavor compounds_. I like to use a high-quality dark chocolate with a high cocoa content for the best results.
- 3. Now it’s time to seed the chocolate with a small amount of already-tempered chocolate, which will help to introduce the desired crystal structure. This step is crucial, as it will determine the final texture and appearance of your tempered chocolate. Make sure to use a high-quality tempered chocolate for seeding, and add it to the melted chocolate in small increments, stirring gently to avoid introducing air.
- 4. With the chocolate seeded, it’s time to cool and stabilize the mixture. This is where the sous vide machine comes into play, as it will allow us to maintain a precise temperature and prevent the chocolate from cooling too quickly. Set the sous vide machine to a temperature around 82°F to 86°F (28°C to 30°C), and let the chocolate cool and stabilize for at least 10 to 15 minutes.
- 5. Once the chocolate has cooled and stabilized, it’s time to test the temper. This is a critical step, as it will determine whether your chocolate is properly tempered or not. To test the temper, simply dip a small tool, such as a knife or a spatula, into the chocolate and let it set at room temperature. If the chocolate sets with a smooth, even finish and a satisfying snap when broken, then it’s properly tempered.
- 6. If the chocolate doesn’t set properly, don’t worry – it’s not the end of the world. You can simply _reheat the chocolate_ to a temperature around 90°F to 95°F (32°C to 35°C) and try again. This process is called re-tempering, and it’s a common step in the chocolate-tempering process. Just be careful not to overheat the chocolate, as this can cause it to become too soft and difficult to work with.
- 7. Finally, with your chocolate properly tempered, it’s time to mold and shape it into the desired form. This can be a fun and creative step, as you can use a variety of molds and techniques to create unique and beautiful chocolate pieces. Just remember to work quickly, as tempered chocolate can be _sensitive to temperature changes_ and may lose its temper if exposed to warm temperatures for too long.
Sous Vide Chocolate Tempering

As I delve deeper into the world of sous vide chocolate tempering techniques, I’m reminded of the importance of precision temperature control. This is where the sous vide machine truly shines, allowing for a level of accuracy that’s difficult to achieve with traditional tempering methods. By using an immersion circulator, I can precisely control the temperature of the chocolate, which is essential for creating stable chocolate crystal formation.
When it comes to precision temperature control for chocolate making, it’s all about finding that sweet spot where the chocolate is perfectly tempered. This is why I always recommend investing in a high-quality sous vide machine, as it will provide the consistent results you need to take your chocolate making to the next level. With a machine like this, you’ll be able to try out various sous vide chocolate making recipes and experiment with different techniques, all while maintaining the precise temperature control that’s so crucial for successful tempering.
In my experience, one of the biggest advantages of using a sous vide machine for chocolate tempering is the ability to maintain a consistent temperature over a long period of time. This is especially important when working with large batches of chocolate, as it allows me to ensure that every piece is perfectly tempered. Whether you’re a professional chocolatier or just starting out with chocolate tempering machines for home use, I highly recommend exploring the world of sous vide chocolate tempering – the results are well worth the investment.
Tempering With Precision Control
When it comes to tempering with precision control, I rely on my sous vide machine to deliver consistent results. By setting the exact temperature, I can coax the chocolate into its ideal crystal formation. It’s a delicate dance, really – the machine provides the precision, and I provide the touch. I’ve found that 82°F (28°C) is the sweet spot for dark chocolate, while milk chocolate prefers a slightly warmer temperature.
With the sous vide, I can hold the chocolate at this precise temperature for as long as I need, allowing me to work with it effortlessly. The result is a glossy, snappy finish that’s nothing short of mesmerizing. It’s this level of control that elevates chocolate work from mere mortal endeavors to an art form.
Unleashing Crystal Formation
As I delve into the world of sous vide chocolate tempering, I’m reminded of the magic that unfolds when precision meets patience. Unleashing crystal formation is an art that requires a deep understanding of the delicate balance between temperature and time. With my sous vide machine, I can coax the cocoa butter crystals into formation, resulting in a glossy, snappy finish that’s nothing short of mesmerizing. It’s a process that never fails to leave me in awe, and one that I’m excited to share with you.
By carefully calibrating the temperature, I can manipulate the crystal structure to achieve the perfect temper. It’s a subtle dance of molecules, where the slightest variation can make all the difference. With practice, you’ll develop a sense of intuition, allowing you to fine-tune the process and unlock the full potential of your chocolate. The result is a world of texture and flavor that will elevate your creations to new heights.
Mastering the Art: 5 Essential Tips for Sous Vide Chocolate Tempering
- Never underestimate the power of precise temperature control: I always aim for a temperature range of 88°F to 90°F (31°C to 32°C) for dark chocolate and 86°F to 88°F (30°C to 31°C) for milk chocolate to achieve the perfect crystal formation
- Choose the right chocolate: Look for high-quality chocolate with a high cocoa butter content, as this will give you the best results for tempering – I personally love working with Valrhona or Michel Cluizel
- Don’t skip the seeding process: Seeding your chocolate with a small amount of already-tempered chocolate helps to introduce the right crystal structures, ensuring a smooth and glossy finish – it’s a step that requires patience, but trust me, it’s worth it
- Work in a cool, draft-free environment: Temperature fluctuations can be the enemy of perfectly tempered chocolate, so make sure you’re working in a stable environment – I often temper chocolate in my climate-controlled pastry lab to get consistent results
- Practice, practice, practice: Tempering chocolate is an art that requires practice to master, so don’t be discouraged if it takes a few attempts to get it right – I’ve spent years honing my skills, and I’m still learning new tricks to perfect my craft
Mastering the Art: 3 Key Takeaways for Sous Vide Chocolate Tempering
Tempering chocolate with a sous vide machine allows for precise control over temperature, which is crucial for achieving the perfect crystal formation that gives chocolate its glossy appearance and satisfying snap
By using a sous vide to heat and cool the chocolate to exact temperatures, you can reliably produce chocolate with a stable crystal structure, which is essential for creating professional-quality desserts and confections
Through practice and attention to detail, home bakers and professional pastry chefs alike can master the technique of sous vide chocolate tempering, unlocking a world of creative possibilities for crafting exquisite and visually stunning chocolate desserts
The Art of Tempering
Tempering chocolate is not just about reaching a precise temperature, it’s about coaxing the crystals to form a harmonious union that elevates the entire experience – with a sous vide, this delicate dance becomes a waltz of precision and delight.
Juliette Le Roux
The Art of Sous Vide Chocolate Tempering: A Masterclass Conclusion
As we conclude this journey into the world of sous vide chocolate tempering, it’s essential to recap the key elements that make this process so unique. From the initial setup of our sous vide machine to the meticulous monitoring of temperatures, every step is crucial in achieving that perfect crystal formation. The sous vide method offers a level of precision that is hard to match with traditional tempering techniques, making it an invaluable tool for any serious chocolatier or pastry chef. By mastering this technique, you’re not just learning how to temper chocolate; you’re unlocking the door to a world of culinary creativity.
As you continue on your path to mastering sous vide chocolate tempering, remember that practice is key. Don’t be discouraged by initial failures; each attempt is a step closer to perfection. The pursuit of the perfect temper is a journey, not a destination. It’s about understanding the why behind each technique, the science that makes it work, and the art that elevates it. So, keep experimenting, keep pushing the boundaries of what’s possible with chocolate, and most importantly, never lose sight of the passion for perfection that drives us all to create something truly extraordinary.
Frequently Asked Questions
What is the ideal temperature range for tempering different types of chocolate using a sous vide machine?
For dark, milk, and white chocolate, I target temperatures between 88°F to 90°F, 86°F to 88°F, and 82°F to 84°F, respectively. These precise ranges allow for optimal crystal formation, giving your chocolate that unmistakable snap and sheen. Remember, temperature is key, so invest in a reliable sous vide machine to achieve these exacting temperatures.
How do I know if the chocolate has reached the perfect crystal formation, and what are the signs of under or over tempering?
To determine perfect crystal formation, I look for a smooth, even gloss and a crisp snap when broken. Under-tempering yields a dull, soft chocolate, while over-tempering results in a brittle, crumbly texture. Trust your senses: if it looks and sounds right, it probably is.
Can I reuse or re-temper already tempered chocolate if it's been stored improperly or exposed to heat, and what's the best way to salvage it?
The agony of mishandled chocolate! If your tempered chocolate has been stored improperly or exposed to heat, it’s not entirely hopeless. You can re-temper it, but be warned: the crystal structure may not be as stable. Try re-heating it to around 105°F to 115°F, then cooling it down to working temperature. However, for optimal results, it’s often better to start anew.