I still remember the first time I tried the seeding method for tempering chocolate – it was like a little miracle in my kitchen, and it completely changed the way I work with this finicky ingredient. For years, I had struggled with tempering, watching as my beautifully crafted chocolates bloomed with unappealing white streaks or worse, remained stubbornly soft. But with the seeding method, I discovered a simple yet powerful technique that allowed me to achieve the perfect snap and sheen on my chocolates. It’s a game-changer, and one that I’m excited to share with you.
In this article, I’ll cut through the confusion and provide you with practical, no-nonsense advice on how to master the seeding method for tempering chocolate. You’ll learn the exact steps to take, from preparing your chocolate to achieving the perfect temper. I’ll share my own experiences, including the mistakes I’ve made and the lessons I’ve learned along the way. By the end of this guide, you’ll be equipped with the knowledge and confidence to create beautifully tempered chocolates that will impress even the most discerning palates. Whether you’re a seasoned chocolatier or just starting out, this technique is within your reach, and I’m excited to help you unlock its secrets.
Table of Contents
- Guide Overview: What You'll Need
- Step-by-Step Instructions
- Seeding Method Secrets
- Tempering Triumphs: 5 Essential Tips for Mastering the Seeding Method
- Tempering Takeaways: Mastering the Seeding Method
- The Art of Seeding
- Mastering the Art of Seeding: A Path to Chocolate Perfection
- Frequently Asked Questions
Guide Overview: What You'll Need
Total Time: 1 hour 15 minutes
Estimated Cost: $10 – $20
Difficulty Level: Intermediate
Tools Required
- Double Boiler (or a heat-proof bowl set over a pot of simmering water)
- Thermometer (digital or candy thermometer)
- Sp spatula (for stirring and scraping the sides of the bowl)
- Chocolate Molds (to shape the tempered chocolate)
Supplies & Materials
- High-Quality Chocolate (with a high cocoa butter content)
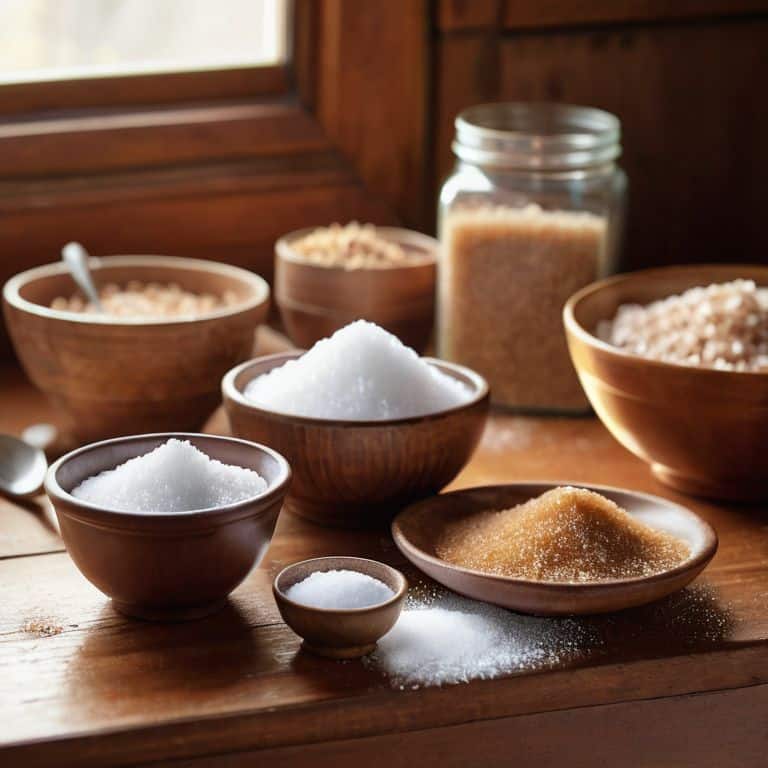
- Granulated Sugar (optional, for sweetening)
- Cocoa Butter (optional, for adding flavor and texture)
- Parchment Paper (for lining the chocolate molds)
Step-by-Step Instructions
- 1. First, prepare your tools and ingredients with precision, as this will set the tone for the entire tempering process. You’ll need a double boiler or a heat-proof bowl set over a pot of simmering water, a thermometer, and of course, your chocolate. I always say that temperature control is key, so make sure your thermometer is accurate.
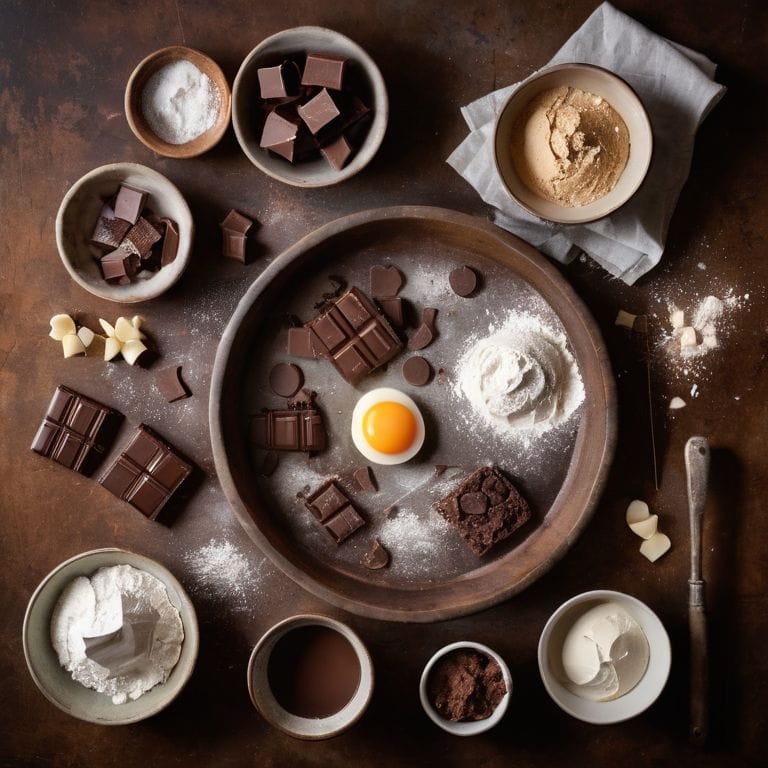
- 2. Next, chop your chocolate into small pieces to ensure even melting. I like to use a mix of dark and milk chocolate for a unique flavor profile, but the type of chocolate you use is up to you. Just remember, the higher the cocoa content, the more temperamental the chocolate can be.
- 3. Now, melt about two-thirds of your chocolate in the double boiler or heat-proof bowl, stirring occasionally. It’s crucial to heat the chocolate to the right temperature, which is between 105°F and 115°F for dark chocolate and between 100°F and 110°F for milk chocolate. I always keep an eye on the temperature curve, as it can quickly go out of range.
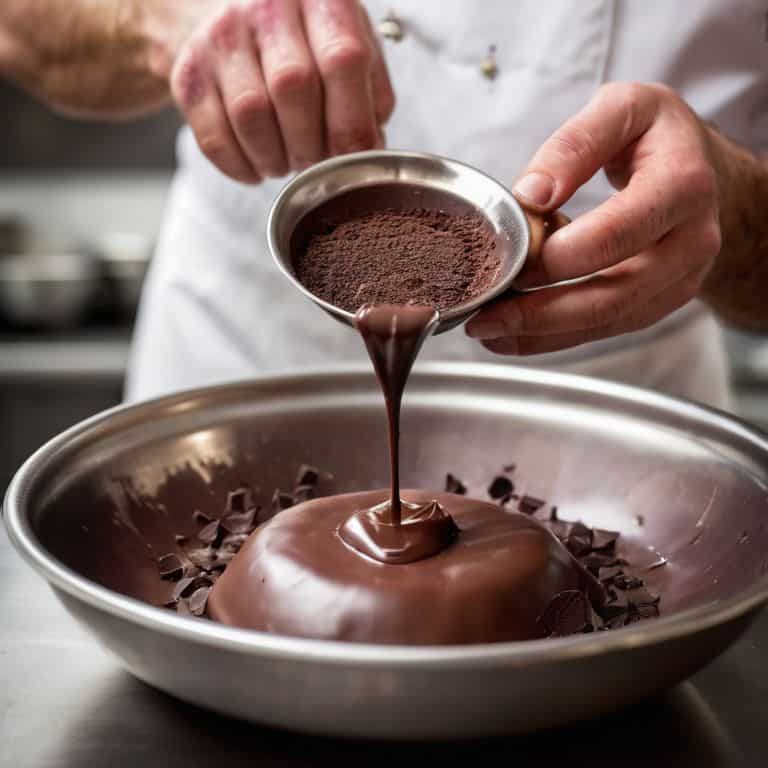
- 4. Once your chocolate has reached the correct temperature, remove it from the heat and let it cool slightly. This is where the seeding process begins. Add a small amount of already-tempered chocolate (your “seed”) to the melted chocolate and stir gently. The seed helps to introduce the desired crystal structure into the melted chocolate.
- 5. Continue to cool the chocolate to around 82°F to 86°F for dark chocolate and 80°F to 84°F for milk chocolate. This is the working temperature where you can start to work with the chocolate. You’ll know it’s ready when it starts to thicken and turns into a smooth, glossy paste. Be patient, as this process can take some time.
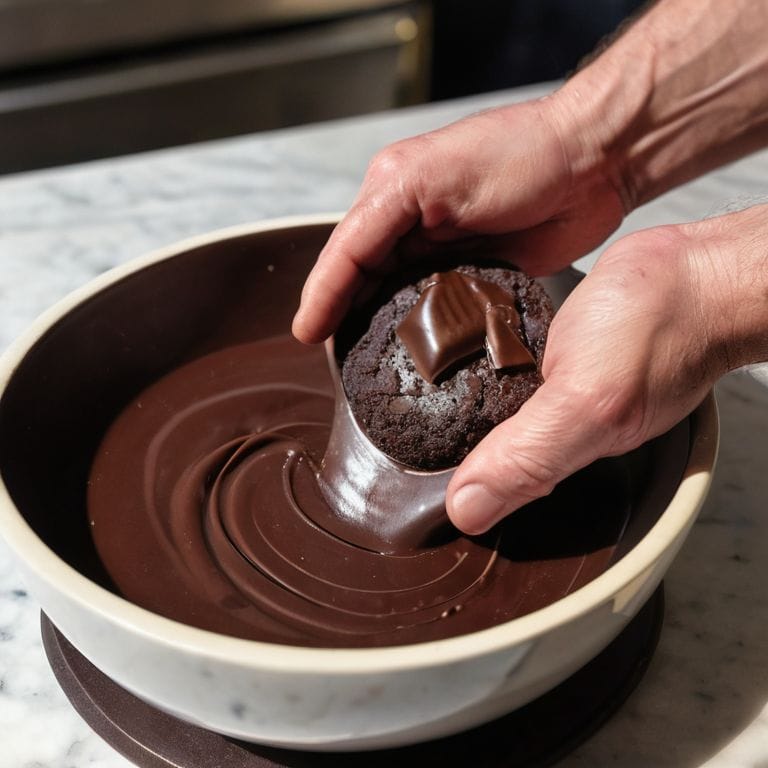
- 6. Now, it’s time to test the temper of your chocolate. You can do this by dipping a knife or spatula into the chocolate and placing it in the refrigerator for a few minutes. If the chocolate sets with a smooth, even finish and a satisfying snap when broken, then it’s tempered perfectly. If not, don’t worry, you can always reheat and reseed.
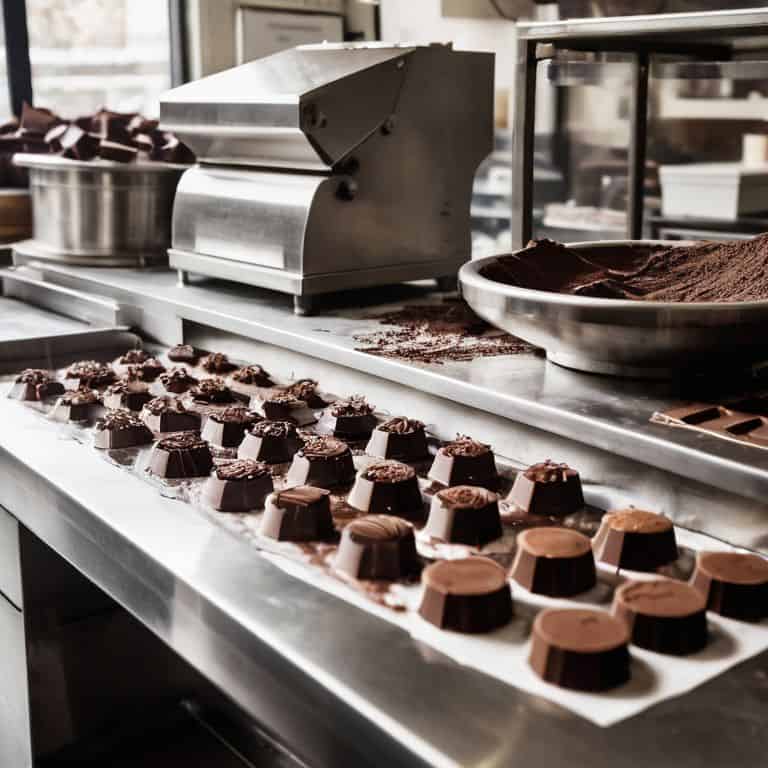
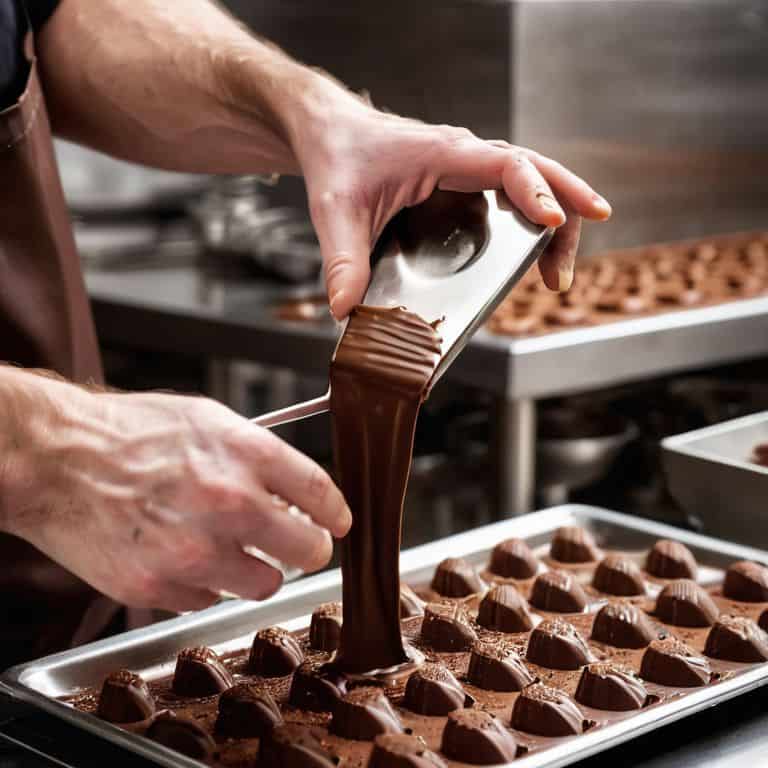
- 7. Finally, use your tempered chocolate to create your desired confections. Remember to work in a cool, dry environment to prevent the chocolate from melting or becoming too soft. With practice, you’ll become more comfortable with the seeding method and be able to temper chocolate like a pro. I always say that practice makes perfect, and tempering chocolate is no exception.
Seeding Method Secrets
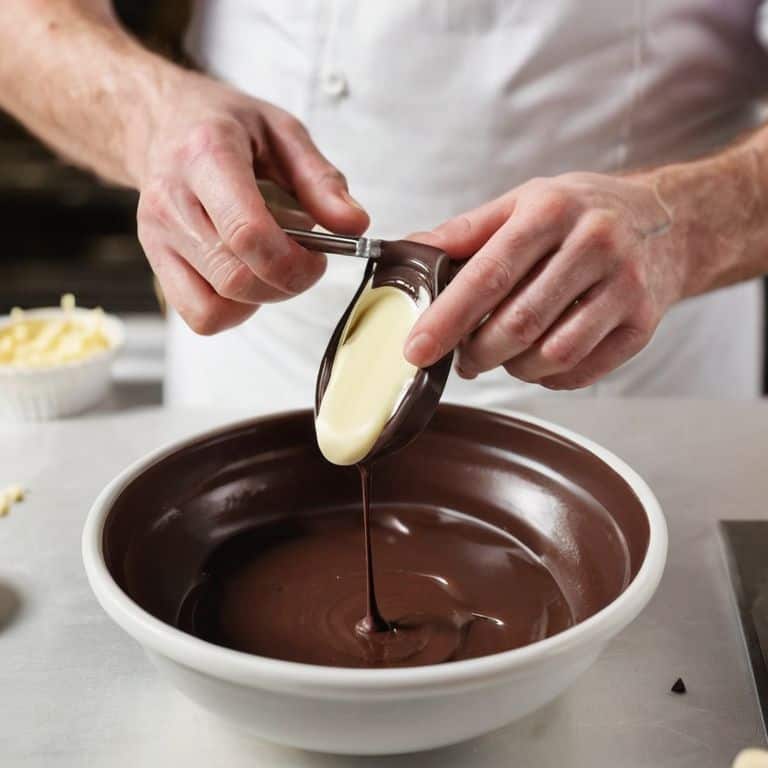
As I delve deeper into the world of chocolate tempering, I’ve come to realize that temperature control is the backbone of achieving that perfect glossy finish. When working with different chocolate types, it’s essential to understand their unique characteristics and how they respond to temperature fluctuations. For instance, I’ve found that white chocolate can be particularly finicky, requiring a more precise temperature range to temper successfully.
When comparing seeding method vs tabling method, I’ve noticed that the seeding method allows for a more nuanced approach to tempering, especially when working with high-cocoa-content chocolates. However, it’s crucial to avoid common mistakes in chocolate tempering, such as overheating or underheating the chocolate, which can lead to a dull or streaked finish. To mitigate this, I always invest in high-quality chocolate tempering tools and equipment, which provide accurate temperature readings and precise control over the tempering process.
In my experience, chocolate tempering techniques for beginners often focus on the basics of seeding and tabling, but it’s equally important to understand the importance of temperature control in chocolate making. By mastering this fundamental aspect, beginners can set themselves up for success and achieve professional-grade results. Whether you’re working with dark, milk, or white chocolate, the key to success lies in precise temperature management, which enables you to unlock the full potential of your chocolate and create truly sublime confections.
Chocolate Types Which Tempt Fate
When it comes to seeding, not all chocolates are created equal. I’ve found that high-cocoa-content chocolates, like those with 70% or higher, can be particularly finicky. Their higher cocoa butter content makes them more prone to blooming, which can be a real challenge when trying to achieve that perfect temper. On the other hand, milk chocolates with lower cocoa content can be more forgiving, but may lack the depth of flavor I crave in my creations.
I’ve had the most success with high-quality, single-origin chocolates that have a balanced cocoa butter content. These chocolates seem to respond beautifully to the seeding process, yielding a smooth, glossy finish that’s just irresistible. Of course, the type of chocolate you choose will ultimately depend on your personal taste preferences and the specific project you’re working on. But if you’re looking to push the boundaries of what’s possible with seeding, I highly recommend experimenting with a variety of high-end chocolates to find the one that works best for you.
Temperature Tango Controlling Heat
To master the seeding method, one must understand the delicate temperature tango. It’s a dance of precision, where a mere degree can make all the difference. I always say that temperature is the most important ‘ingredient’ in pastry, and when it comes to tempering chocolate, this couldn’t be more true. The ideal temperature range for seeding is between 82°F and 86°F, with the chocolate being cooled to around 82°F before seeding.
By controlling the heat, you’re essentially controlling the crystal structure of the chocolate, which in turn affects its texture and appearance. It’s a nuanced process, but one that yields sublime results when executed correctly. I can almost feel the temperature of the chocolate by instinct, a skill honed from years of working with this finicky ingredient. With practice, you’ll develop this sense too, and your chocolate creations will be all the better for it.
Tempering Triumphs: 5 Essential Tips for Mastering the Seeding Method
- I always start by selecting the finest quality chocolate, as it makes a world of difference in the tempering process – look for high-cocoa content and minimal additives
- Maintaining the ideal temperature is crucial, so invest in a reliable thermometer and aim for a working temperature between 88°F and 90°F for the best results
- Never underestimate the power of patience when it comes to seeding – it’s a slow and meditative process that requires attention to detail and a gentle touch
- Experimenting with different types of chocolate is key to finding your signature style, but remember that some chocolates are more finicky than others – keep a journal to track your progress and note what works best
- Practice, practice, practice – the more you work with the seeding method, the more intuitive it becomes, and you’ll develop a sense of how the chocolate responds to temperature and handling, allowing you to coax out its full potential
Tempering Takeaways: Mastering the Seeding Method
I’ve found that the key to successful seeding is understanding the delicate temperature dance between melting and cooling, where even a single degree can make all the difference in achieving that perfect temper.
Choosing the right type of chocolate is crucial – I always say that working with high-quality, high-cocoa-content chocolate is not just a preference, but a necessity for those silky, sublime textures that seeding can help you achieve.
Practice, as with any art, is what will ultimately set you apart as a chocolatier; I encourage you to experiment with different seeding ratios and temperatures to develop your own unique touch and style, because in the world of chocolate, perfection is truly in the details.
The Art of Seeding
Tempering chocolate is not just about melting and cooling, it’s about understanding the delicate waltz of temperatures and the whispers of the cocoa beans – the seeding method is my trusted dance partner in this sublime pursuit of perfection.
Juliette Le Roux
Mastering the Art of Seeding: A Path to Chocolate Perfection
As we conclude our journey through the seeding method for tempering chocolate, it’s essential to reiterate the importance of precision in this delicate process. We’ve covered the step-by-step guide, delved into the temperature tango, and explored how different chocolate types can impact our results. By mastering the seeding method, you’ll be able to create chocolates with a silky smooth texture that will elevate your pastries and desserts to new heights. Remember, practice makes perfect, so don’t be discouraged if it takes a few attempts to get the hang of it.
As you continue to hone your skills in the art of tempering, I encourage you to view each batch of chocolate as an opportunity to innovate and experiment. Don’t be afraid to try new flavor combinations or techniques – it’s often the unexpected twists that lead to the most sublime creations. With dedication and a passion for perfection, you’ll unlock the full potential of the seeding method and join the ranks of the world’s most skilled chocolatiers, capable of crafting truly exceptional confections that delight and inspire all who taste them.
Frequently Asked Questions
What happens if I add the seed chocolate at the wrong temperature, will it still work?
If you add seed chocolate at the wrong temperature, it can throw off the entire tempering process. I’ve seen it happen – the chocolate seizes up or becomes too soft. To avoid this, make sure your seed chocolate is within the ideal temperature range, between 80°F and 82°F. Any higher or lower, and you risk disrupting the delicate crystal structure that gives chocolate its silky sheen.
Can I use the seeding method to temper white chocolate, or is it better suited for dark or milk chocolate?
While the seeding method can be used for white chocolate, it’s more finicky due to its high cocoa butter content. I find it’s best suited for dark and milk chocolate, where the seeding process can effectively create a stable crystal structure. For white chocolate, I recommend a slightly modified approach, taking into account its unique temperature requirements.
How do I know if my seed chocolate is properly tempered before adding it to the rest of the chocolate, are there any visual cues or tests I can use?
To check if your seed chocolate is properly tempered, look for a smooth, even gloss and a crisp snap when broken. You can also perform a simple ‘thumb test’: gently touch the tempered chocolate to your thumb – if it melts slightly but retains its shape, it’s ready.