I still remember the first time I attempted to temper chocolate – it was a disaster. The what is tempering chocolate question had been haunting me for weeks, and I was determined to master the technique. However, after following a complicated online recipe, I ended up with a batch of chocolate that was more suitable for the trash can than a dessert plate. The problem was, I had fallen into the trap of overcomplicating things, believing that tempering chocolate required special equipment and magic spells.
As someone who’s spent 20 years teaching the science of baking, I’m here to tell you that tempering chocolate is not rocket science. In this article, I’ll break down the no-nonsense basics of what tempering chocolate entails, and provide you with a clear, step-by-step guide on how to achieve that perfect, smooth finish. My goal is to empower you with the knowledge to temper chocolate like a pro, without the need for fancy gadgets or confusing terminology. By the end of this journey, you’ll be able to confidently answer the question what is tempering chocolate, and more importantly, you’ll be able to do it yourself.
Table of Contents
What Is Tempering Chocolate
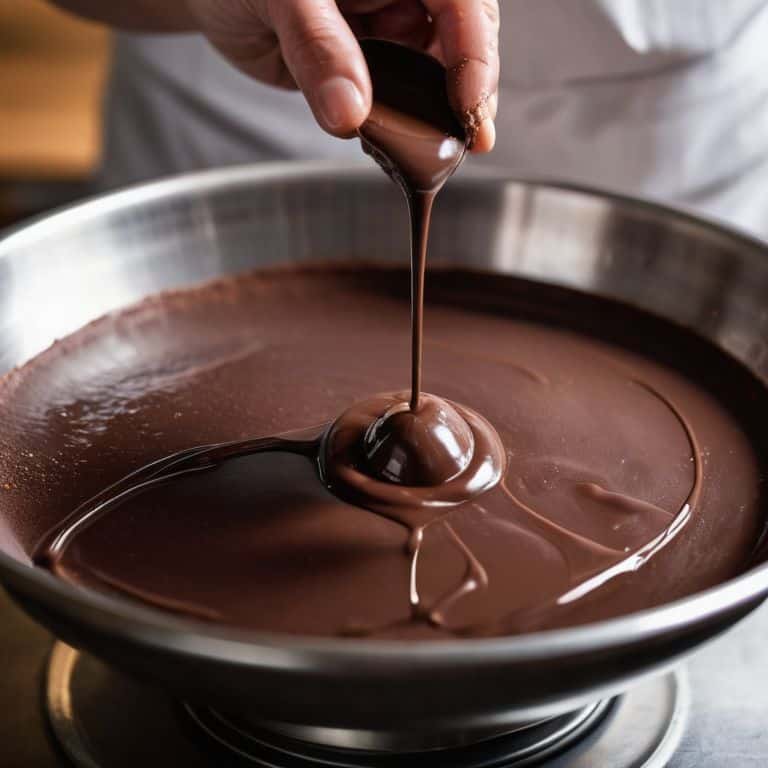
To understand chocolate crystal formation, let’s dive into the world of tempering. Tempering chocolate is a process that involves heating and cooling chocolate to create a stable crystal structure that gives it a smooth, glossy appearance and a satisfying snap when broken. This process is crucial when working with couverture chocolate, as it allows the chocolate to set properly and retain its texture.
When tempering chocolate at home, it’s essential to understand the different types of crystals that can form in chocolate. There are six different crystal forms, but only one of them – known as the beta crystal – is desirable. To achieve this crystal form, chocolate must be heated to a specific temperature, then cooled and reheated again. This process can be a bit tricky, but with practice and patience, anyone can master the art of tempering chocolate.
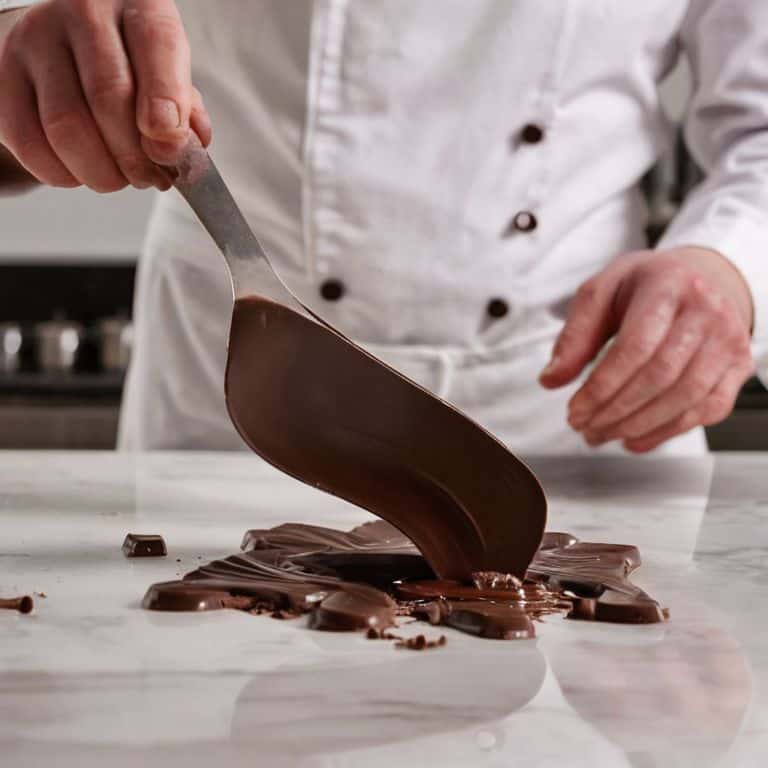
One of the most common methods for tempering chocolate is seeding chocolate for tempering, which involves adding a small amount of already-tempered chocolate to the melted chocolate to act as a “seed” for crystal formation. This method can be used in conjunction with chocolate tempering machines or done entirely by hand. By understanding the science behind tempering, you’ll be able to create beautifully tempered chocolate every time, whether you’re working with dark chocolate tempering techniques or experimenting with different types of chocolate.
Mastering Tempering Chocolate at Home
To master tempering chocolate at home, you’ll need to understand the importance of temperature control. This is crucial in creating a stable crystal structure that gives your chocolate its smooth and glossy appearance. By using a thermometer and carefully heating and cooling your chocolate, you can achieve the perfect temper.
With practice, you can develop a sense of intuitive timing, allowing you to temper chocolate like a pro. This involves paying attention to the chocolate’s texture and appearance as it cools, and being able to make adjustments on the fly to achieve the perfect temper.
The Science of Chocolate Crystal Formation
The process of tempering chocolate is deeply rooted in the science of crystal formation. When chocolate is melted, the crystals that give it its smooth and glossy appearance are broken down. To re-establish these crystals, the chocolate must be cooled and heated to a specific temperature range, allowing the crystals to reform in a stable and desirable pattern.
As the chocolate cools, the molecules begin to align and bond, forming a crystal lattice structure that is essential for a smooth and even texture. This delicate process requires precise temperature control, as well as a thorough understanding of the chocolate’s composition and properties.
Tempering Techniques Revealed
To achieve perfect chocolate crystal formation, it’s essential to understand the different tempering techniques. One popular method is seeding chocolate for tempering, which involves adding a small amount of already-tempered chocolate to the melted chocolate to act as a seed. This helps to create a stable crystal structure, resulting in a smooth and glossy finish. When working with couverture chocolate, it’s crucial to use the right tempering technique to bring out its unique flavor and texture.
When it comes to dark chocolate tempering techniques, the process can be a bit more challenging due to its higher cocoa content. However, with the right equipment, such as chocolate tempering machines, the process can be simplified. These machines use a combination of heat and agitation to create a perfectly tempered chocolate. For those tempering chocolate at home, it’s not necessary to invest in a machine, as manual tempering methods can also produce excellent results.
By mastering the art of tempering, you’ll be able to create professional-looking chocolates with a smooth and glossy finish. Whether you’re working with couverture chocolate or experimenting with different tempering techniques, the key to success lies in understanding the science behind chocolate crystal formation. With practice and patience, you’ll be able to achieve perfect tempering every time, and take your chocolate creations to the next level.
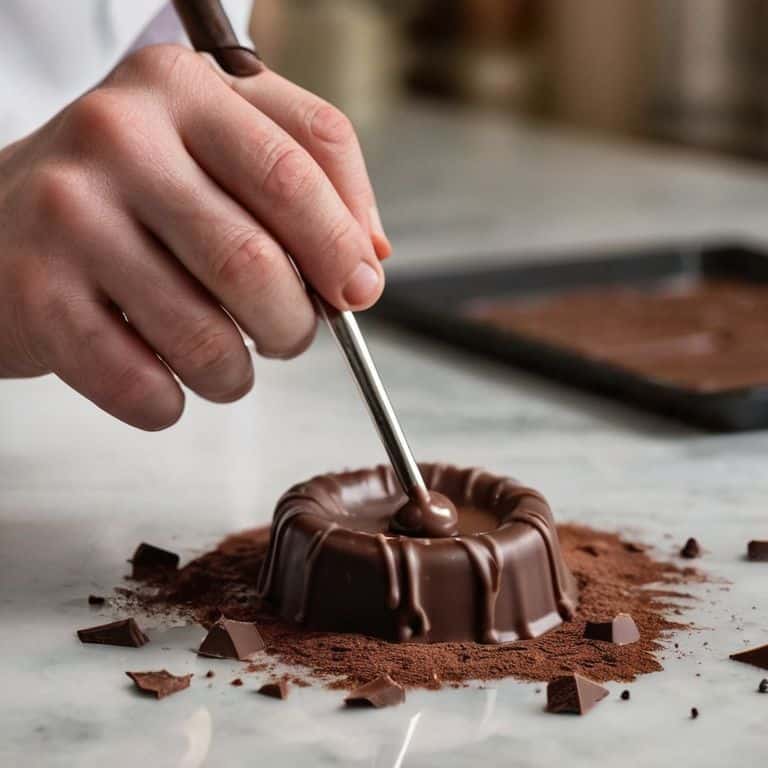
Seeding Chocolate for Smooth Dark Chocolate
To achieve that perfect, smooth dark chocolate, you need to understand the concept of seeding the chocolate. This involves introducing a small amount of already-tempered chocolate into the melted chocolate, allowing the crystals to form a stable structure. By doing so, you’re essentially giving the chocolate a blueprint to follow, ensuring that it sets with a smooth, even finish.
The key to successful seeding is to use a high-quality, tempered chocolate as the seed. This will provide the necessary crystal structure for the melted chocolate to form around, resulting in a professional-looking finish.
Working With Couverture and Tempering Machines
When working with high-quality couverture chocolate, it’s essential to understand its unique properties. This type of chocolate contains a higher percentage of cocoa butter, which affects its tempering process. To achieve the perfect temper, it’s crucial to carefully control the temperature and cooling process.
For those who want to streamline their tempering process, tempering machines can be a valuable investment. These machines can accurately control the temperature and agitation, making it easier to achieve a stable crystal structure in the chocolate.
Tempering Chocolate Like a Pro: 5 Essential Tips
- Understand the Chocolate Crystal Formation: Knowing the six different crystal forms of chocolate is crucial for successful tempering, as it allows you to manipulate the crystals to achieve the desired smooth and glossy finish
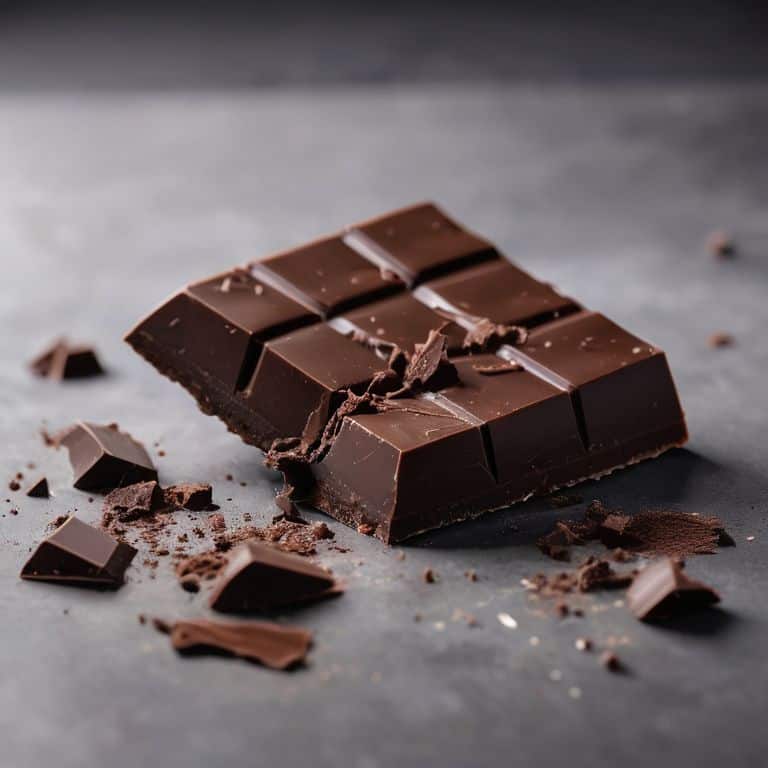
- Choose the Right Chocolate: Not all chocolates are created equal, and for tempering, you’ll want to use high-quality chocolate with a high cocoa butter content, such as couverture, for the best results
- Temperature Control is Key: Tempering chocolate requires precise temperature control, with ideal working temperatures between 82°F and 90°F (28°C and 32°C), to create the perfect crystal structure
- Seed Your Chocolate: Seeding involves adding a small amount of already-tempered chocolate to the melted chocolate to ‘seed’ the crystal formation, helping to create a stable crystal structure and ensuring a smooth finish
- Practice Makes Perfect: Tempering chocolate is an art that requires practice, so don’t be discouraged if it takes a few tries to get it right – with patience, persistence, and the right techniques, you’ll be tempering like a pro in no time
Key Takeaways for Mastering Chocolate Tempering
Understanding the science of chocolate crystal formation is crucial for successful tempering, as it allows for the creation of a stable crystal structure that gives chocolate its smooth, glossy appearance
Mastering tempering techniques, such as seeding and working with couverture, can be achieved at home with practice and the right equipment, including tempering machines for more precise control
By applying the principles of tempering and experimenting with different techniques, home bakers and chocolate makers can unlock the secrets to creating perfectly smooth, shiny, and delicious chocolate treats with confidence and precision
The Heart of Tempering
Tempering chocolate is not about following a mystical ritual, but rather about understanding the delicate dance of crystal formations that elevate chocolate from a mere ingredient to a sublime experience.
Beatrice Quinn
The Sweet Spot: Mastering Tempering Chocolate
As we’ve explored the world of tempering chocolate, it’s clear that understanding the science behind chocolate crystal formation is key to achieving that perfect, smooth finish. From the basics of seeding and working with couverture to using tempering machines, each technique plays a crucial role in mastering the art of tempering at home. By applying these principles, you’ll be well on your way to creating professional-quality chocolate treats that impress and delight.
As you continue on your tempering journey, remember that practice makes perfect. Don’t be discouraged if it takes a few tries to get the hang of it – the reward is well worth the effort. With patience, persistence, and a deep understanding of the process, you’ll unlock the secrets of tempering chocolate and discover a whole new world of possibilities for creating exquisite, mouth-watering treats that are sure to impress even the most discerning palates.
Frequently Asked Questions
What are the most common mistakes to avoid when tempering chocolate at home?
When tempering at home, beware of overheating, undercooling, and incomplete seeding, as these can lead to bloomed, streaked, or soft chocolate. Also, avoid over-tempering, which can cause chocolate to become too thick and difficult to work with. Remember, precision is key, so keep an eye on those temperatures and work patiently for perfectly tempered chocolate.
How do different types of chocolate, such as milk or white chocolate, affect the tempering process?
When it comes to tempering milk or white chocolate, the process is a bit more finicky. The added milk solids and sugar affect the crystal formation, so you’ll need to adjust the tempering temperature and time. For milk chocolate, aim for a slightly lower temperature, around 86°F to 90°F, while white chocolate requires an even lower temperature, around 82°F to 86°F, due to its higher sugar content.
Can I still achieve professional-looking results with tempered chocolate if I don't have access to a tempering machine?
Absolutely, you can still achieve professional-looking results without a tempering machine. I’ve had students who’ve mastered tempering by hand, using techniques like tabling or seeding. It requires a bit more patience and practice, but the end result is well worth the effort. With a good understanding of chocolate crystal formation and some simple tools, you can create smooth, glossy chocolate at home.