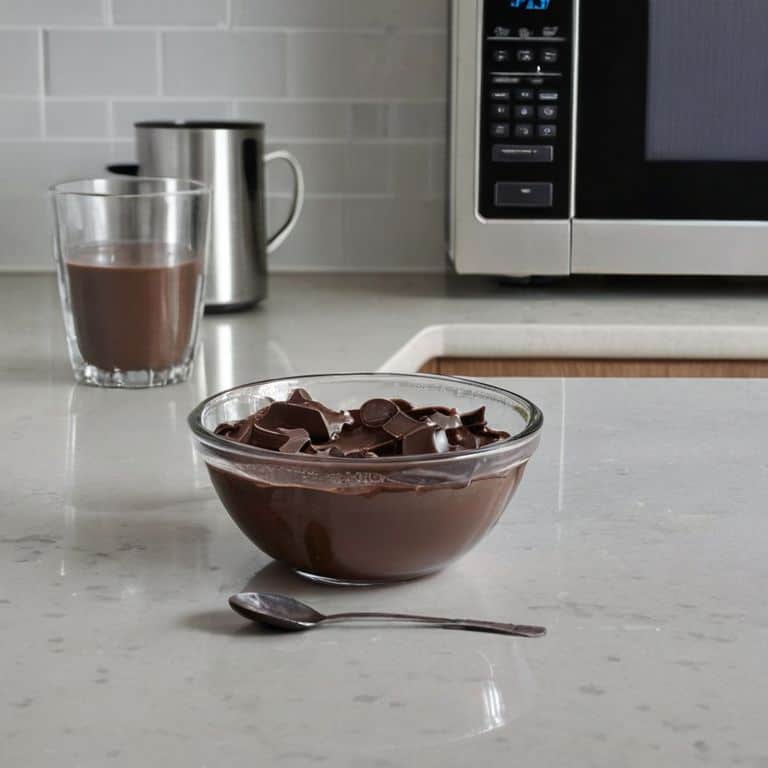
I still remember the first time I attempted to temper chocolate in the microwave – it was a disaster. The chocolate was too thick, too grainy, and completely unusable. I had been taught that tempering chocolate required a lot of equipment and precise temperature control, but I was determined to find a simpler way. That’s when I started experimenting with how to temper chocolate in the microwave, and I was amazed at how easy it could be. The common myth that you need a lot of fancy equipment to temper chocolate is just that – a myth. With a little practice and patience, you can achieve perfectly tempered chocolate using just your microwave.
In this article, I’ll share my secrets on how to temper chocolate in the microwave, and I promise you, it’s not as complicated as you think. You’ll learn the exact steps to take your chocolate from a dull, streaky mess to a smooth, glossy finish. I’ll walk you through the process, from preparing your chocolate to the final tempering stage, and provide you with practical tips to ensure success. By the end of this guide, you’ll be able to temper chocolate like a pro, and you’ll wonder how you ever managed without this simple technique. So, let’s get started and unlock the secrets of microwave chocolate tempering.
Table of Contents
Guide Overview: What You'll Need
Total Time: 10 – 15 minutes
Estimated Cost: $5 – $10
Difficulty Level: Easy
Tools Required
- Microwave (with a turntable)
- Thermometer (candy or instant-read)
- Spreader or spatula
Supplies & Materials
- Chocolate (at least 1 cup of chopped chocolate or chocolate chips)
- Heat-resistant bowl (safe for microwave use)
- Paper towels (for cleaning up any spills)
Step-by-Step Instructions
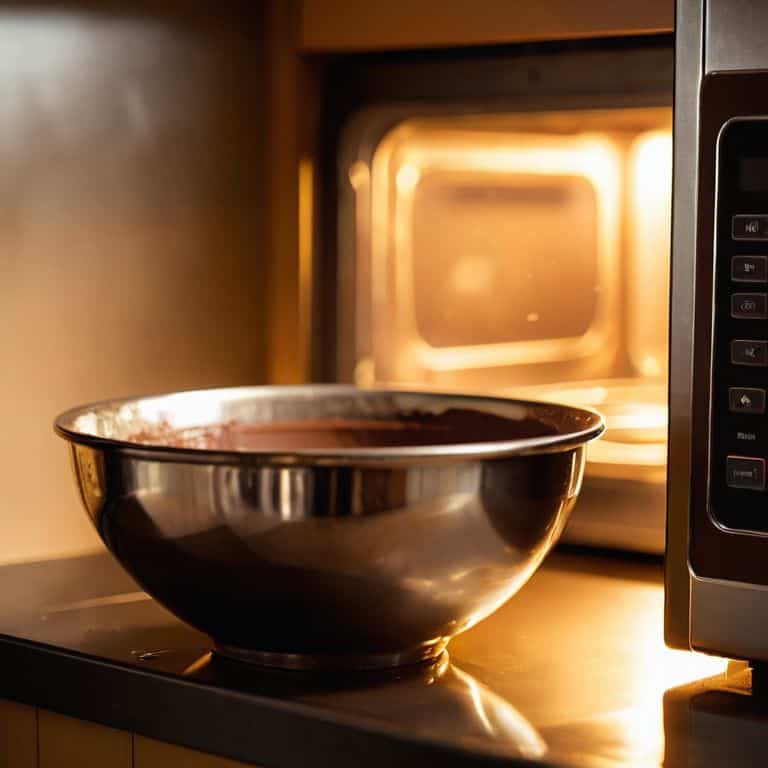
- 1. First, let’s start with the temperature control, which is crucial for tempering chocolate. To do this, you’ll need to melt about two-thirds of your chocolate in short bursts in the microwave, stirring between each interval, until it reaches around 105°F to 115°F (40°C to 46°C). This process can take anywhere from 30 seconds to 1 minute, depending on your microwave’s power level, so keep an eye on it.
- 2. Once you’ve reached the desired temperature, remove the chocolate from the microwave and let it cool slightly, until it reaches around 82°F to 86°F (28°C to 30°C). This step is all about patience, as rushing the cooling process can lead to a poor temper. Use this time to prepare your workspace and make sure all your tools are within reach.
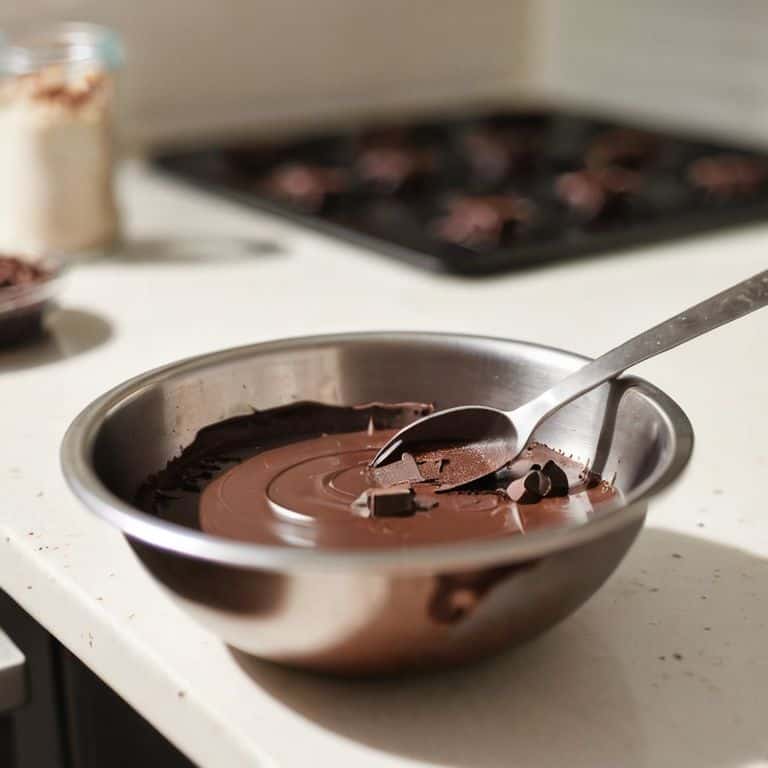
- 3. Now, it’s time to add in the remaining one-third of your chocolate, which should be in small pieces or shavings. This is known as seeding the chocolate, and it’s what will help form that perfect crystal structure we’re aiming for. Stir gently but thoroughly, making sure all the chocolate is well combined and the temperature is evenly distributed.
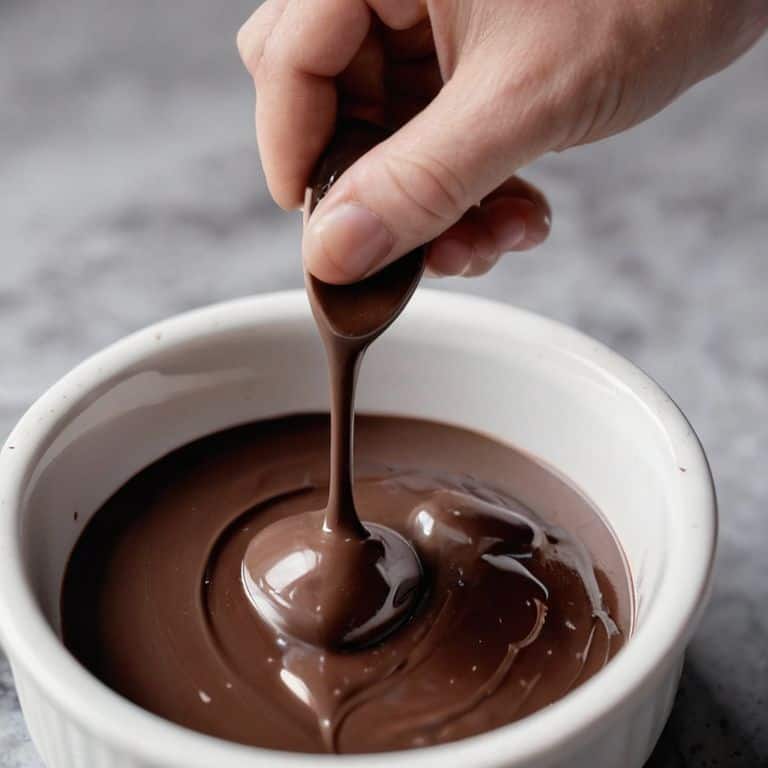
- 4. Continue stirring until the chocolate reaches your ideal working temperature, usually around 88°F to 90°F (31°C to 32°C). This is where the magic happens, and your chocolate starts to develop that smooth, glossy finish. Remember, precision is key, so don’t rush this process. Take your time, and ensure the temperature is stable before moving on.
- 5. With your chocolate now tempered, it’s time to test it. You can do this by dipping a small tool, like a knife or spatula, into the chocolate and placing it in the refrigerator for about 5 minutes. If the chocolate has tempered correctly, it should set with a smooth, even finish and a satisfying snap when broken.
- 6. Now that you’ve successfully tempered your chocolate, it’s essential to maintain the temperature to ensure it remains in its ideal working state. You can do this by placing the bowl over a pot of warm water or using a thermostatically controlled heating pad. This will keep your chocolate at the perfect temperature for molding, dipping, or whatever technique you wish to apply.
- 7. Finally, practice makes perfect, so don’t be discouraged if your first attempts at tempering chocolate in the microwave don’t yield the desired results. Each batch is an opportunity to refine your technique and understand the nuances of temperature control. With time and practice, you’ll develop the skills to temper chocolate like a pro, and your creations will be the envy of all who taste them.
Microwave Tempering Secrets
To truly master microwave chocolate tempering techniques, it’s essential to understand the nuances of chocolate’s melting points. I always stress that precision is key when working with chocolate, and this is especially true when tempering in the microwave. By carefully controlling the temperature, you can achieve a stable crystal structure that gives your chocolate its signature snap and gloss.
When it comes to small batch chocolate making, I’m a big fan of working with cocoa butter for tempering. This allows for a more precise control over the tempering process, resulting in a higher-quality finish. Additionally, using high-quality cocoa butter can elevate the flavor and texture of your chocolate, making it perfect for chocolate seeling methods at home.
For those looking to take their tempering skills to the next level, I recommend experimenting with different chocolate melting points to achieve the perfect temper. This is particularly important when tempering chocolate for cake decorating, as a well-tempered chocolate can make all the difference in the final presentation. By mastering these techniques, you’ll be well on your way to creating professional-looking desserts that are sure to impress.
Chocolate Melting Points Guide
When working with chocolate, understanding its melting points is crucial. Different types of chocolate have distinct melting points: dark chocolate typically melts between 105°F and 115°F, while milk chocolate melts at a slightly lower temperature, ranging from 100°F to 110°F. White chocolate, with its high cocoa butter content, melts at an even lower temperature, between 95°F and 105°F.
I always emphasize the importance of precision when it comes to temperature, as it directly affects the tempering process. By knowing the exact melting point of your chocolate, you can better control the tempering process, resulting in a smooth, glossy finish.
Small Batch Tempering Tips
When working with small batches, precision is key. I always say, “a little chocolate requires a lot of love.” To temper small batches in the microwave, use a reduction of the standard time intervals. For instance, if a recipe calls for 30-second increments, start with 10-15 seconds and check the chocolate’s temperature. This gentle approach prevents overheating and allows for a more controlled crystallization process.
By mastering small batch tempering, you’ll unlock the door to creating exquisite, delicate chocolate pieces. Remember, it’s all about feel and finesse. With practice, you’ll develop an intuition for the perfect temper, and your chocolate creations will shine with a professional finish.
Microwave Mastery: 5 Essential Tips for Tempering Chocolate
- Tune into the perfect temperature: I always say, temperature is the secret sauce to successful chocolate tempering – aim for a working temperature between 88°F and 90°F for the best results
- Choose your chocolate wisely: Not all chocolate is created equal, my friends – look for high-quality chocolate with a high cocoa butter content for the most stable crystals and the glossiest finish
- Don’t overheat, don’t underheat: Microwave power levels can vary, so keep an eye on your chocolate and adjust the heating time as needed – you want to melt the chocolate to around 105°F to 115°F, but no higher
- Seed your chocolate for success: Adding a small amount of already-tempered chocolate to your melted chocolate can help ‘seed’ the crystallization process, giving you a head start on achieving that perfect temper
- Work with, not against, the chocolate’s natural rhythms: Understand that chocolate tempering is all about working with the natural crystallization process – don’t rush it, and let the chocolate set and crystallize at its own pace for the best results
Microwave Tempering Takeaways
Tempering chocolate in the microwave requires precision and patience, but with the right techniques, you can achieve professional-grade results at home
Understanding the melting points of different types of chocolate is crucial for successful tempering, and a temperature-controlled approach can make all the difference
By mastering small batch tempering and experimenting with unique flavor combinations, you can take your chocolate creations to the next level and develop a signature style that sets you apart
The Art of Microwave Tempering
Tempering chocolate in the microwave is not about following a recipe, it’s about understanding the dance of temperatures and the whisper of the chocolate as it yields to perfection.
Juliette Le Roux
Mastering the Art of Microwave Tempering
As we’ve explored the world of microwave chocolate tempering, it’s essential to remember that precision is key. From understanding the chocolate melting points to applying the small batch tempering tips, each step is crucial in achieving that perfect glossy finish. By following the guide and secrets shared, you’ll be well on your way to creating professional-looking chocolates with minimal equipment. Don’t be discouraged if it takes a few attempts to get it just right – the process is as much about feeling the chocolate as it is about following a recipe.
Now, go forth and unleash your creativity! With the fundamentals of microwave tempering mastered, you can focus on the fun part: experimenting with flavors, designing unique molds, and sharing your edible artworks with loved ones. Remember, the pursuit of perfection in pastry is a journey, not a destination. As you continue to hone your skills, always keep in mind that temperature is the most important ingredient, and with practice, you’ll be tempering chocolate like a pro, every time.
Frequently Asked Questions
What happens if I overheat the chocolate in the microwave and it becomes too thick to work with?
Don’t panic, my friend! If you’ve overheated your chocolate, it’s not the end of the world. Simply re-melt it to around 105°F to 115°F, then re-temper. Alternatively, add a small amount of shortening, like cocoa butter or coconut oil, to thin it out. Remember, temperature control is key, so keep a close eye on that thermometer to avoid another mishap.
Can I use any type of chocolate for microwave tempering or are there specific types that work best?
For optimal microwave tempering, I recommend using high-quality chocolate with a high cocoa butter content, such as dark, milk, or white chocolate from renowned manufacturers. Avoid compound chocolates, as they can be tricky to temper. Look for chocolates with a high cocoa solid content, like 70% or higher, for the best results.
How do I know if my chocolate has reached the perfect temper without using a thermometer or other special equipment?
Trust your instincts and use the ‘drop test’: drop a small amount of tempered chocolate onto a cool surface. If it sets quickly with a smooth, even finish, you’ve nailed it. If it’s too soft or streaked, adjust your technique. With practice, you’ll develop a feel for perfect temper, just like I do when sculpting with chocolate.