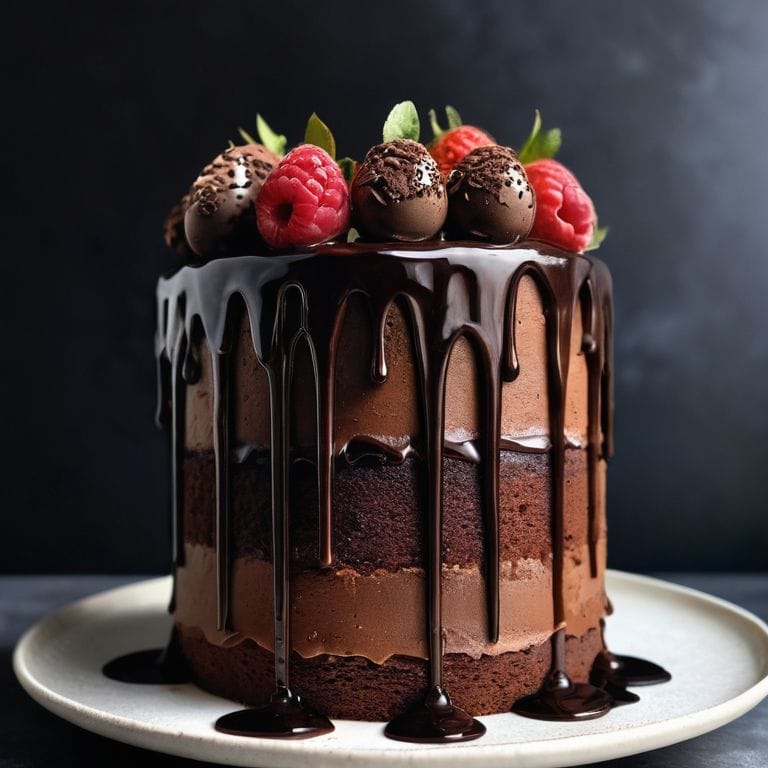
I still remember the first time I tried to master a guide to decorating with a chocolate drip – it was a disaster. The chocolate was too thick, the drip was uneven, and my beautiful cake looked like it had been attacked by a messy drizzle. But I didn’t give up. I practiced and experimented until I found the perfect technique, and now I’m excited to share my secrets with you. Decorating with a chocolate drip is all about creating a sense of elegance and sophistication, and with the right tips and tricks, you can achieve a stunning finish that will impress anyone.
In this article, I’ll take you through the step-by-step process of decorating with a chocolate drip, from preparing the perfect chocolate mixture to creating a beautiful, smooth finish. You’ll learn how to avoid common mistakes, like uneven drips and chocolate that’s too thick or too thin. By the end of this guide, you’ll have the confidence to create your own stunning chocolate drip designs, and I’ll share my favorite tips for adding a personal touch to make your cakes truly unique. Whether you’re a beginner or an experienced baker, this guide will give you the practical advice you need to take your cake decorating to the next level.
Table of Contents
- Guide Overview: What You'll Need
- Step-by-Step Instructions
- A Guide to Decorating With Chocolate Drip
- 5 Essential Tips for a Show-Stopping Chocolate Drip
- Key Takeaways for Decorating with Chocolate Drip
- The Art of Chocolate Drip
- Bringing It All Together: The Art of Chocolate Drip Decorating
- Frequently Asked Questions
Guide Overview: What You'll Need
Total Time: 1 hour 15 minutes
Estimated Cost: $15 – $30
Difficulty Level: Easy
Tools Required
- Piping Bag (for chocolate drip application)
- Offset Spatula (for smoothing chocolate)
- Measuring Cups (for accurate chocolate measurements)
- Spoon or Whisk (for mixing chocolate)
Supplies & Materials
- Milk Chocolate or White Chocolate (for drip effect)
- Heavy-Duty Tablecloth or Drop Cloth (for protecting surfaces)
- Cake or Cupcake Stand (for displaying decorated items)
- Optional Toppings (such as chopped nuts, sprinkles, or shaved chocolate)
Step-by-Step Instructions
- 1. First, let’s start with the basics: to achieve a stunning chocolate drip, you’ll need to prepare your cake. Make sure it’s completely cooled and crumb-free. I like to give my cakes a quick once-over with a soft brush to remove any stray crumbs that might interfere with the chocolate.
- 2. Next, melt your chocolate. Now, I know what you’re thinking – what type of chocolate should I use? For a drip, you want a chocolate with a high cocoa content, as it will give you a richer, more vibrant color. I recommend using a dark or semi-sweet chocolate for the best results.
- 3. While your chocolate is melting, prepare your workspace. Cover your surface with parchment paper or a silicone mat to catch any stray drips. Trust me, you don’t want to be scrubbing chocolate stains out of your countertop later. I also like to have a few extra tools on hand, like a spatula and a spoon, to help me control the flow of the chocolate.
- 4. Once your chocolate is melted and smooth, it’s time to start drizzling. Begin by holding your spoon or spatula close to the cake and gently pouring a small amount of chocolate onto the surface. Let gravity do the work – don’t try to force the chocolate to drip, just let it flow naturally. You can always adjust the flow by tilting the cake or using your spatula to guide the chocolate.
- 5. As the chocolate starts to set, use your spatula or spoon to create texture and interest on the surface of the cake. You can swirl the chocolate, create patterns, or even add a few decorative elements like chopped nuts or sprinkles. This is where you can really get creative and make your cake unique.
- 6. Now, here’s where things can get a little tricky: achieving the perfect drip effect. To get those beautiful, long drips, you’ll want to make sure your chocolate is still warm and fluid. If it starts to cool and thicken, you can always re-melt it or add a little more chocolate to thin it out. Practice makes perfect, so don’t be discouraged if it takes a few tries to get the hang of it.
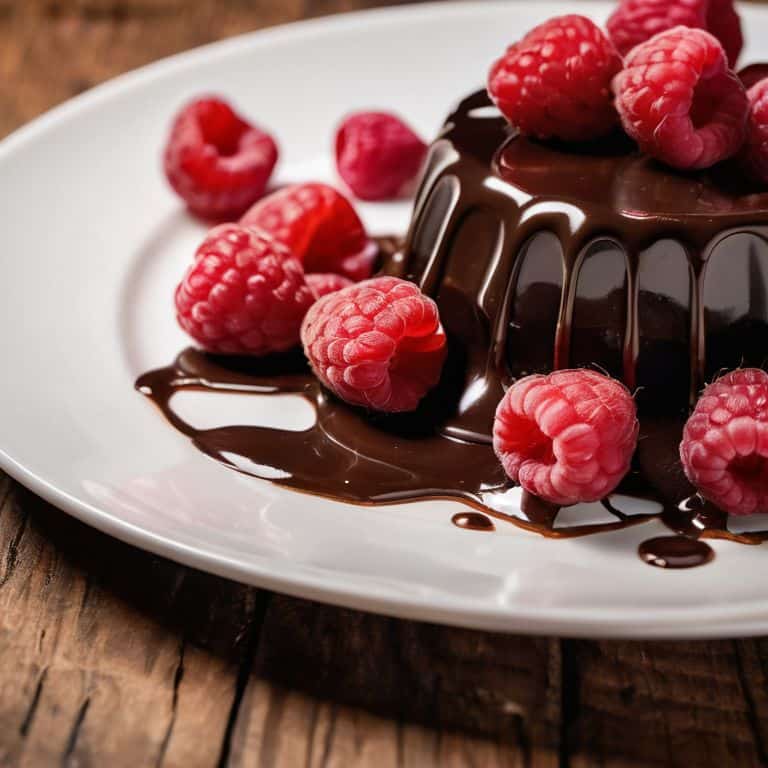
- 7. Finally, let your cake set completely before serving. This will give the chocolate time to harden and set, making it easier to slice and serve. And when you do slice into that beautiful, chocolate-drenched cake, the oohs and aahs will be well worth the effort. I like to add a few fresh flowers or greenery to the top of the cake for a pop of color and extra visual interest.
A Guide to Decorating With Chocolate Drip
As I always say, the devil is in the details, and when it comes to chocolate drip cake designs, it’s all about the finesse. To achieve a smooth, velvety finish, make sure your chocolate is at the right temperature – not too hot, not too cold. This will ensure a seamless drip effect that’s both elegant and captivating. I also like to experiment with edible gold leaf decoration to add a touch of luxury to my creations.
When working with chocolate, it’s essential to have the right tools at your disposal. I swear by candy melts for cake decorating, which can be melted and molded to create intricate designs and patterns. For a pop of color and whimsy, consider creative ways to use sprinkles to add texture and visual interest to your cake. Whether you’re a beginner or a seasoned pro, the key is to have fun and experiment with different techniques until you find what works best for you.
To take your cake decorating to the next level, try pairing your chocolate drip with a macaron tower decoration idea or a delicate sprinkle of edible glitter. And don’t forget to perfect your chocolate ganache recipe for decorating – it’s the foundation upon which your entire design is built. With practice and patience, you’ll be creating stunning, Instagram-worthy cakes in no time, and the joy of seeing your creations come to life is truly the greatest reward.
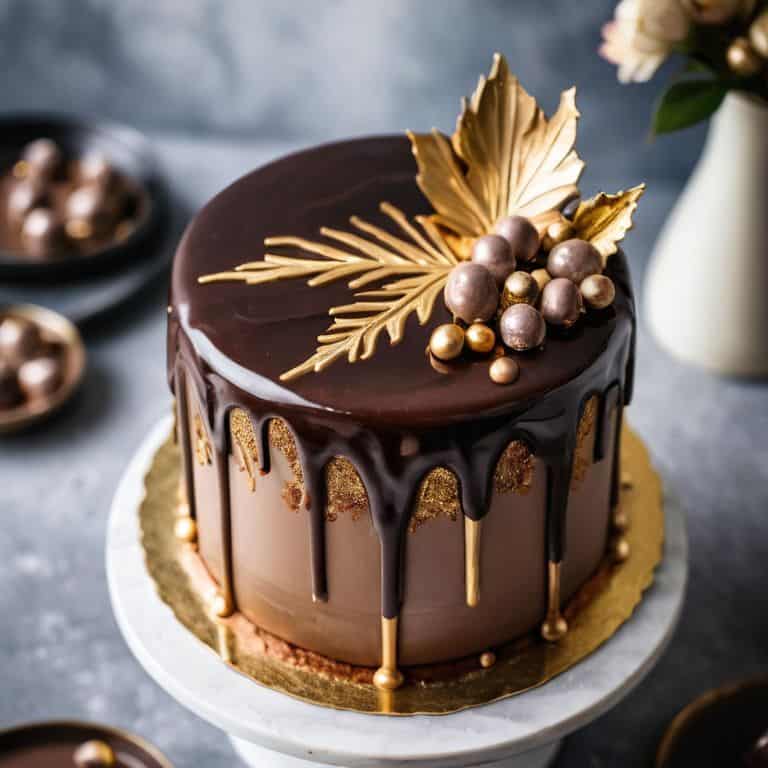
Elevating With Edible Gold Leaf Decoration
To take your chocolate drip cake to the next level, consider adding a touch of luxury with edible gold leaf decoration. This elegant detail can instantly elevate the overall aesthetic of your design, making it perfect for special occasions or celebrations. I adore using edible gold leaf to add subtle accents, such as delicate patterns or intricate designs, which can be applied to the chocolate drip itself or used to embellish surrounding decorations.
When working with edible gold leaf, remember that a little goes a long way – a small, delicate touch can be far more effective than over-embellishing. By combining the richness of chocolate with the sophistication of gold, you’ll create a truly show-stopping cake that’s sure to impress.
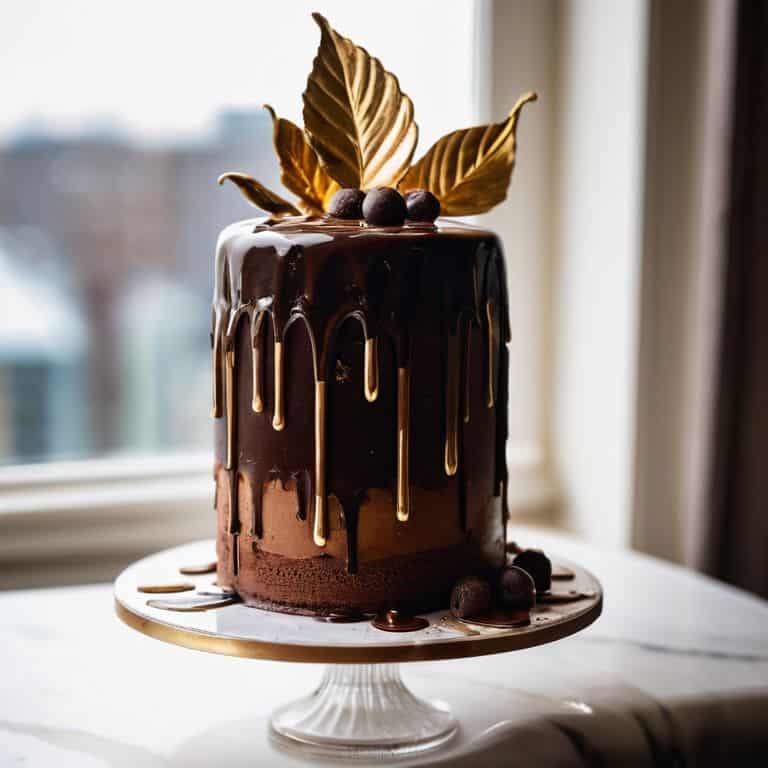
Mastering Chocolate Drip Cake Designs
To truly master chocolate drip cake designs, it’s all about experimentation and having fun. I love playing around with different temperatures and viscosities to achieve unique, velvety-smooth drips. Remember, practice makes perfect, so don’t be discouraged if your first attempts don’t turn out exactly as you envisioned. With time and patience, you’ll develop an eye for the perfect drip.
As you become more confident in your chocolate drizzling skills, feel free to get creative with colors, flavors, and patterns. Try pairing rich, dark chocolate with vibrant sugar flowers or delicate, hand-piped borders for a stunning contrast. The possibilities are endless, and that’s what makes mastering chocolate drip cake designs so exhilarating!
5 Essential Tips for a Show-Stopping Chocolate Drip
- Let your chocolate set: allowing it to cool and thicken will give you a more controlled drip, making it easier to achieve those gorgeous, velvety lines
- Experiment with temperatures: the ideal temperature for your chocolate drip will depend on the type of chocolate you’re using, so don’t be afraid to play around until you find your sweet spot
- Don’t over-drip: it’s easy to get carried away with the drama of a chocolate drip, but remember, sometimes less is more – a subtle drizzle can be just as effective as a heavy pour
- Balance your design: a chocolate drip can be a stunning focal point, but make sure to balance it out with other elements, like fresh flowers or a sprinkle of edible gold dust, to create a visually appealing cake
- Practice, practice, practice: like any skill, mastering the art of the chocolate drip takes time and practice, so don’t be discouraged if it doesn’t come out perfectly on the first try – keep at it, and you’ll soon be a pro
Key Takeaways for Decorating with Chocolate Drip
Remember, the key to a stunning chocolate drip is in the temperature and consistency of your chocolate – too hot and it’ll be too runny, too cold and it won’t flow smoothly, so find that perfect balance for a flawless finish.
Experimenting with different types of chocolate can dramatically change the look and feel of your drip – from dark and mysterious to light and playful, the choice is yours and can completely transform your cake’s personality.
Don’t be afraid to get creative and add extra embellishments like edible gold leaf, fresh flowers, or even hand-painted details to turn your chocolate drip cake into a true masterpiece that reflects your unique style and flair.
The Art of Chocolate Drip
A chocolate drip is not just a design element, it’s a storytelling tool – every delicate trickle and pool of chocolate is a brushstroke on the canvas of your cake, waiting to be interpreted and admired.
Chloé Dubois
Bringing It All Together: The Art of Chocolate Drip Decorating
As we’ve explored the world of chocolate drip decorating, I hope you’ve gained a deeper understanding of how to elevate your cakes with this simple yet powerful technique. From mastering the perfect chocolate consistency to adding luxurious touches like edible gold leaf, we’ve covered the essential steps to create stunning, professional-looking desserts. Remember, the key to achieving a beautiful chocolate drip is in the details, from the temperature of your chocolate to the angle of your drizzle. By paying close attention to these elements, you’ll be well on your way to crafting cakes that are almost too beautiful to eat.
As you continue to experiment and refine your chocolate drip skills, I encourage you to think of this technique as a launching point for your creativity. Don’t be afraid to push the boundaries of what’s possible with chocolate and cake decorating. With practice and patience, you’ll develop your own unique style and voice, and your cakes will become true works of art. So go ahead, get creative, and watch your bakes transform into breathtaking masterpieces that inspire and delight all who see them.
Frequently Asked Questions
What type of chocolate is best for creating a smooth and even drip on my cake?
For a silky smooth drip, I swear by high-quality dark or semi-sweet chocolate with a high cocoa butter content. It melts beautifully and sets with a gorgeous sheen. Look for chocolate with at least 70% cocoa solids for the best results – trust me, it makes all the difference in achieving that perfect, velvety drip!
How do I prevent the chocolate drip from hardening too quickly, so I have time to create the desired design?
To prevent the chocolate drip from hardening too quickly, I swear by using a warm water bath or a thermometer to keep it at the perfect temperature. This gives me a beautiful, smooth flow that’s easy to work with, and all the time I need to create intricate designs.
Can I color the chocolate drip to match my cake's theme, and if so, what are some tips for achieving the perfect shade?
Absolutely, you can tint your chocolate drip to match your cake’s theme. I love experimenting with different hues. To achieve the perfect shade, start with a small amount of gel or paste food coloring and mix it into your melted chocolate, adjusting as needed until you reach your desired color. It’s all about subtle nuances, so don’t be afraid to play and find the perfect match!