As I sit in my cozy studio, surrounded by half-finished watercolor paintings and the soft glow of natural light, I often think about what makes a cupcake truly special. For me, it’s all about the details – the delicate swirl of buttercream, the precision of a perfectly placed fondant decoration. That’s why I’m excited to share with you a guide to fondant cupcake toppers, a topic that’s near and dear to my heart. I’ve seen so many bakers struggle with working with fondant, but with the right techniques and a little patience, you can create stunning masterpieces that will elevate your baked goods to the next level.
In this article, I’ll be sharing my honest, no-hype advice on how to create beautiful fondant cupcake toppers that will make your treats stand out. You’ll learn the essential tips and tricks for working with fondant, from preparing the perfect consistency to crafting intricate designs. Whether you’re a beginner or an experienced baker, my goal is to empower you with the skills and confidence to turn your cupcakes into works of art. So, let’s get started on this creative journey together, and discover the joy of transforming ordinary cupcakes into extraordinary ones with the help of fondant cupcake toppers.
Table of Contents
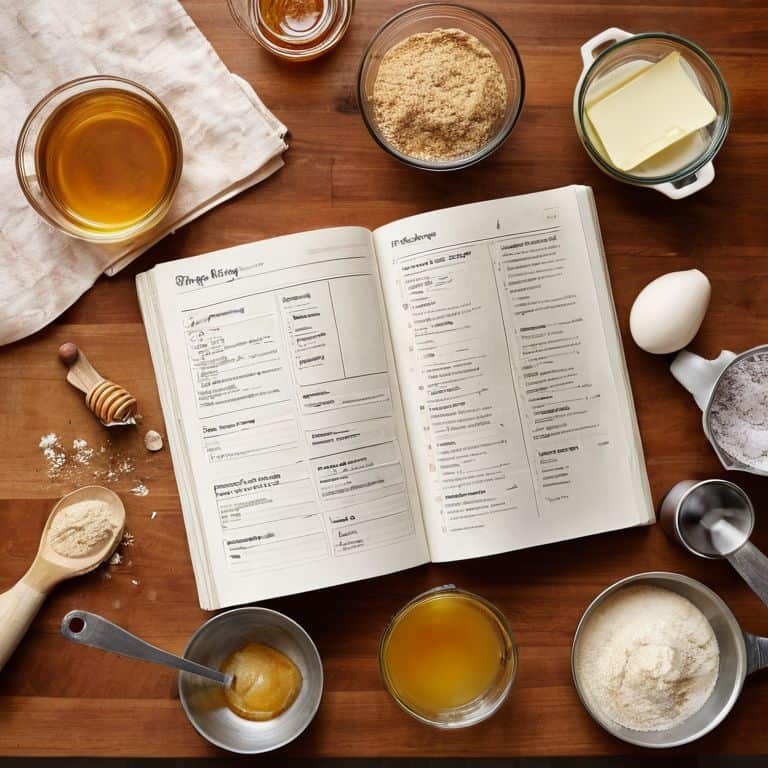
Guide Overview: What You'll Need
Total Time: 1 hour 15 minutes
Estimated Cost: $10 – $20
Difficulty Level: Intermediate
Tools Required
- Fondant Smoother for smoothing out fondant
- Rolling Pin for rolling out fondant to desired thickness
- Cookie Cutters various shapes and sizes for cutting out fondant designs
- Piping Bag for creating details and borders
- Piping Tips various sizes for creating different effects
Supplies & Materials
- Fondant various colors
- Gum Paste for creating delicate details
- Food Coloring for customizing fondant colors
- Confectioners Sugar for dusting work surface
- Cupcakes for topping with fondant designs
Step-by-Step Instructions
- 1. To start creating your fondant cupcake toppers, gather your essential tools and materials, including fondant in your desired colors, a fondant smoother, a ball tool, and a cupcake to decorate. Make sure your workspace is clean and lightly dusted with cornstarch or powdered sugar to prevent the fondant from sticking.
- 2. Color your fondant if necessary, by kneading in a few drops of food coloring until the color is evenly distributed. This step is crucial for achieving the desired hue for your toppers. Remember to wear gloves to prevent staining your hands.
- 3. Roll out your colored fondant to the desired thickness, usually around 1/8 inch, using a fondant roller or a pasta machine. If you don’t have either, a rolling pin will also work. The goal is to achieve a smooth, even surface for your designs.
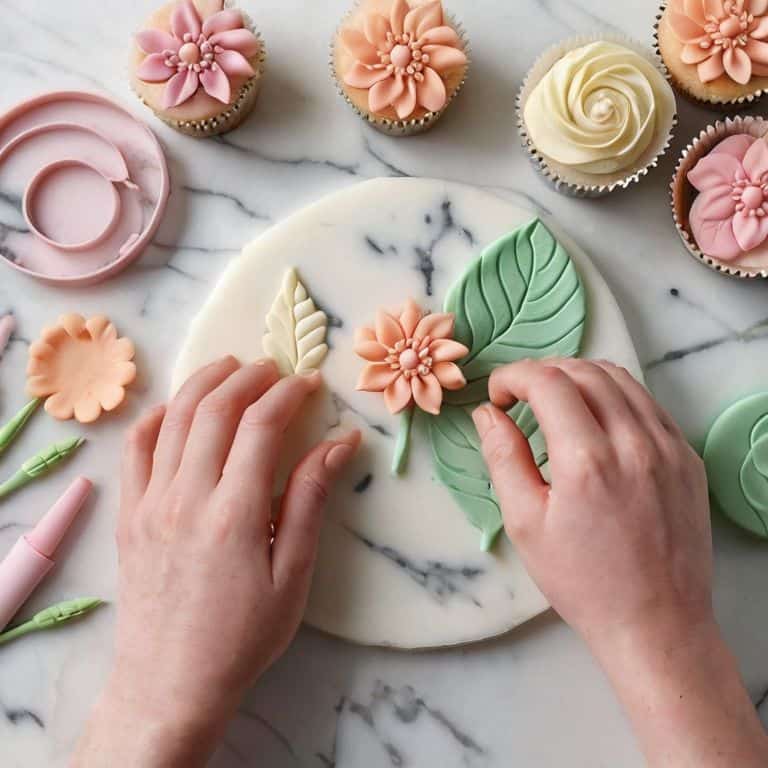
- 4. Use various fondant tools or household items like cookie cutters, shape cutters, or even the rim of a glass to cut out shapes for your toppers. For more intricate designs, you can use a fondant cutter or a sharp knife. Always cut on a surface that is lightly dusted with cornstarch to prevent the fondant from tearing.
- 5. Once you have your shapes cut out, it’s time to add details and textures. You can use a toothpick to create patterns, a fondant mold to add intricate designs, or a brush to paint on details with edible paint. This step allows you to personalize your toppers and make them truly unique.
- 6. To assemble your topper, apply a small amount of edible glue or water to the back of your fondant shape and gently place it on top of your cupcake. Make sure it’s centered and even. If your topper is heavy or large, you might need to use a toothpick to support it, but make sure to remove the toothpick before serving.
- 7. Finally, finish with a flourish by adding any final decorations, such as dusting with powdered sugar, adding small fondant decorations, or using a piping bag to create borders around the base of your topper. This is your last chance to make your cupcake topper truly special, so don’t hesitate to get creative.
A Guide to Fondant Cupcake Toppers
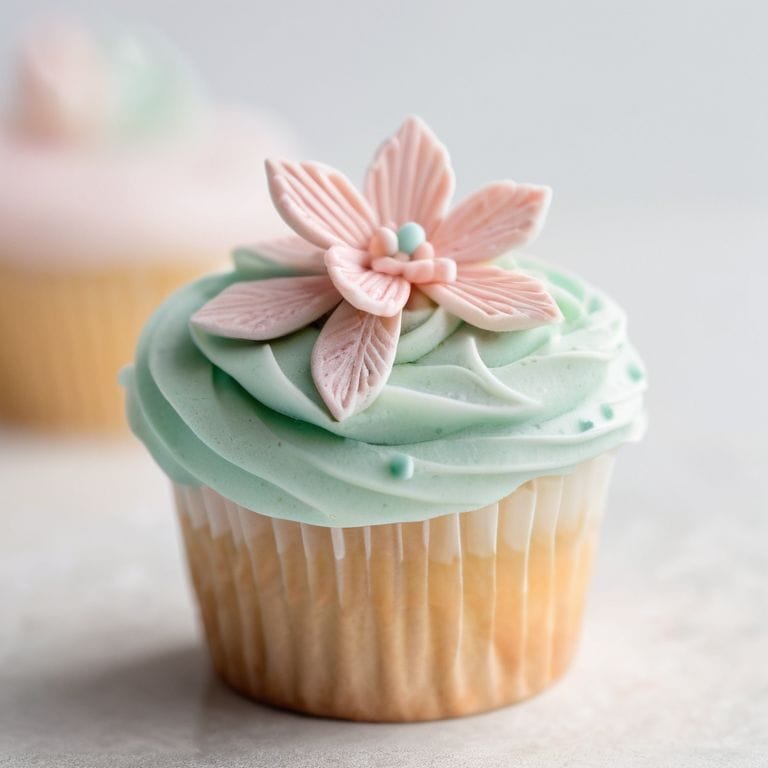
As I delve into the world of fondant, I’m reminded of the countless fondant molding techniques that can elevate a simple cupcake into a masterpiece. One of my favorite tips is to experiment with easy fondant shapes for beginners, such as hearts, stars, or flowers, to create a beautiful and delicate design. These shapes can be used to create intricate patterns or as a standalone decoration, adding a touch of elegance to any cupcake.
When it comes to decorating cupcakes for kids, I love to get creative with cupcake decorating ideas for kids. Fondant is a great medium for this, as it can be colored and molded into various shapes and designs that kids will love. For example, you can create fondant animals, shapes, or even tiny food items like fruits or vegetables. This not only makes the cupcakes more appealing to kids but also adds an element of fun to the decorating process.
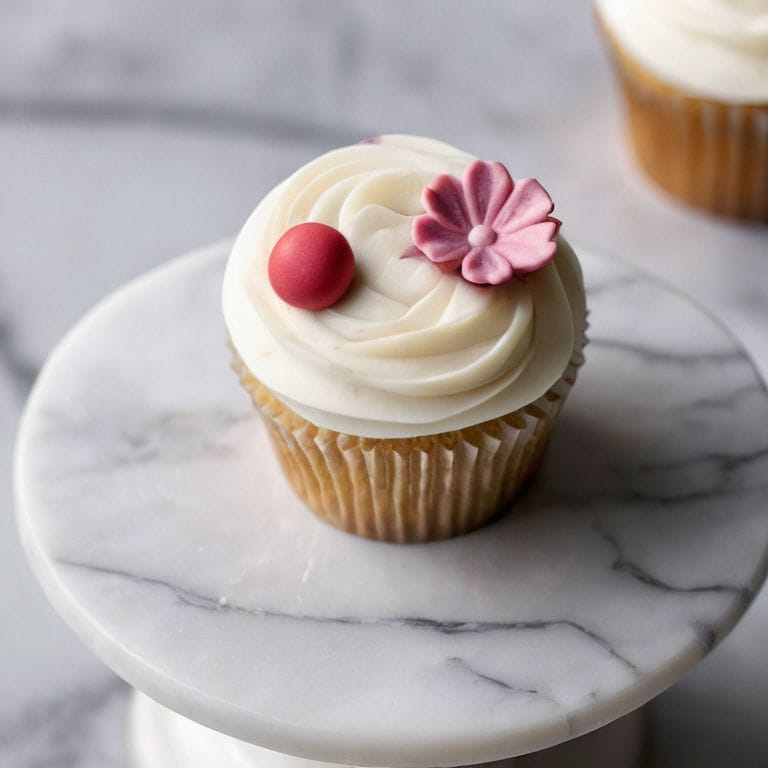
To take your cupcake decorating to the next level, consider fondant coloring and painting tips. By adding a few drops of food coloring to your fondant, you can create a wide range of colors and shades to match your desired theme or design. You can also use paint or dust to add subtle details and textures to your fondant creations, giving them a more realistic and nuanced look.
Easy Fondant Shapes and Designs
To create beautiful fondant cupcake toppers, it’s essential to start with simple shapes and designs. I love beginning with classic forms like spheres, ovals, and teardrops, which can be molded into adorable characters or decorative elements. For instance, a small sphere of fondant can become a cute bunny face, while an oval can transform into a delicate leaf.
As you gain confidence, you can experiment with more intricate designs, such as stripes, polka dots, or even intricate florals. Remember, the key to working with fondant is to have fun and be patient. Don’t be afraid to try new things and make mistakes – they can often lead to unexpected and exciting results! With a little practice, you’ll be crafting stunning fondant shapes and designs that will elevate your cupcakes to the next level.
Fondant Molding Techniques for Beginners
As we dive into the world of fondant, it’s essential to master the basics of molding. For beginners, I recommend starting with simple shapes like spheres, cylinders, and teardrops. These foundational forms will help you develop the necessary skills to create more intricate designs. To achieve a smooth, even texture, make sure to knead your fondant until it’s pliable and easy to work with.
When molding, remember to work gently yet firmly, using your fingertips to coax the fondant into the desired shape. Don’t be afraid to experiment and try new things – it’s all part of the creative process! With a little practice, you’ll be crafting beautiful, delicate fondant decorations to adorn your cupcake toppers.
Elevating Your Cupcake Game: 5 Essential Tips for Fondant Perfection
- Prepare your fondant by kneading it until it’s smooth and pliable, making it easier to shape and mold into intricate designs
- Choose the right fondant tools, such as ball tools, veining tools, and modeling tools, to create textures and patterns that add depth and visual interest
- Experiment with different fondant colors and combinations to create unique and personalized designs that match your theme or occasion
- Don’t be afraid to add imperfections and organic touches to your fondant designs, as these can often add character and whimsy to your cupcake toppers
- Practice, practice, practice – the key to mastering fondant is to keep working with it, and don’t be discouraged if your early attempts don’t turn out as expected, as every mistake is an opportunity to learn and improve
Bringing It All Together: 3 Essential Takeaways
As you master the art of fondant cupcake toppers, remember that practice is key to achieving smooth, even finishes and intricate designs that will elevate your baked goods to new heights
Experimenting with different fondant molding techniques and shapes can help you develop a unique style that sets your creations apart and makes them truly unforgettable
Whether you’re a beginner or an experienced baker, the world of fondant cupcake toppers is full of endless possibilities, so don’t be afraid to push the boundaries of your creativity and try new things – it’s all part of the fun
The Art of Fondant
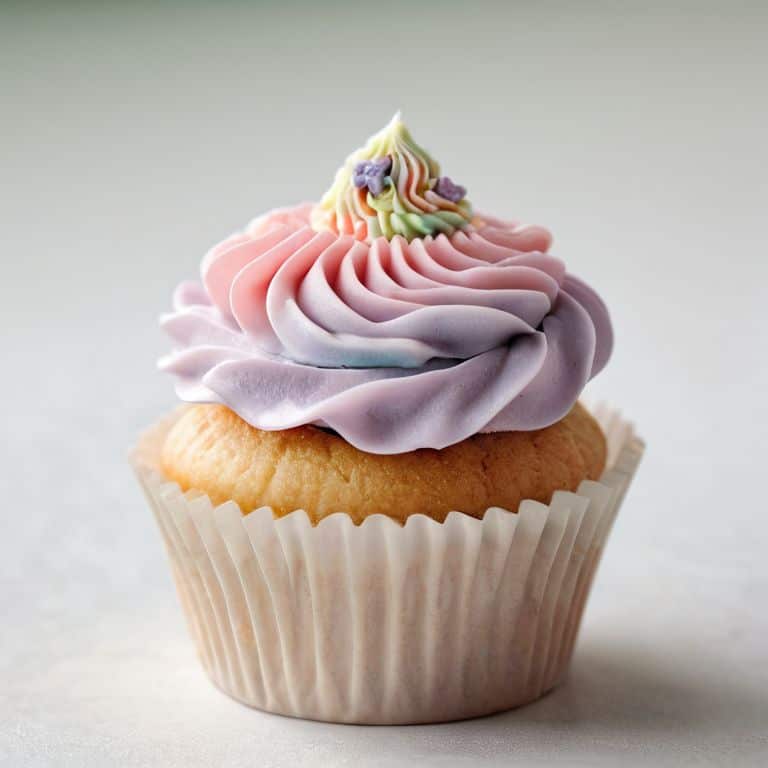
As I always say, the right fondant topper can transform a simple cupcake into a masterpiece, and it’s not just about the design, but about the story it tells and the joy it brings to those who behold it.
Chloé Dubois
Bringing Your Cupcake Creations to Life
As we conclude this guide to fondant cupcake toppers, remember that the key to mastering these adorable decorations lies in practicing your fondant molding techniques and experimenting with easy fondant shapes and designs. Don’t be afraid to try out new tools, colors, and textures to make your cupcake toppers truly unique. With these skills, you’ll be well on your way to creating stunning cupcake displays that will impress friends and family alike. Whether you’re a beginner or an experienced baker, the art of adorning cupcakes with fondant is a fun and rewarding process that can add an extra layer of magic to any celebration.
As you continue on your cupcake decorating journey, always keep in mind that the possibilities are endless, and the most important thing is to have fun and be creative. Don’t be too hard on yourself if your early attempts don’t turn out as expected – every mistake is an opportunity to learn and grow. With patience, persistence, and a willingness to experiment, you’ll soon be crafting fondant cupcake toppers that are almost too beautiful to eat. So go ahead, get creative, and make those cupcakes shine!
Frequently Asked Questions
What are some common mistakes to avoid when working with fondant for cupcake toppers?
When working with fondant, I’ve found that common mistakes include overworking the fondant, which leads to tears and cracks, and not allowing it to set properly, causing it to become too soft or fragile. Also, be gentle when handling fondant details to prevent breakage, and make sure your workspace is clean and dry to avoid sticking and mess.
How do I achieve a smooth finish on my fondant cupcake toppers?
To achieve a smooth finish on your fondant cupcake toppers, gently knead the fondant until it’s pliable, then use a fondant smoother or your fingertips to even out the surface. For a flawless finish, I like to add a light dusting of cornstarch and use a small ball tool to buff out any imperfections.
Can I color my own fondant or is it better to buy pre-colored fondant for specific designs?
While pre-colored fondant is convenient, I love experimenting with coloring my own fondant. It allows for unique shades and hues. You can use gel or paste food coloring to tint your fondant, but be cautious not to add too much, as it can become too soft or sticky.