As I stood in my kitchen, surrounded by the gentle chaos of sugar and flour, I couldn’t help but think about the countless times I’ve been asked for a guide to stacking a tiered cake. It’s a question that never gets old, and one that I’m more than happy to answer. You see, I’ve always believed that the art of stacking a tiered cake is not just about stability and structure, but about creating a visual masterpiece that takes your breath away. It’s a delicate balance of form and function, where every detail matters, from the placement of each tier to the delicate swirls of buttercream that hold it all together.
In this article, I promise to share my honest, no-hype advice on how to create a stunning tiered cake that’s sure to impress. I’ll take you through the process, step by step, and show you how to overcome common obstacles and achieve a smooth, flawless finish. Whether you’re a beginner or an experienced baker, my goal is to empower you with the skills and confidence to create a show-stopping tiered cake that’s truly a work of art. So, let’s get started on this journey together, and discover the joy of creating something truly beautiful, one tier at a time.
Table of Contents
Guide Overview: What You'll Need
Total Time: 2 hours 30 minutes
Estimated Cost: $50 – $100
Difficulty Level: Intermediate
Tools Required
- Turntable for displaying and decorating the cake
- Cake Stand for supporting each tier
- Offset Spatula for spreading and smoothing frosting
- Piping Bag for creating borders and designs
- Cake Leveler for ensuring each tier is level
Supplies & Materials
- Cake Boards one for each tier, approximately 6 inches in diameter
- Frosting enough to cover and decorate the cake
- Cake Dowels for supporting each tier
- Dowel Rods approximately 12 inches long
- Edible Decorations such as sprinkles, flowers, or borders
Step-by-Step Instructions
- 1. First, let’s prepare our cakes for stacking by making sure they are completely cooled and crumb-free. This is a crucial step, as we want a smooth finish on our final tiered cake. I like to use a turntable to spin my cakes and inspect them for any crumbs or imperfections.
- 2. Next, we need to level our cakes to ensure they are even and stable. I use a cake leveler to remove any doming or unevenness, and then I place the cakes on a flat surface to check that they are perfectly level. This is where the magic begins, and our cakes start to transform into a stunning tiered masterpiece, with each cake serving as a foundation for the next.
- 3. Now it’s time to prepare our frosting or buttercream for stacking. I like to use a high-quality buttercream that is easy to work with and provides a strong bond between the cakes. I color my buttercream to match the theme of my cake, and then I fill a piping bag with the buttercream to use as “glue” between the cakes.
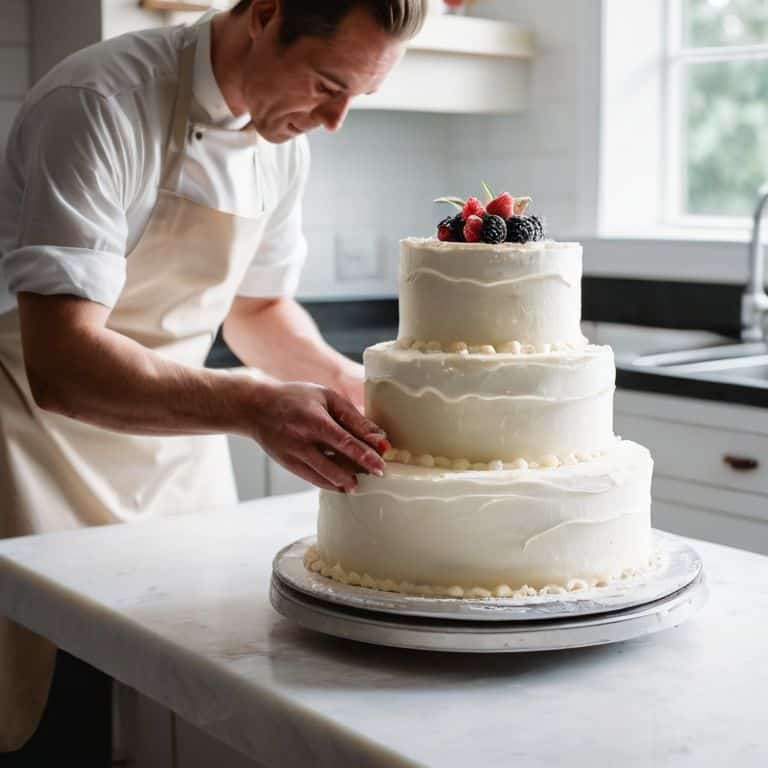
- 4. With our cakes leveled and our buttercream ready, it’s time to start stacking. I begin by placing a small amount of buttercream on the top of the bottom cake, and then I gently place the next cake on top. I use a gentle touch to ensure that the cakes are aligned properly and that the buttercream is evenly distributed.
- 5. As we continue to stack our cakes, it’s essential to use dowels or cake supports to ensure that the cakes are stable and secure. I insert the dowels into the cake, making sure they are evenly spaced and that the cake is level. This provides a stable base for the next cake, and it helps to prevent the cakes from toppling over.
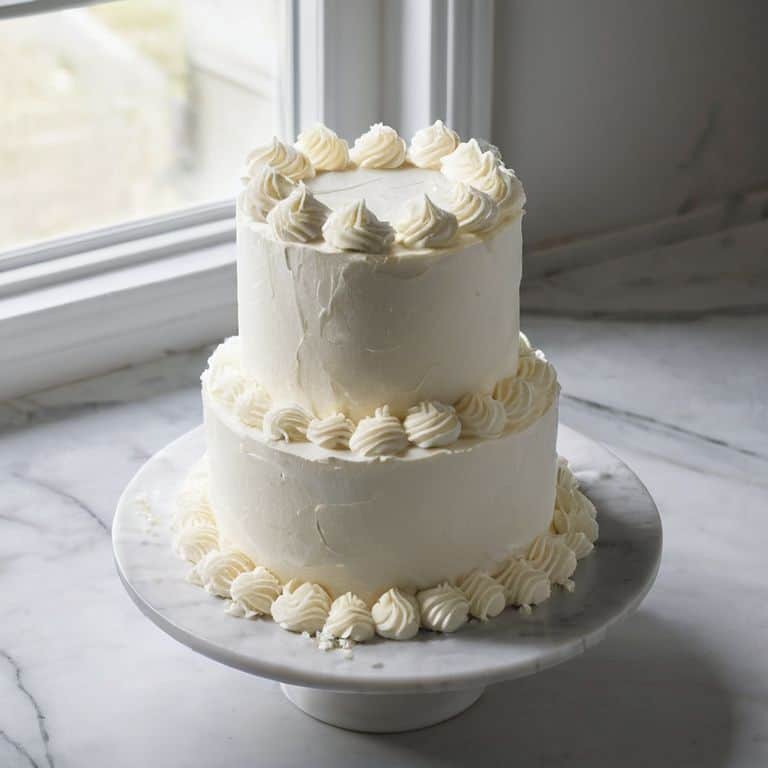
- 6. Once we have stacked all of our cakes, it’s time to add the final touches. I use a thin layer of buttercream to cover any gaps or imperfections between the cakes, and then I smooth out the buttercream to create a seamless finish. I also add any decorative elements, such as sugar flowers or piping, to complete the look of our tiered cake.
- 7. Finally, we need to allow our tiered cake to set before serving. I like to place the cake in the refrigerator for at least 30 minutes to allow the buttercream to firm up and the cakes to settle. This helps to prevent the cakes from shifting or toppling over, and it ensures that our masterpiece is secure and stable.
A Guide to Stacking Tiered Cakes
As I always say, the key to a stunning tiered cake design inspiration lies in the details. When it comes to stacking, it’s essential to consider the overall structure and engineering of your masterpiece. A sturdy foundation is crucial, and that’s why I recommend using a high-quality frosting that provides the right amount of support. In my experience, a classic buttercream or a light ganache work beautifully for tiered cakes.
For those just starting out with cake stacking techniques for beginners, I want to reassure you that it’s all about practice and patience. Don’t be discouraged if your first attempts don’t turn out as expected – it’s all part of the learning process. To avoid common mistakes in stacking cakes, make sure to level each tier carefully and use a turntable to ensure even distribution of weight. This will help you achieve a flawless, professional-looking finish.
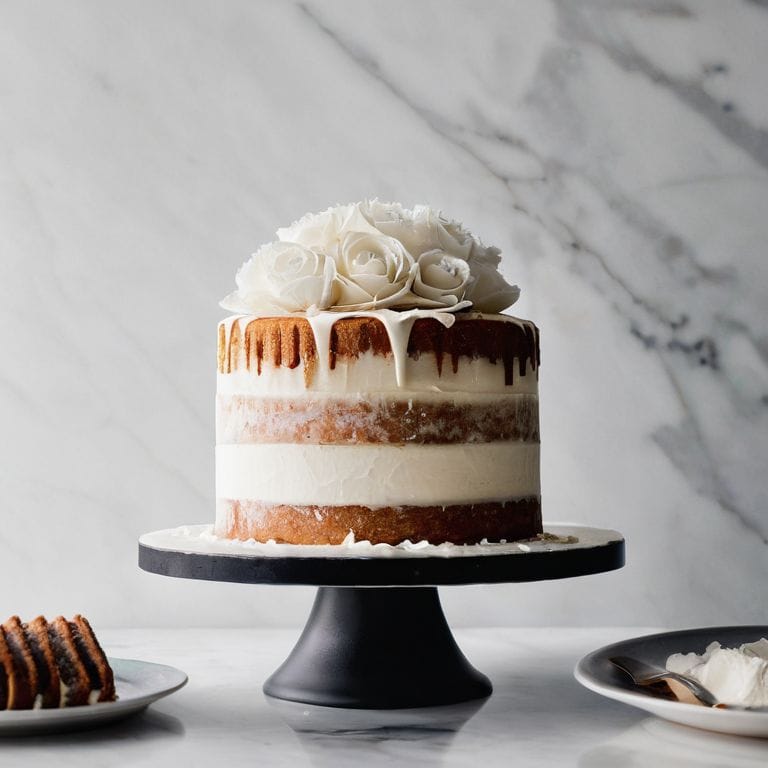
When it comes to decorating your tiered cake, the possibilities are endless. I love experimenting with different tiered cake decoration ideas, from delicate sugar flowers to intricate piping designs. Remember, the best frosting for tiered cakes is one that not only tastes amazing but also provides a smooth, pliable surface for your creative expression. With a little imagination and the right techniques, you’ll be creating breathtaking tiered cakes that are almost too beautiful to eat!
Mastering Cake Stacking Techniques for Beginners
As a beginner, it’s essential to start with a strong foundation. I recommend practicing with small, single-tier cakes before moving on to multi-tiered masterpieces. This will help you develop the necessary skills and confidence to tackle more complex designs. When stacking, remember to apply even pressure and use a turntable to ensure your cake is level and evenly balanced.
To achieve a seamless transition between tiers, focus on creating a smooth, consistent buttercream finish. I like to use a small offset spatula to fill any gaps and create a clean line where the tiers meet. With patience and practice, you’ll be stacking like a pro in no time!
Tiered Cake Design Inspiration Uncovered
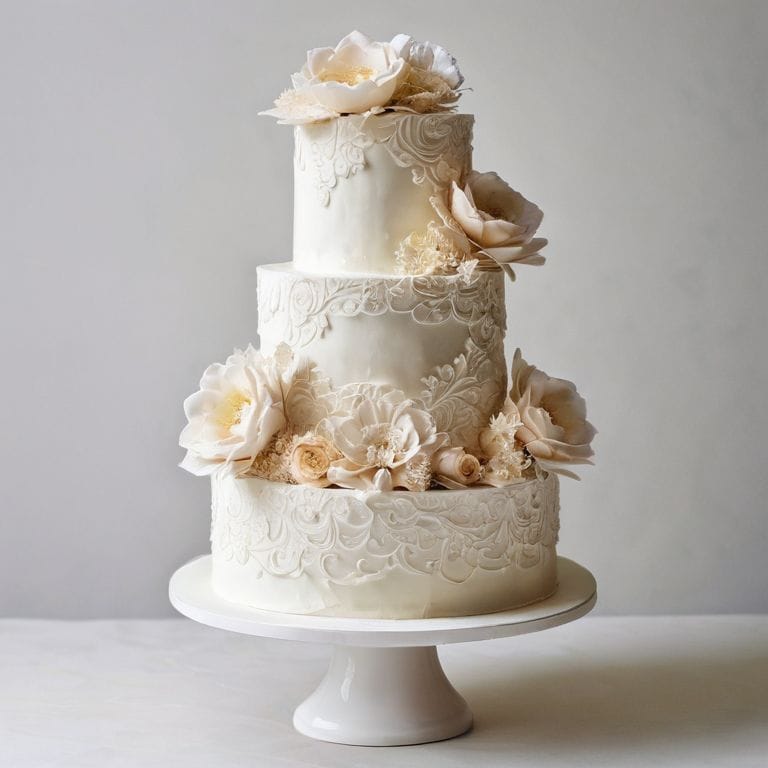
As I delve into the world of tiered cake design, I find myself drawn to the elegance of simplicity. A well-crafted tiered cake is not just about stacking layers, but about creating a cohesive visual narrative. I often find inspiration in the delicate petals of flowers or the soft hues of a watercolor painting. These elements can be beautifully incorporated into the design, adding a touch of whimsy and sophistication.
For me, the key to designing a stunning tiered cake lies in balance and harmony. I consider the shape, size, and color of each tier, as well as the overall theme and aesthetic I want to achieve. Whether it’s a classic, modern, or rustic design, the goal is to create a visually appealing masterpiece that showcases the beauty of each individual element, from the delicate sugar work to the perfectly placed cake stand.
Elevating Elegance: 5 Essential Tips for Stacking a Tiered Cake
- Choose the right cake boards and dowels to ensure stability and support for each tier, just like I do when I’m preparing for a big wedding cake order
- Level each tier meticulously to prevent any wobbling or leaning, a trick I learned from my days as a sugarcraft student
- Apply a thin layer of buttercream or ganache to the top of each tier to create a strong bond between the cakes, it’s a technique that’s served me well over the years
- Use a turntable to easily access and decorate all sides of the cake, I swear by mine when I’m working on intricate designs
- Finish with a delicate touch, adding fresh flowers or sugar decorations to create a polished, professional look that’s sure to impress your friends and family
Elevating Your Cake Game: 3 Key Takeaways
Stacking a tiered cake is all about balance and harmony – remember to choose cakes of varying sizes that complement each other in both texture and design to create a visually stunning masterpiece
Perfecting the art of tiered cake stacking requires patience, precision, and a gentle touch – don’t be afraid to experiment with different stacking techniques and cake designs until you find the one that works best for you
From elegant weddings to intimate gatherings, a beautifully stacked tiered cake can be the crowning jewel of any celebration – with practice and creativity, you can turn any ordinary cake into an extraordinary showstopper that leaves a lasting impression on your guests
Elevating Elegance
The art of stacking a tiered cake is not just about stability, but about creating a visual symphony that elevates the entire celebration – it’s where engineering meets elegance, and every delicate detail tells a story.
Chloé Dubois
Elevating Your Creations to New Heights
As we conclude this guide to stacking a tiered cake, let’s take a moment to reflect on the journey. We’ve covered the essential steps, from preparing your cakes to the final touches of decoration. Remember, the key to a stunning tiered cake is in the details, such as ensuring each tier is level and securely stacked. By mastering these techniques, you’ll be well on your way to creating breathtaking cakes that impress and inspire.
Now, as you embark on your own cake decorating adventures, I encourage you to think outside the box and push the boundaries of creativity. Don’t be afraid to experiment with new designs, flavors, and decorations. With practice and patience, you’ll develop your own unique style, and your cakes will become true works of art that bring joy to all who see them. Happy decorating, and I look forward to seeing your creations!
Frequently Asked Questions
What are the most common mistakes to avoid when stacking a tiered cake?
When stacking a tiered cake, I see many beginners make the same mistakes – uneven cake layers, insufficient support, and rushed assembly. To avoid these pitfalls, take your time, ensure each layer is perfectly level, and use sturdy dowels for support. A little patience and attention to detail will make all the difference in creating a stunning, stable masterpiece.
How do I ensure that my tiered cake is level and stable?
To ensure your tiered cake is level and stable, I swear by using a turntable and a spirit level. Gently place each tier on the turntable, checking the level as you go, and make any necessary adjustments. It’s all about patience and precision, my friends!
Can I use any type of cake recipe for a tiered cake, or are there specific recipes that work best?
While you can use various cake recipes, I recommend opting for denser, moister cakes like pound cake or carrot cake, as they provide a sturdy base for tiered designs. Avoid delicate or crumbly textures, like angel food or sponge cake, as they may not hold up well to stacking and decorating.