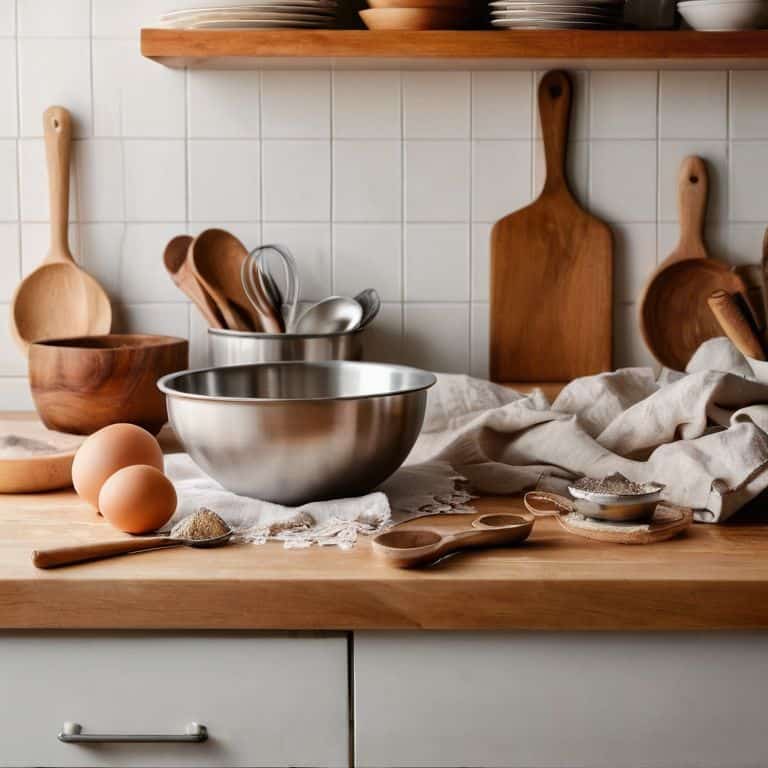
I still remember the first time I attempted to decorate a cake – it was a disaster. The frosting was too runny, the designs were uneven, and the whole thing looked like a mess. But that’s when I realized that learning how to decorate a cake isn’t just about following a recipe, it’s about understanding the art of transformation. It’s about taking a plain, ordinary cake and turning it into a stunning masterpiece that evokes emotions and sparks joy. As someone who’s passionate about watercolor painting and visiting botanical gardens, I’ve always been drawn to the creative process of cake decorating. My own journey with cake decorating began when I started experimenting with unique cake stands and realizing that the stand is just as important as the cake itself.
In this article, I’ll share my personal approach to how to decorate a cake, with a focus on simple, yet effective techniques that will help you achieve professional-looking results. I’ll guide you through the process of creating beautiful, modern designs that are perfect for any occasion. From preparing the perfect frosting to adding delicate sugar petals, I’ll provide you with practical tips and tricks to help you overcome common challenges and unleash your creativity. Whether you’re a beginner or an experienced baker, my goal is to inspire you to see cake decorating as an accessible art form that can be learned and enjoyed by anyone. By the end of this article, you’ll have the confidence to turn any cake into a showstopper, and I’m excited to share my knowledge with you.
Table of Contents
Guide Overview: What You'll Need

Total Time: 1 hour 30 minutes
Estimated Cost: $20 – $40
Difficulty Level: Intermediate
Tools Required
- Turntable (for easy cake display)
- Offset Spatula (for frosting and smoothing)
- Piping Bag (with various tips)
- Measuring Cups (for accurate ingredient measurement)
- Electric Mixer (for mixing batter and frosting)
Supplies & Materials
- Cake Mix (or ingredients for homemade cake)
- Frosting (various flavors and colors)
- Decorative Tips (for piping borders and designs)
- Edible Decorations (such as sprinkles, candies, or fresh flowers)
- Cake Boards (12 inches in diameter, for cake support)
Step-by-Step Instructions
- 1. First, let’s start with the basics: preparing our cake for decoration. This involves allowing the cake to cool completely, then leveling it to ensure it’s even and stable. I like to think of this step as the foundation of our masterpiece, where a sturdy base is essential for the beauty that’s to come.
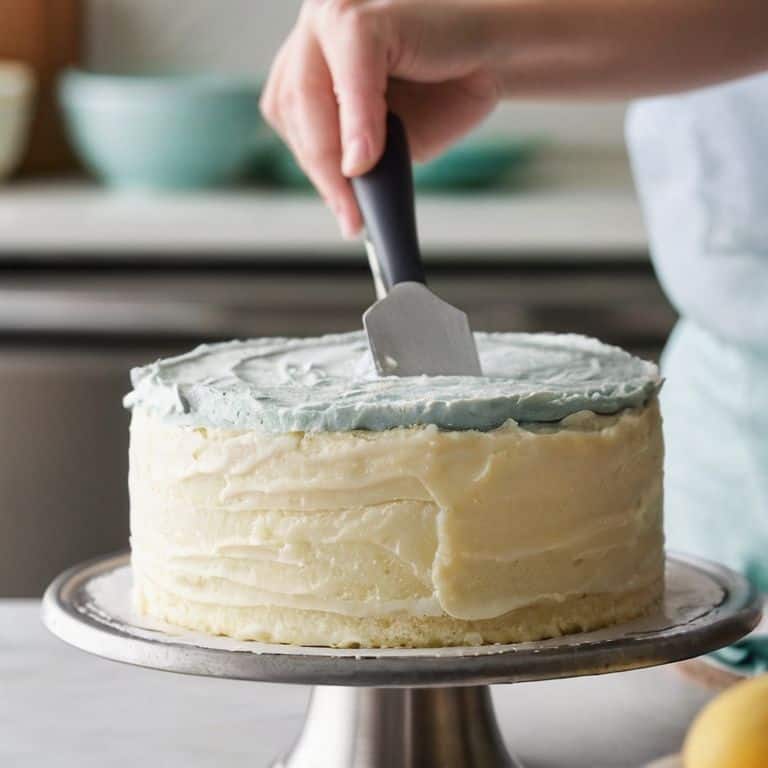
- 2. Next, we’ll be applying a thin layer of buttercream to the entire cake. This is known as the “crumb coat,” and its purpose is to trap any loose crumbs, preventing them from getting stuck in our final layer of frosting. It’s a bit like applying a primer to a canvas before painting – it helps everything adhere smoothly and evenly.
- 3. Now, it’s time to add our final layer of buttercream. This is where the magic happens, and our cake starts to look like a real showstopper. I recommend using a turntable to display your cake, as it allows you to easily access all sides and ensures your design is symmetrical. Remember, the key to a smooth finish is to work in small sections, using long, sweeping motions with your spatula.
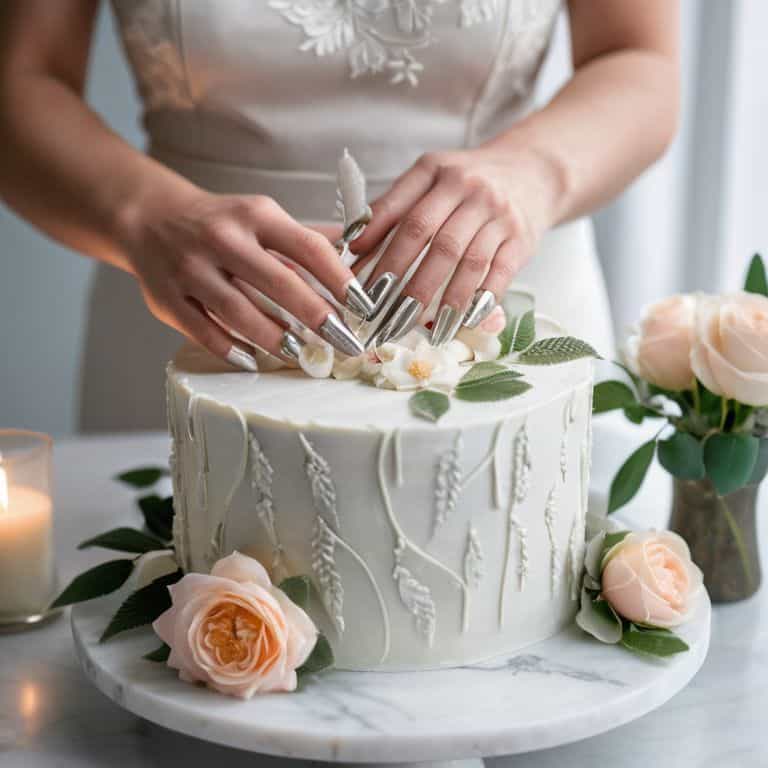
- 4. With our cake fully frosted, we can move on to the fun part: adding decorations. For me, this often involves creating realistic sugar flowers. To do this, you’ll need a few basic tools, such as a petal veiner and a ball tool. These help to create the delicate, natural curves of real flower petals, adding an extra touch of elegance to our design.
- 5. Once our sugar flowers are complete, it’s time to arrange them on the cake. This is a step where less is often more. Don’t be afraid to leave some blank space – it can be just as beautiful as the decorations themselves. Consider the overall balance of your design, ensuring that no one area is too cluttered or overwhelming.
- 6. To add an extra touch of personality to our cake, we can incorporate some unique elements, such as fresh flowers, greenery, or even edible decorations like sprinkles or candies. The key is to choose items that complement our overall design, rather than overpowering it. For instance, if you’re using bold, bright flowers, you might opt for a more subtle sprinkles pattern to avoid clashing.
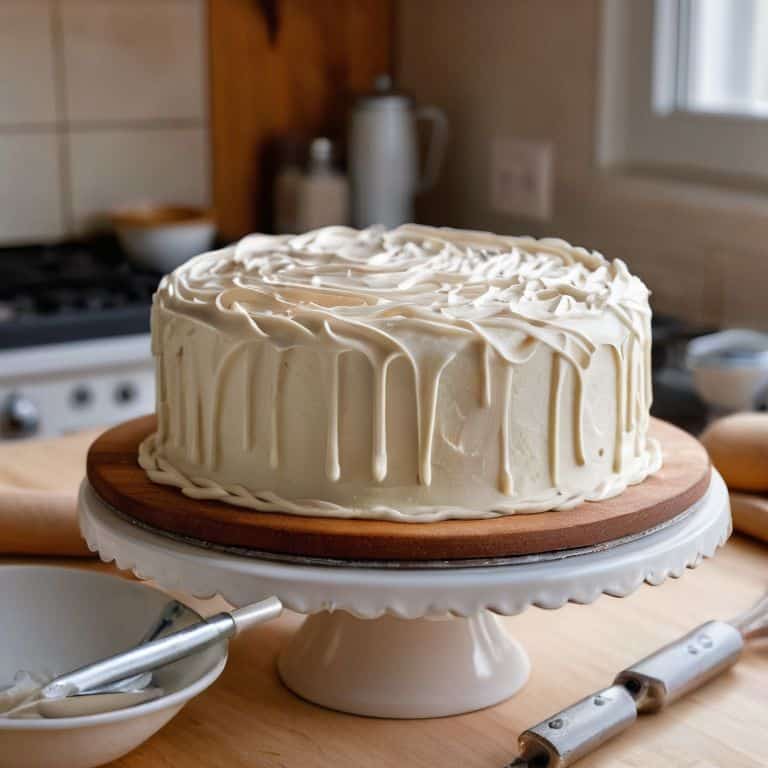
- 7. Finally, let’s talk about the often-overlooked aspect of cake decorating: the cake stand. I truly believe that the right stand can elevate our masterpiece from beautiful to breathtaking. Look for something that complements the colors and theme of your cake, and don’t be afraid to get creative – a vintage or antique stand can add a whole new level of charm to your design.
Mastering How to Decorate a Cake
As I always say, the devil is in the details, and when it comes to cake decorating, this couldn’t be more true. To achieve a smooth finish, it’s essential to master basic cake frosting techniques, such as using the right consistency of frosting and applying even pressure. This will give your cake a professional look and make it easier to add intricate designs.
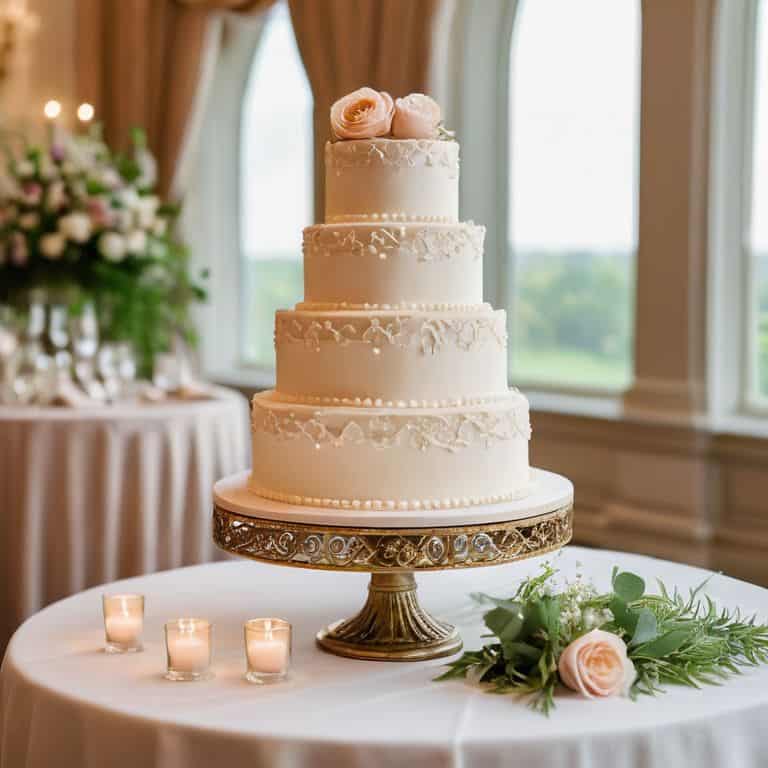
When it comes to simple cake design ideas, I believe that less is often more. An elegant wedding cake decoration, for example, can be achieved with a few well-placed sugar flowers or a delicate piping design. It’s all about creating a cohesive look that’s not too overwhelming. To help you get started, I recommend investing in some essential cake decorating tools for beginners, such as a turntable and a set of piping tips.
To take your cake decorating skills to the next level, it’s crucial to avoid common cake decoration mistakes, such as overmixing the frosting or applying too much pressure. Creative cake topping ideas can also make a big difference, from fresh flowers to intricate sugar work. By following these tips and practicing regularly, you’ll be well on your way to creating stunning cakes that are almost too beautiful to eat.
Basic Frosting Techniques Unveiled
As I always say, the foundation of a beautifully decorated cake lies in the frosting. To achieve a smooth, even finish, it’s essential to master basic frosting techniques. I start by preparing my buttercream to the perfect consistency – not too thin, not too thick. Then, I apply a thin layer of frosting to the cake, using an offset spatula to create a smooth, even surface. This is known as the “crumb coat,” and it’s a crucial step in achieving a polished finish.
By practicing these fundamental techniques, you’ll be amazed at how quickly your cakes transform into stunning works of art. Remember, the key to success lies in patience and attention to detail. Take your time, and don’t be afraid to experiment with different frosting consistencies and techniques until you find what works best for you.
Simple Yet Elegant Cake Designs
To create simple yet elegant cake designs, I always start with a clean canvas – a smoothly frosted cake. From there, I let my watercolor paintings inspire me, adding delicate touches like tiny sugar flowers or intricate piping details. The key is to balance simplicity with a few, well-placed embellishments that elevate the entire design. I adore using a limited color palette to maintain a sense of cohesion and sophistication.
By embracing restraint and focusing on a few, exquisite details, you can transform a plain cake into a breathtaking work of art. Remember, the beauty lies in the subtlety, so don’t be afraid to leave some negative space and let the eye wander across the design. With a little practice, you’ll be crafting cakes that exude understated elegance and refinement, perfect for any special occasion.
Elevating Your Cake Game: 5 Essential Decorating Tips
- Let natural light be your best friend: when photographing your finished masterpiece, use soft, indirect light to highlight the textures and colors of your design
- Experiment with unique flavor combinations to inspire your decorating theme – think lemon and lavender or chocolate and orange blossom
- Remember, the right cake stand can make or break the overall aesthetic of your design, so choose one that complements the colors and style of your cake
- Don’t be afraid to get creative with your frosting – try using different piping techniques or adding a splash of color to create a one-of-a-kind design
- Take your time and have fun: decorating a cake is a process, and it’s okay to make mistakes – they can often lead to new and exciting ideas you wouldn’t have thought of otherwise
Key Takeaways to Elevate Your Cake Decorating
Embracing the art of cake decorating is all about unleashing your creativity and having fun with the process, from selecting the perfect cake stand to crafting intricate sugar flowers
Mastering basic frosting techniques is crucial, as it sets the foundation for more complex and elegant designs, allowing you to transform a plain cake into a stunning masterpiece
By combining simple yet elegant cake designs with precise, easy-to-follow steps, and a dash of patience and inspiration from nature, such as botanical gardens, you can turn any cake into a showstopper that showcases your unique style and flair
The Art of Transformation
As you hold the piping bag, remember that every delicate stroke, every subtle curve, is a brushstroke of possibility – transforming a simple cake into a masterpiece that tells a story of love, of celebration, and of the beauty in the everyday.
Chloé Dubois
Bringing Your Vision to Life
As we conclude our journey through the world of cake decorating, remember that the key to creating a stunning masterpiece lies in the balance of simple yet elegant designs and mastering basic frosting techniques. We’ve explored the essential steps to transform a plain cake into a work of art, from preparing the perfect canvas to adding delicate details that make your creation truly unique. Whether you’re a beginner or an experienced decorator, the most important thing is to have fun and experiment with different styles and techniques to find what works best for you.
Now, go ahead and unleash your creativity, letting your imagination run wild as you design and decorate your next cake. Remember, the beauty of cake decorating lies not just in the end result, but in the journey itself, the process of bringing your vision to life, one delicate petal or swoop of frosting at a time. With practice and patience, you’ll find that your cakes become not just delicious treats, but true works of art that inspire and delight all who see them.
Frequently Asked Questions
What are some essential tools I need to get started with decorating a cake?
To get started, you’ll need a few essential tools, including a turntable, offset spatula, and a variety of piping tips. I also swear by my favorite pastry brush and a set of fine-tipped paintbrushes for delicate details. Of course, a beautiful cake stand is a must – it’s the perfect finishing touch to showcase your masterpiece!
How do I achieve a smooth, even finish with my frosting?
To achieve a smooth, even finish, I always start by ensuring my frosting is at room temperature. Then, I use an offset spatula to apply a thin, consistent layer, working in small sections to prevent air pockets. Finally, I use a turntable to spin the cake, allowing me to effortlessly smooth out any imperfections, resulting in a flawless finish.
Can I use natural ingredients, like edible flowers or leaves, to create unique cake designs?
I adore incorporating natural elements into my designs. Edible flowers and leaves can add a touch of elegance to your cake. Try using violas, pansies, or fresh mint leaves to create intricate patterns or delicate borders. Just be sure to use organic and food-safe options to ensure they’re safe for consumption.