I still remember the first time I discovered the what is a wet-on-wet royal icing technique – it was like a lightbulb moment for me as a cake artist. I had been struggling to achieve smooth, flawless finishes on my cakes, and this technique completely changed the game. It’s amazing how often I see people believing that working with royal icing is too complicated or time-consuming, but trust me, with the right guidance, it’s actually quite intuitive. The wet-on-wet royal icing technique, in particular, is a total game-changer for creating beautiful, professional-looking cakes.
In this article, I’ll walk you through the step-by-step process of mastering the wet-on-wet royal icing technique, from preparing your icing to achieving a perfectly smooth finish. You’ll learn how to overcome common challenges and troubleshoot any issues that may arise, so you can confidently create stunning cakes that will impress anyone. By the end of this guide, you’ll have the skills and knowledge to take your cake decorating to the next level and make your creations truly unforgettable. Whether you’re a beginner or an experienced cake artist, this technique is sure to become a valuable addition to your decorating arsenal.
Table of Contents
- Guide Overview: What You'll Need
- Step-by-Step Instructions
- Unlocking Wet on Wet Royal Icing
- Elevating Your Craft: 5 Essential Tips for Mastering the Wet-on-Wet Royal Icing Technique
- Key Takeaways for Mastering Wet-on-Wet Royal Icing
- The Heart of Cake Decorating
- Bringing Your Cake Decorating Vision to Life
- Frequently Asked Questions
Guide Overview: What You'll Need
Total Time: 1 hour 30 minutes
Estimated Cost: $10 – $20
Difficulty Level: Intermediate
Tools Required
- Piping Bag (with small round tip)
- Turntable (optional)
- Offset Spatula (for smoothing icing)
- Toothpicks (for creating patterns)
Supplies & Materials
- Royal Icing (in various colors)
- Wax Paper (for practicing)
- Cake or Cookie (to decorate)
- Water (for thinning icing)
Step-by-Step Instructions
- 1. To begin with, let’s talk about the foundation of the wet-on-wet royal icing technique, which is all about layering royal icing on top of itself while it’s still wet. This method allows for a smooth, even finish that’s perfect for creating intricate designs or covering large areas of your cake.
- 2. Next, you’ll need to prepare your royal icing according to your recipe, making sure it’s the right consistency for piping and spreading. I like to use a combination of powdered sugar, egg whites, and water to create a stable and pliable icing that’s easy to work with.
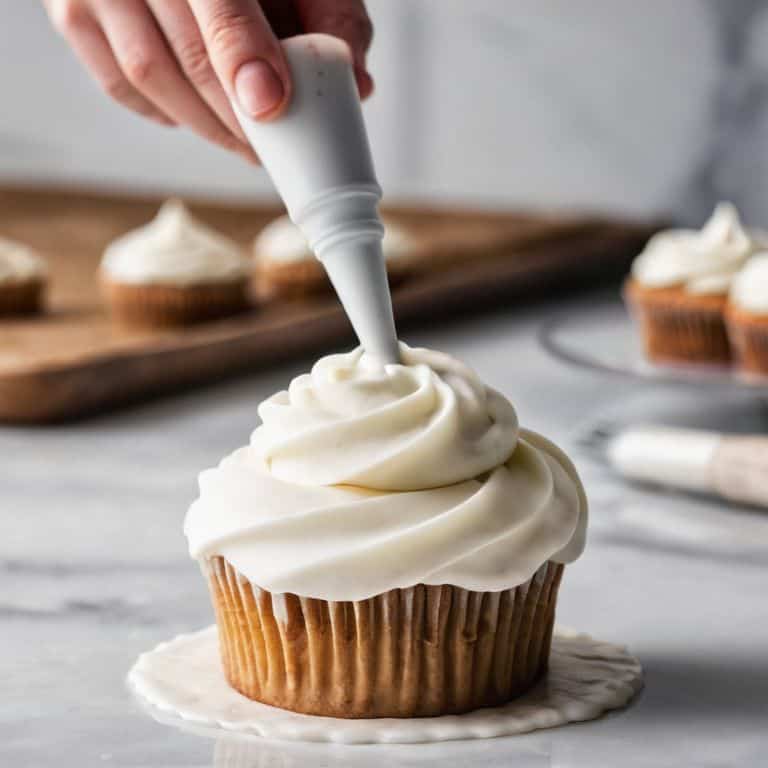
- 3. Once your icing is ready, it’s time to start applying it to your cake. Begin by covering the entire surface with a thin layer of royal icing, using an offset spatula or a piping bag to get an even coat. Don’t worry too much about perfection at this stage – we’ll be building on this layer in the next steps, using the wet-on-wet technique to create a seamless finish.
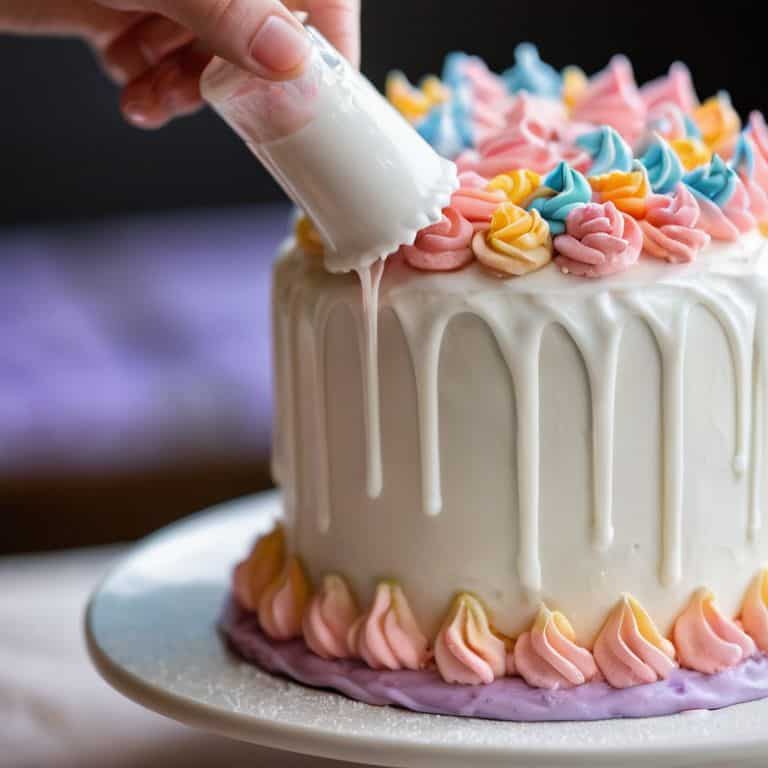
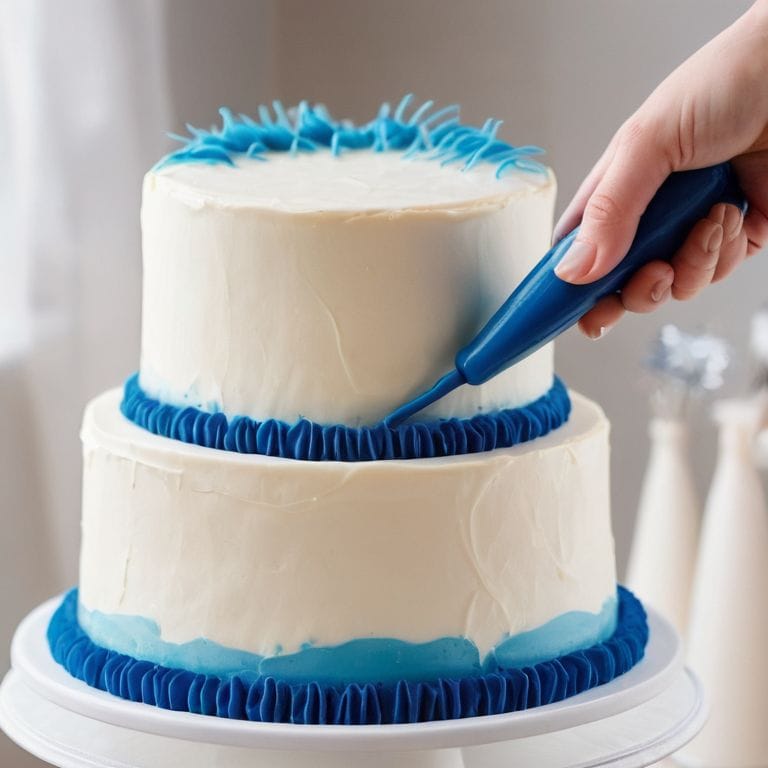
- 4. Now it’s time to add the next layer of royal icing, and this is where the magic happens. Using a piping bag fitted with a small round tip, start piping borders, patterns, or designs onto the wet icing. Remember to work quickly and confidently, as the icing will start to set soon and you want to make sure your designs are smooth and even.
- 5. As you continue to build up layers of royal icing, you can start to add more intricate details and textures to your design. Use a toothpick or a small tool to create delicate patterns and lines, or experiment with different piping techniques to create unique effects. Just be sure to keep your icing at room temperature and work in a cool, dry environment to prevent it from setting too quickly.
- 6. One of the most important things to keep in mind when working with the wet-on-wet royal icing technique is the importance of timing and temperature. Make sure your icing is at the right consistency and that you’re working in a comfortable environment, as this will affect the final result. If your icing starts to set too quickly, you can always thin it out with a little more water or egg white.
- 7. Finally, once you’ve completed your design and the royal icing has set, it’s time to add any final details or touches to your cake. This might include adding a few fresh flowers or leaves, or using a small paintbrush to add delicate shading or color to your design. With the wet-on-wet royal icing technique, the possibilities are endless, and I encourage you to experiment and find your own unique style and voice.
Unlocking Wet on Wet Royal Icing
As I delve deeper into the world of wet-on-wet royal icing, I want to share some essential tips for mastering this technique. One crucial aspect is achieving the right royal icing consistency for wet on wet, which can make or break the overall design. When the icing is too thin, it can be difficult to control, while icing that’s too thick may not blend seamlessly. To find the perfect balance, I recommend testing the consistency by piping a small border on a spare cake or surface.
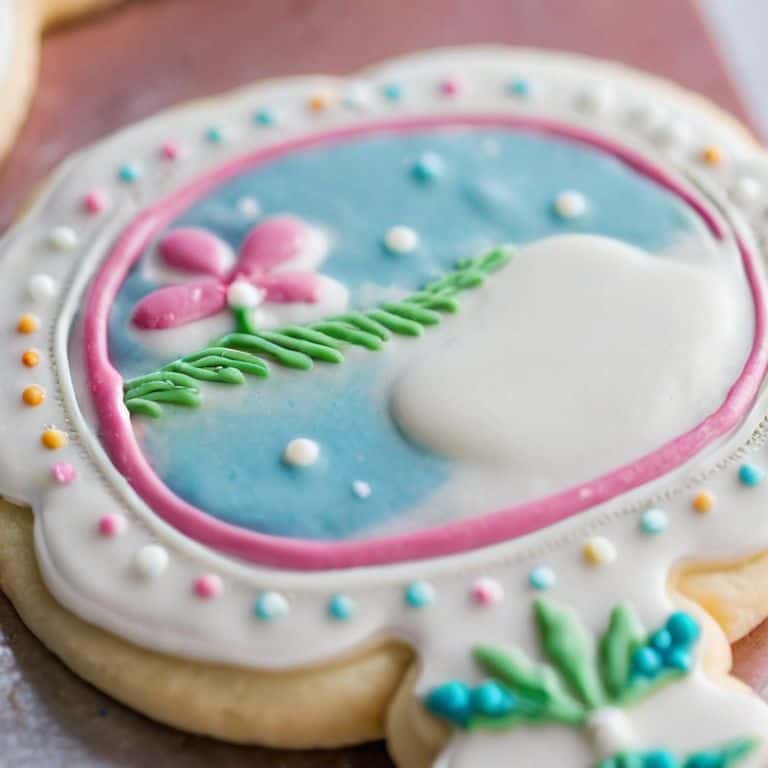
When it comes to piping techniques for royal icing designs, I always emphasize the importance of using the right piping tips and bags. For wet-on-wet royal icing, I prefer to use a small round tip to create intricate details and patterns. By experimenting with different piping techniques, you can add unique textures and dimensions to your cake designs. Additionally, coloring royal icing for decorative effects can add an extra layer of visual interest to your creations. I love using soft, pastel hues to create a whimsical and romantic look.
To take your wet-on-wet royal icing skills to the next level, I recommend practicing troubleshooting wet on wet royal icing issues. This may involve adjusting the consistency of your icing, experimenting with different piping techniques, or finding ways to prevent air bubbles from forming. By mastering these skills, you’ll be able to create stunning, professional-looking cakes that showcase your artistic talent. Whether you’re a beginner or an experienced cake decorator, I encourage you to keep experimenting and pushing the boundaries of what’s possible with wet-on-wet royal icing.
Achieving Perfect Royal Icing Consistency
To achieve perfect royal icing consistency, it’s all about finding that sweet spot where your icing is neither too thick nor too thin. I like to think of it as the “goldilocks zone” – just right for smoothing out effortlessly and holding its shape beautifully. For wet-on-wet techniques, you want your icing to be slightly on the thinner side, allowing it to blend seamlessly with the underlying layer. A good test is to lift some icing with your spatula and watch how it flows back onto the surface; if it holds its peak for a second before melting back in, you’re golden!
I adjust my consistency by adding tiny amounts of water or icing sugar, testing as I go, until I reach the perfect flow. It’s a delicate balance, but one that makes all the difference in your final result. Remember, practice makes perfect, so don’t be discouraged if it takes a few trials to get the hang of it. With time, you’ll develop a keen sense of touch and sight, knowing exactly when your icing is ready to shine.
Troubleshooting Wet on Wet Royal Icing Issues
As you practice the wet-on-wet royal icing technique, you might encounter a few common issues. If your icing is too thin, it can be difficult to achieve a smooth finish, while icing that’s too thick can be hard to spread evenly. To troubleshoot, try adjusting the consistency of your royal icing by adding a small amount of water or powdered sugar.
When applying the icing, if you notice air pockets or bubbles forming, gently tap the cake on the counter to release them. For uneven textures, use a small offset spatula or a toothpick to carefully blend the icing. Remember, patience is key, and with a little practice, you’ll be able to identify and fix these issues with ease, resulting in a flawless, professional-looking finish.
Elevating Your Craft: 5 Essential Tips for Mastering the Wet-on-Wet Royal Icing Technique
- Start with the right royal icing consistency, as it’s crucial for achieving a smooth, flawless finish – too thin and it won’t hold its shape, too thick and it won’t spread evenly
- Experiment with different piping techniques to add texture and visual interest to your designs, from smooth, flowing lines to intricate, detailed patterns
- Pay attention to the temperature and humidity of your workspace, as these factors can affect the drying time and overall performance of the royal icing
- Don’t be afraid to get creative with color – the wet-on-wet technique is perfect for creating subtle, ombre-style gradients or bold, vibrant hues
- Practice, practice, practice – like any skill, mastering the wet-on-wet royal icing technique takes time and patience, so don’t be discouraged if it doesn’t come out perfectly on the first try
Key Takeaways for Mastering Wet-on-Wet Royal Icing
Consistency is key: achieving the perfect royal icing consistency is crucial for successful wet-on-wet applications, and it’s all about finding that sweet spot between too thin and too thick
Practice makes perfect: don’t be discouraged if your first attempts at wet-on-wet royal icing don’t turn out as expected – it’s a technique that requires patience, practice, and a gentle touch to master
Experiment and play: once you’ve got the basics down, don’t be afraid to get creative and try new things – from adding different flavors and colors to your royal icing, to using unique cake stands and decorations to elevate your designs
The Heart of Cake Decorating
The wet-on-wet royal icing technique is not just a method, it’s a dance between the icing and the cake, where every brushstroke tells a story and every detail whispers elegance.
Chloé Dubois
Bringing Your Cake Decorating Vision to Life
As we’ve explored the wet-on-wet royal icing technique together, I hope you’ve gained a deeper understanding of how this method can elevate your cake decorating skills. From achieving the perfect royal icing consistency to troubleshooting common issues, we’ve covered the essential steps to master this technique. Remember, practice makes perfect, and it’s completely normal to encounter a few bumps along the way. The key is to be patient and have fun with the process, experimenting with different designs and colors to make your cakes truly unique.
Now that you’ve learned the fundamentals of the wet-on-wet royal icing technique, I encourage you to unleash your creativity and push the boundaries of what’s possible with cake decorating. Don’t be afraid to try new things and make mistakes – they can often lead to unexpected and exciting results. With time and practice, you’ll develop your own signature style, and your cakes will become breathtaking works of art that inspire and delight everyone who sees them.
Frequently Asked Questions
How do I know if my royal icing is the right consistency for a wet-on-wet technique?
To determine if your royal icing is the right consistency, perform the ’10-second test’: drizzle a small amount of icing off a spoon. If it holds its shape for about 10 seconds before falling, you’re golden! If it’s too runny, it will fall immediately, and if it’s too thick, it won’t fall at all.
Can I use a wet-on-wet royal icing technique with any type of cake, or are there specific cake types that work best?
While the wet-on-wet royal icing technique can be used on various cakes, it pairs beautifully with dense, moist cakes like pound cake or carrot cake, as they provide a sturdy base for the icing. Delicate cakes, like sponge cake, may not hold up as well, but with gentle handling, it’s still possible to achieve stunning results.
What are some common mistakes to avoid when using a wet-on-wet royal icing technique for the first time?
When using the wet-on-wet royal icing technique for the first time, watch out for over-saturating the cake, applying too much pressure, and not allowing each layer to set before adding the next – these common mistakes can lead to a messy, uneven finish, so take your time and work gently for a smooth, flawless result.