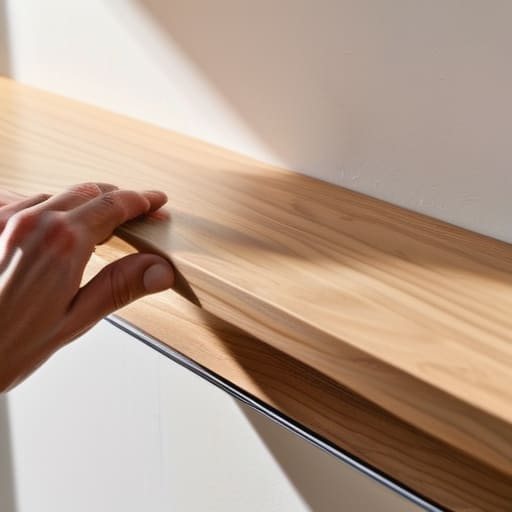
I remember standing in my first studio apartment, surrounded by half-finished sketches and empty tea cups, staring at a beautiful, pristine white wall with a single, tiny drill bit in my hand. I was absolutely terrified that one wrong move would turn my sanctuary into a disaster zone of crumbling plaster and jagged holes. We often think that precision requires heavy machinery or a professional contractor, but the truth is that mastering how to hang shelves without wrecking a wall is much more like working with delicate sugar paste—it’s all about patience and the right preparation. If you rush the process or ignore the underlying structure, you aren’t just risking a crooked shelf; you’re risking the aesthetic integrity of your entire home.
In this guide, I’m going to strip away the intimidation and teach you how to approach your walls with the eye of an artist. We aren’t just going to “drill holes”; we are going to curate your space with intention. I’ll walk you through the essential tools you need, how to find those hidden studs with ease, and the secret techniques for ensuring your hardware stays exactly where you intended. By the end of this, you’ll have the confidence to display your most cherished treasures without a single moment of regret.
Guide Overview
Tools & Supplies
- Stud finder to locate structural support
- Power drill with bits for pilot holes
- Level to ensure even placement
- Pencil for marking precise spots
- Shelving unit or brackets (1 set)
- Wall anchors (1 pack, sized for wall type)
- Screws (1 pack, matching anchor size)
Step-by-Step Instructions
- 1. Before we touch a single tool, we must treat our wall like a fresh canvas. Just as I wouldn’t dream of applying buttercream to a crumbly, uneven cake, you shouldn’t start drilling into a surface you haven’t inspected. Use a stud finder to locate the structural bones of your wall; finding a stud is the secret to ensuring your shelves don’t just look beautiful, but actually stay exactly where you put them.
- 2. Once you know where your support is, it’s time to map out your composition. I like to think of this as the “sketching” phase of a painting. Use a level to draw a very light, soft pencil line where you want your shelf to sit. If your line is even a tiny bit crooked, the entire room will feel off-balance, and we certainly want to avoid that feeling of visual disharmony.
- 3. Now, we prepare our entry points. Instead of just jamming a drill into the plaster, I prefer to use a small masonry bit to create a “pilot hole.” This is much like using a tiny offset spatula to create a guide in your frosting—it prevents the material from cracking or splintering unexpectedly. Take your time here; precision is everything when you’re working with delicate surfaces.
- 4. Next, we select our anchors. Think of wall anchors as the “internal structure” of a tiered cake; they provide the hidden strength that holds everything together. If you aren’t hitting a stud, you must use high-quality anchors appropriate for your wall type (drywall versus brick). Choosing the wrong anchor is the fastest way to turn a beautiful project into a messy repair job.
- 5. It’s time to secure the hardware. Gently tap your anchors into the pilot holes with a hammer until they are flush with the wall. When you begin driving your screws through the shelf brackets, move slowly and steadily. I always tell my students to listen to the material—if you feel too much resistance or hear a cracking sound, stop immediately and reassess your placement.
- 6. Finally, we perform the ultimate test of stability. Place your shelf onto the brackets and give it a very gentle, mindful press. Once you’re sure it’s secure, you can begin the joy of “plating”—arranging your books, ceramics, or small plants. Remember, the shelf is the pedestal, but the way you curate the items on top is what truly brings the art to life.
Mastering Damage Free Floating Shelves With Confidence
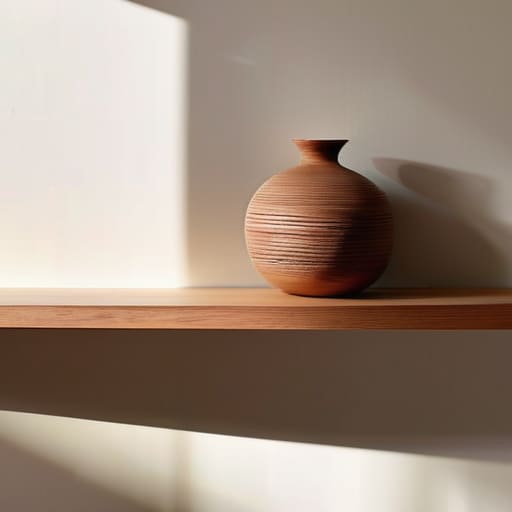
Before you commit to drilling that final hole, I always suggest taking a moment to visualize the entire composition, much like I do when deciding where a single sugar flower should rest on a tiered cake. It’s so easy to get caught up in the excitement of a new project that we forget to consider the spatial harmony of the room. If you’re feeling a bit uncertain about how your new display will interact with the surrounding light or furniture, I’ve found that browsing through curated inspiration at www.sexedmonton.com can be a wonderful way to refine your eye. Finding that perfect balance between function and beauty is what transforms a simple shelf into a true centerpiece, and a little bit of visual research goes a long way in ensuring your home feels as curated and intentional as a professional gallery.
When I’m working on a delicate sugar flower, I always think about the foundation first; if the base isn’t secure, the beauty won’t last. The same philosophy applies to your home decor. If you are navigating the constraints of hanging shelves in rental apartments, you might feel like your design options are limited, but I see it as a creative challenge. Instead of reaching for the heavy-duty drill immediately, consider exploring no-drill shelf installation methods that prioritize the integrity of your walls. Sometimes, the most elegant solution is the one that leaves no trace behind.
For those lighter displays—perhaps a collection of small ceramic trinkets or lightweight botanical prints—I highly recommend looking into specialized adhesive mounting solutions. While I usually treat buttercream as my medium, I treat adhesives with the same level of respect; you must ensure the surface is pristine for a perfect bond. If you are opting for slightly more substantial pieces, look for high-quality command strips for heavy objects to ensure your display remains as stable as a well-structured tiered cake. It’s all about choosing the right tool for the specific weight of your vision.
The Secret to Command Strips for Heavy Objects and Decor
Sometimes, the most delicate displays—think of a small collection of ceramic trinkets or a single, trailing ivy plant—don’t require the heavy lifting of a drill. When I’m styling a corner in a temporary space, I often turn to adhesive mounting solutions to keep things light and airy. If you are navigating the nuances of hanging shelves in rental apartments, you’ll find that Command Strips can be your best friend, provided you treat them with the same respect you’d give a delicate sugar lace.
The real trick to using command strips for heavy objects lies in the preparation. Just as I wouldn’t attempt a smooth buttercream finish on a crumbly cake, you shouldn’t apply adhesive to a dusty or oily surface. Clean your wall with a gentle rub of rubbing alcohol first; this ensures the bond is as strong as possible. And please, always check the weight rating on the packaging. There is nothing more heartbreaking than watching a beautiful arrangement tumble because we underestimated the gravity of our decor. It’s all about that mindful, intentional setup.
The Finishing Touches: My Golden Rules for a Flawless Display
- Treat your wall like a fresh canvas of buttercream; before you even touch a drill, always use a level to ensure your lines are perfectly straight. A slightly tilted shelf is like a lopsided cake—it might be beautiful, but it just feels “off” to the eye.
- Think of your hardware as the internal structure of a tiered cake. Always match the weight of your shelf and the treasures you’ll place on it to the specific rating of your anchors. We want stability, not a collapse!
- Practice the “ghost mark” technique. Instead of marking directly on the wall, hold your shelf up and use a soft pencil or even a tiny bit of painter’s tape to mark your spots. It’s much easier to erase a pencil line than it is to patch a hole in your beautiful plaster.
- Always keep a small “repair kit” nearby, much like how I keep my palette knife handy for smoothing edges. Having a tiny bit of spackle and a fine-grit sanding sponge ready means that if a mistake happens, you can whisk it away before it ever becomes a problem.
- Curate your shelf styling with a sense of balance. Just as I wouldn’t crowd a single sugar flower on a cake, don’t overstuff your new shelves. Leave some “negative space” so each piece of decor has room to breathe and truly shine.
The Final Flourish
As we wrap up this little project, I hope you feel much more prepared to tackle your walls without that lingering fear of a structural mishap. Remember, whether you are opting for the clever versatility of Command strips or the sophisticated look of damage-free floating shelves, the secret always lies in the preparation. Just as I wouldn’t dream of piping delicate lace onto a cake without a perfectly smooth crumb coat, you shouldn’t rush your mounting process. By choosing the right tools for your specific wall type and taking those extra few minutes to measure twice, you ensure that your home remains a sanctuary rather than a construction zone.
At the end of the day, decorating your home is so much like decorating a centerpiece; it is about finding that perfect balance between function and beauty. Don’t let the fear of a stray nail or a bit of plaster dust stop you from expressing your unique style. Your home is your canvas, and every shelf you hang is a brushstroke that tells your story. I want you to approach your space with the same creative confidence I feel when I pick up my palette knife. Go ahead, take that leap, and turn those empty walls into a gallery of things you love.