As I stand in my kitchen, surrounded by the soft glow of morning light and the gentle hum of my mixer, I’m reminded of the countless times I’ve heard that a guide to crumb coating a cake is a tedious, necessary evil. But I’m here to tell you that this couldn’t be further from the truth. In my experience, the process of crumb coating is where the magic begins, and your cake starts to transform into a stunning work of art. It’s a moment of possibility, where the imperfections of the cake are embraced and the foundation for a beautiful, smooth finish is laid.
In this article, I promise to share my honest, no-nonsense approach to crumb coating, gleaned from years of practice and experimentation. You’ll learn the essential techniques for achieving a flawless crumb coat, from preparing the perfect consistency of buttercream to mastering the gentle touch required for a smooth finish. My goal is to empower you with the confidence to turn your baked goods into breathtaking creations, and to show you that, with a little patience and practice, anyone can become a skilled cake artist.
Table of Contents
Guide Overview: What You'll Need
Total Time: 1 hour 15 minutes
Estimated Cost: $10 – $20
Difficulty Level: Easy
Tools Required
- Offset Spatula (for smoothing crumb coat)
- Turntable (optional, for easy access)
- Bench Scraper (for scraping excess crumbs)
Supplies & Materials
- Cake (fully baked and cooled)
- Crumb Coat Frosting (or buttercream frosting)
- Parchment Paper (for lining the turntable or cake stand)
Step-by-Step Instructions
- 1. To start, make sure your cake is completely cooled, as this will help prevent any melted buttercream disasters. Take your time, and let the cake sit at room temperature for at least a few hours before you begin the crumb coating process. This will ensure that it’s stable and ready for the next steps.
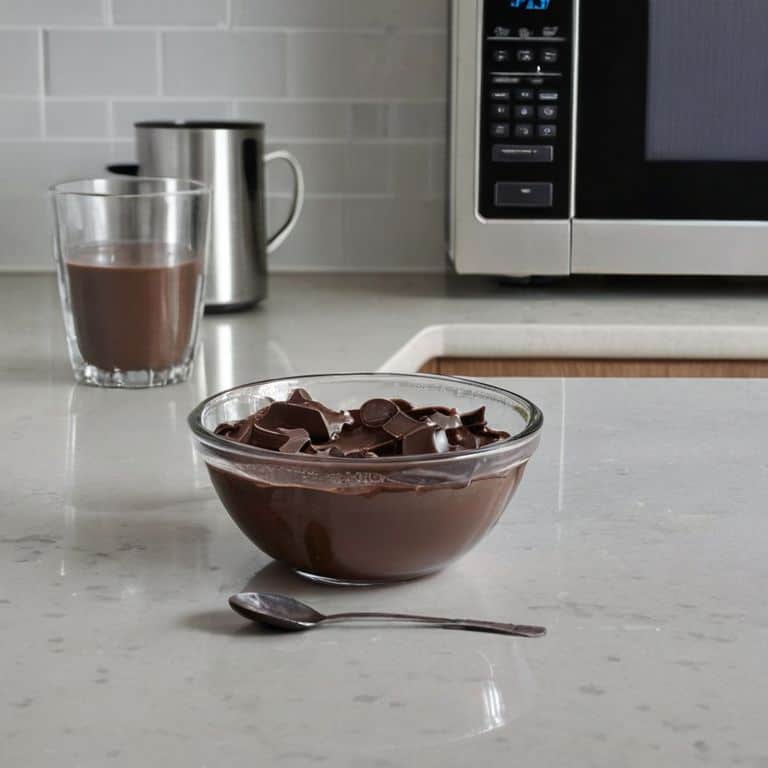
- 2. Next, prepare your buttercream by giving it a good mix, until it’s smooth and creamy. I like to think of buttercream as a sculptural medium, and just like any art supply, it needs to be in top condition to produce the best results. If your buttercream is too stiff, you can always add a little bit of liquid to thin it out, but be careful not to add too much, as this can make it too runny.
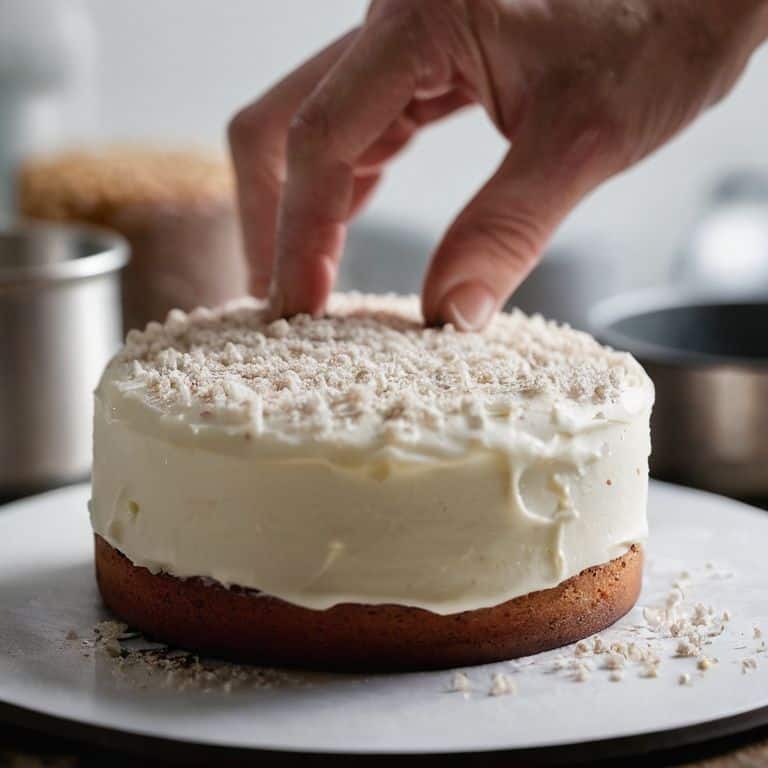
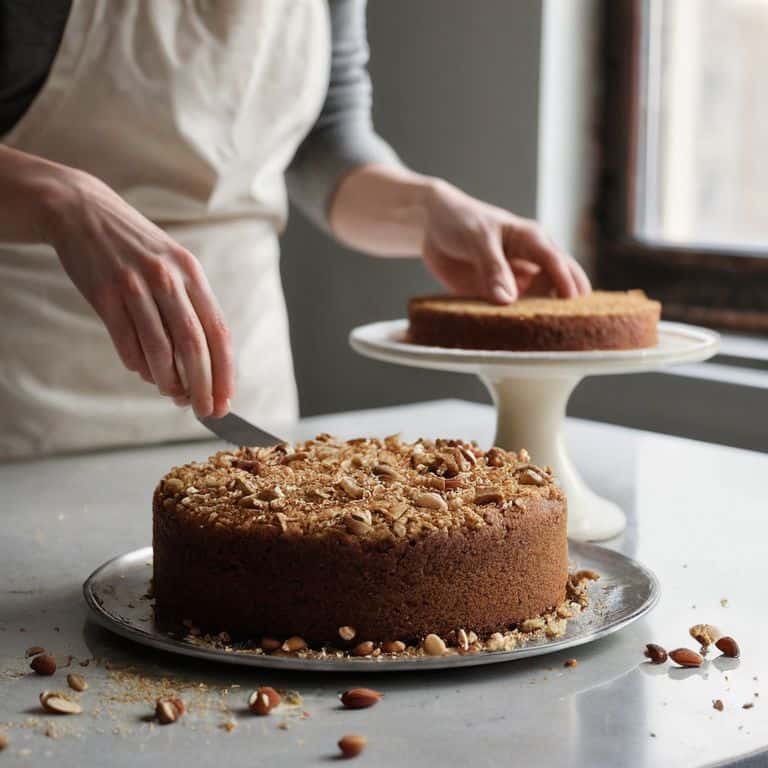
- 3. Now it’s time to apply a thin layer of buttercream to your cake. This is the crumb coat, and its purpose is to catch any stray crumbs or imperfections, creating a smooth surface for your final layer of buttercream. Use an offset spatula to spread the buttercream evenly, making sure to cover the entire cake. Don’t worry too much about perfection at this stage, as this layer will be covered up later.
- 4. Once you’ve applied the crumb coat, use your spatula to gently scrape off any excess buttercream, making sure to leave just a thin layer behind. This will help prevent any air pockets or bumps from forming in the final layer. Take your time, and work your way around the cake, using long, smooth strokes to even out the buttercream.
- 5. With the crumb coat in place, it’s time to chill your cake in the refrigerator for at least 10-15 minutes. This will allow the buttercream to set, and the crumbs to be fully encapsulated, creating a smooth surface for your final layer. During this time, you can prepare your final layer of buttercream, making sure it’s the right consistency for decorating.
- 6. After the cake has chilled, remove it from the refrigerator, and use a turntable to spin it around, inspecting the crumb coat for any imperfections. If you notice any areas where the buttercream is too thin, or the crumbs are still visible, you can use a small amount of additional buttercream to touch up these areas. Use a small offset spatula to apply the buttercream, and blend it in with the surrounding area.
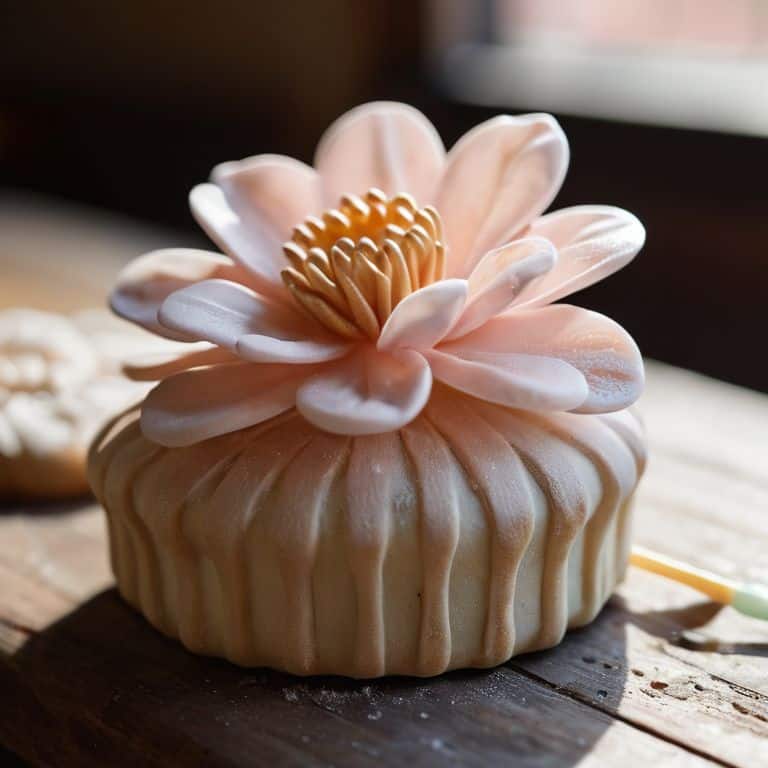
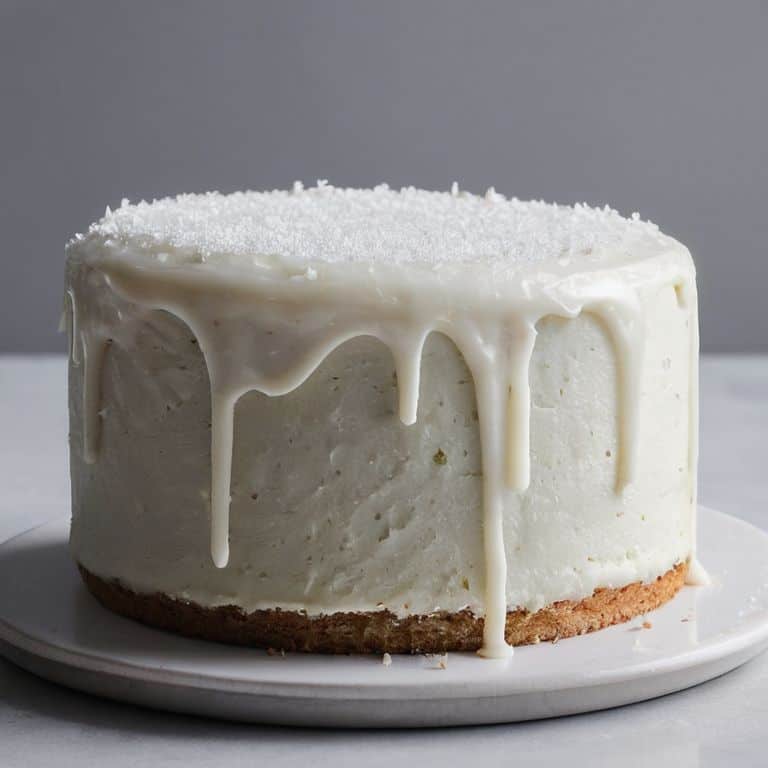
- 7. Finally, with your crumb coat complete, you can start thinking about the final design of your cake. Will you be adding sugar flowers, or using a piped border to create a decorative edge? Whatever your design, a smooth, even crumb coat is the perfect foundation, and will help your cake to look its absolute best. Take a step back, and admire your handiwork, knowing that you’ve created a beautiful, professional-looking cake that’s sure to impress.
A Guide to Crumb Coating a Cake

As I always say, the key to a smooth cake frosting is all in the preparation. When it comes to crumb coating, it’s essential to have the right tools and techniques to ensure a flawless finish. One of my favorite tricks is to use a turntable to spin the cake while I work, allowing me to access all sides with ease. This is especially helpful when using fondant vs buttercream for coating, as it can be more delicate to work with.
When it comes to removing crumbs, I swear by a gentle touch and a cake decorating tool specifically designed for the task. It’s amazing how a small investment in the right equipment can make all the difference in achieving a professional-looking finish. Of course, even with the best tools, common cake coating mistakes can still happen – but don’t worry, they’re easy to fix with a little practice and patience.
To take your crumb coating to the next level, consider investing in a best cake turntable for decorating. Not only will it make the process more efficient, but it will also allow you to admire your handiwork from every angle. And remember, the goal is to create a smooth cake frosting that’s both beautiful and delicious – so don’t be afraid to experiment and try new things!
Common Mistakes in Cake Crumb Removal Methods
When it comes to crumb removal, I’ve seen many of my students fall into common traps. One of the most frequent mistakes is being too aggressive with the scraper or spatula, which can lead to uneven surfaces and even tears in the cake. Another mistake is not allowing the crumb coat to set properly before attempting to remove excess crumbs, resulting in a messy and uneven finish.
To avoid these pitfalls, remember to work gently and patiently, taking your time to scrape off crumbs with a light touch. It’s also essential to let your crumb coat firm up in the refrigerator for at least 10-15 minutes before smoothing out the surface. By being mindful of these potential mistakes, you’ll be well on your way to achieving a flawless base for your final layer of frosting.
Smooth Frosting Techniques for Beginners
To achieve a silky smooth frosting, it’s all about the touch. I like to think of buttercream as a sculptural medium, allowing me to shape and mold it into a work of art. For beginners, the key is to work slowly and deliberately, using long, sweeping strokes to cover the entire cake. Don’t be afraid to get a little aggressive with your spatula – it’s okay to apply some pressure to get that perfect finish.
As you frost, remember to keep your spatula at room temperature, and make sure your buttercream is at the right consistency. If it’s too thin, it will be difficult to control; if it’s too thick, it won’t spread smoothly. With a little practice, you’ll be able to achieve a flawless finish that’s almost too beautiful to eat. Almost!
Elevating Your Cake Game: 5 Essential Tips for a Flawless Crumb Coat
- Prepare Your Cake Canvas: Ensure your cake is completely cooled and crumb-free before applying the crumb coat, as this will help prevent any unwanted texture or debris from getting stuck in the frosting
- Choose the Right Frosting Consistency: Opt for a frosting that’s slightly thinner than your final coating, allowing it to spread smoothly and evenly, and making it easier to achieve a seamless finish
- Don’t Overdo It: Apply a thin, even layer of frosting for the crumb coat, as excessive frosting can lead to a messy and difficult-to-work-with surface
- Chill Out: Refrigerate your cake for about 10-15 minutes after applying the crumb coat to set the frosting and firm up the cake, making it easier to handle and decorate
- Smooth Operator: Use an offset spatula or a bench scraper to gently smooth out the crumb coat, removing any excess frosting and creating a smooth, even surface for your final layer of frosting
Elevating Your Cake Game: 3 Key Takeaways
Mastering the art of crumb coating is all about embracing imperfection and having fun with the process – don’t be too hard on yourself if it’s not perfect, it’s all part of the charm!
Smooth frosting techniques are just as much about the feel of the buttercream as they are about the look – experiment with different consistencies and tools to find what works best for you and your unique style
Remember, the devil is in the details: paying attention to common mistakes in cake crumb removal methods, such as over-working the cake or using the wrong type of frosting, can make all the difference between a good cake and a truly show-stopping masterpiece
The Art of Crumb Coating
A flawless crumb coat is not just about covering imperfections, but about unveiling the canvas where art and elegance entwine, transforming a mere cake into an unforgettable masterpiece.
Chloé Dubois
Bringing Your Cake to Life
As we conclude this journey through the world of crumb coating, remember that the key to a beautifully decorated cake lies in the details. From the initial smooth frosting techniques to the careful removal of crumbs, each step plays a crucial role in transforming your baked goods into stunning works of art. By mastering the art of crumb coating, you’re not just ensuring a clean canvas for your decorations, but also elevating the entire aesthetic of your cake. Whether you’re a beginner or an experienced baker, the techniques outlined in this guide are designed to help you achieve professional-looking results with ease.
As you put down your spatula and step back to admire your handiwork, remember that cake decorating is an art form that’s all about experimentation and creativity. Don’t be afraid to try new things, to push the boundaries of what’s possible with sugar and buttercream. With practice and patience, you’ll find that the process of decorating becomes just as enjoyable as the end result. So go ahead, get creative, and watch your cakes come to life in ways you never thought possible. Happy decorating!
Frequently Asked Questions
What is the best type of frosting to use for crumb coating a cake?
For crumb coating, I swear by a classic American buttercream – it’s forgiving and easy to work with. The key is to use a thinner consistency, almost like a glaze, to trap those pesky crumbs and create a smooth canvas for your final layer of frosting. Trust me, it makes all the difference!
How do I achieve a smooth crumb coat without getting crumbs mixed into the frosting?
To achieve a crumb-free coat, I gently brush away excess crumbs with a soft-bristled brush before frosting. Then, I use a thin layer of frosting and a turntable to spin the cake, smoothing out the coat with an offset spatula. It’s all about gentle, sweeping motions – think of it as dancing with your spatula!
Can I crumb coat a cake ahead of time, or is it best to do it right before final decorating?
While it’s possible to crumb coat a cake ahead of time, I recommend doing it just before final decorating for optimal results. This ensures the frosting stays fresh and prevents the cake from drying out. If you must do it ahead, make sure to store it in an airtight container in the fridge to keep it moist and fresh.