I still remember the first time I attempted to temper chocolate – it was a disaster. I had heard that tempering was an art, that it required a special touch, but as a scientist at heart, I knew that there had to be a method to the madness. That’s when I discovered that a good “a guide to chocolate tempering” was essential to understanding the process. Tempering chocolate isn’t magic, it’s science, and with the right techniques, anyone can master it. I’ve spent years perfecting my craft, and now I’m excited to share my knowledge with you.
In this article, I’ll take you through the step-by-step process of tempering chocolate, demystifying the myths and simplifying the science behind it. You’ll learn how to create perfectly tempered chocolate every time, without the need for special equipment or fancy techniques. My goal is to give you the confidence to experiment with different types of chocolate and create your own unique recipes. By the end of this guide, you’ll be well on your way to becoming a chocolate tempering expert, and you’ll understand why I say that tempering is just a matter of understanding the chemistry. So, let’s get started and uncover the secrets of a guide to chocolate tempering.
Table of Contents
Guide Overview: What You'll Need
Total Time: 1 hour 15 minutes
Estimated Cost: $10 – $30
Difficulty Level: Intermediate
Tools Required
- Double Boiler or a heatproof bowl set over a pot of simmering water
- Thermometer for accurate temperature readings
- Sp spatula for stirring and scraping the sides of the bowl
Supplies & Materials
- Chocolate high-quality dark, milk, or white chocolate with a high cocoa butter content
- Cooling surface such as a marble or granite countertop
Step-by-Step Instructions
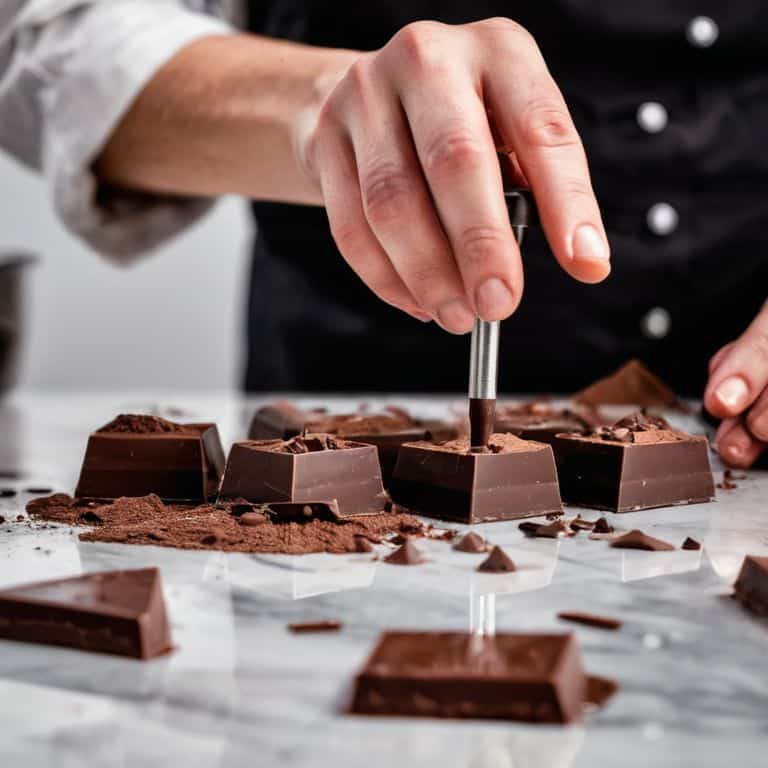
- 1. First, let’s start with the basics: to temper chocolate, you’ll need to understand that it’s all about creating a stable crystal structure that gives your chocolate that smooth, glossy finish. Begin by chopping your chocolate into small pieces and placing them in a double boiler or a heat-proof bowl set over a pot of simmering water, making sure the water doesn’t touch the bottom of the bowl.
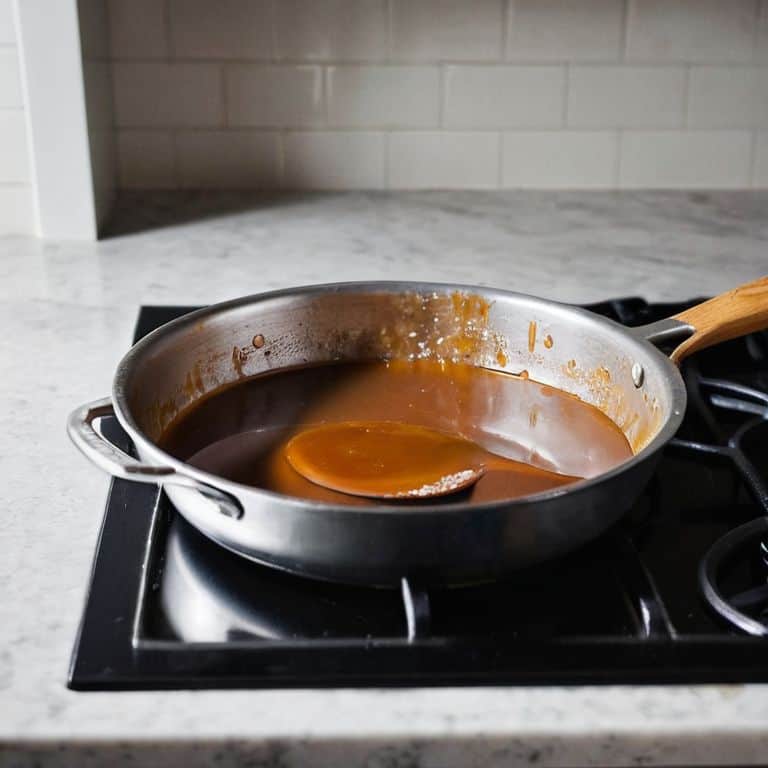
- 2. Next, you’ll want to melt about two-thirds of your chocolate, stirring occasionally, until it reaches a temperature between 105°F and 115°F. This is where the magic happens, or rather, the science – as the chocolate melts, its crystal structure breaks down, and it’s up to you to rebuild it into the desired form. Keep a close eye on the temperature, as it’s crucial for the tempering process.
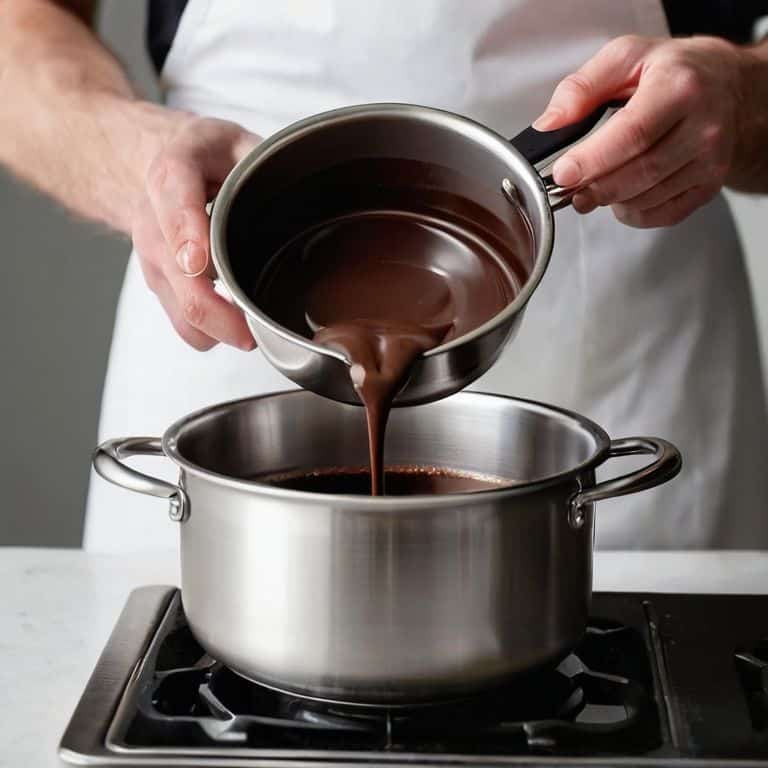
- 3. Once your chocolate has reached the correct temperature, remove it from the heat and add in the remaining one-third of chocolate, which should be in small pieces. This is known as “seeding” the chocolate, and it’s essential for creating the right crystal structure. Stir gently until the chocolate is fully melted and has reached a temperature between 88°F and 90°F, which is the ideal range for working with tempered chocolate.
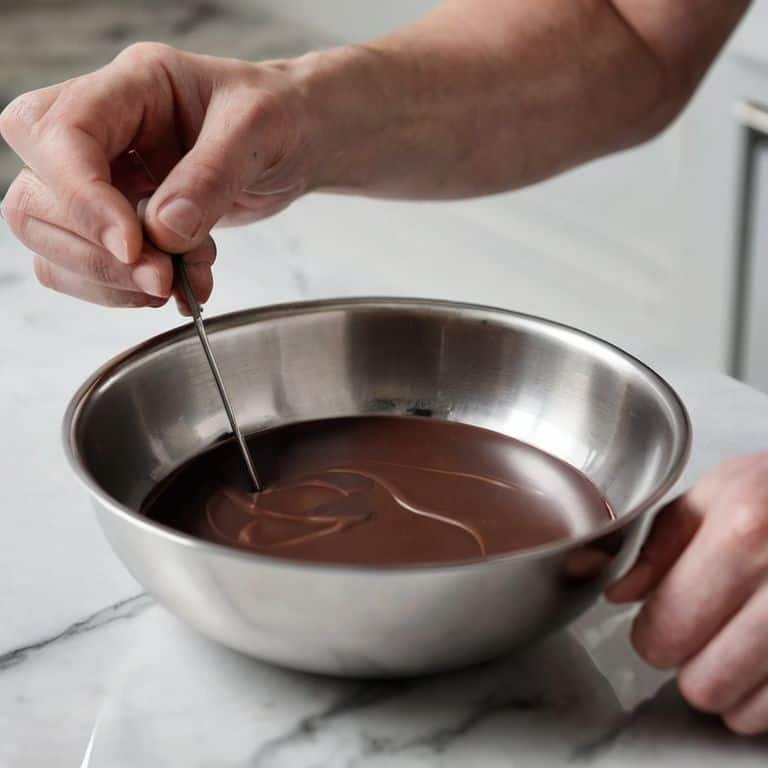
- 4. Now, it’s time to test your chocolate to see if it’s properly tempered. You can do this by dipping a knife or spatula into the chocolate and placing it in the refrigerator for about 5 minutes. If the chocolate has a smooth, glossy finish and a satisfying snap when broken, then you’ve successfully tempered it. If not, don’t worry – you can always try again, and it’s all part of the learning process.
- 5. With your chocolate now tempered, you can use it to create a variety of delicious treats, from chocolate-dipped strawberries to intricate chocolate sculptures. Just remember to work quickly, as tempered chocolate can start to set and lose its gloss if it’s exposed to warm temperatures for too long. To keep your chocolate in its optimal state, it’s essential to maintain a consistent temperature and humidity level in your workspace.
- 6. To add an extra layer of complexity to your chocolate creations, you can try adding different flavors or ingredients to your tempered chocolate. This could be anything from a pinch of salt or a teaspoon of vanilla extract to a handful of chopped nuts or dried fruit. Just be sure to add your ingredients gently, as you don’t want to introduce air into the chocolate, which can cause it to become cloudy or develop an uneven texture.
- 7. Finally, once you’ve mastered the art of tempering chocolate, you can start experimenting with different types of chocolate and techniques to create unique and delicious flavor profiles. From dark chocolate to milk chocolate, and from hand-tempering to using a tempering machine, the possibilities are endless, and it’s up to you to explore and discover new ways to work with this versatile ingredient.
A Guide to Chocolate Tempering
As you dive into the world of chocolate tempering techniques, it’s essential to understand the role of temperature control. This is where many beginners go wrong, and their chocolate ends up with a dull appearance or soft texture. To avoid this, make sure you’re working in a cool, dry environment, and that your chocolate is heated and cooled to the precise temperatures required for tempering.
When working with dark chocolate, it’s crucial to be gentle, as it can be more temperamental than milk or white chocolate. Cocoa butter usage is also vital, as it’s the key to creating a stable crystal structure that gives your chocolate its glossy appearance and satisfying snap. By mastering the art of tempering, you’ll be able to create beautiful, professional-looking chocolates that are sure to impress.
For those new to tempering chocolate for beginners, it’s worth noting that practice makes perfect. Don’t be discouraged if your first attempts don’t yield the desired results – simply try again, and pay close attention to your temperature control and chocolate handling. With time and patience, you’ll develop the skills and confidence to create stunning, tempered chocolates that will elevate your baking to the next level.
Decoding Chocolate Tempering Techniques
Decoding Chocolate Tempering Techniques
To truly master chocolate tempering, it’s essential to understand the different methods involved. I like to think of it as a puzzle, where each piece fits together to create a smooth, glossy finish. The main techniques include tabling, seeding, and tempering machines. Each has its own unique benefits and drawbacks, and choosing the right one depends on your specific needs and equipment. By grasping these fundamental techniques, you’ll be able to troubleshoot common issues and achieve professional-grade results.
As I always say, practice makes perfect, and tempering chocolate is no exception. With patience and dedication, you’ll develop a keen sense of how the chocolate behaves and be able to adjust your technique accordingly. Remember, it’s all about creating a stable crystal structure that gives your chocolate its signature snap and sheen. By decoding these techniques, you’ll unlock the secrets to perfectly tempered chocolate every time.
Tempering Chocolate for Beginners Made Easy
As a beginner, tempering chocolate can seem daunting, but trust me, it’s a skill that can be mastered with a little practice and patience. The key is to understand the basic principles behind tempering, which involves heating and cooling the chocolate to create a stable crystal structure that gives it that perfect snap and shine. I always tell my students to start with high-quality chocolate and to use a thermometer to ensure accuracy.
By following the simple steps I outlined earlier and taking your time, you’ll be able to achieve beautifully tempered chocolate that will elevate your baked goods and candies to the next level. Remember, it’s all about the science, not magic, so don’t be discouraged if it takes a few tries to get it just right – with practice, you’ll be tempering like a pro in no time.
Mastering the Art of Chocolate Tempering: 5 Essential Tips
- Understand the importance of temperature control: Tempering chocolate requires precise temperature control to create a stable crystal structure that gives chocolate its glossy appearance and satisfying snap
- Choose the right type of chocolate: Not all chocolate is created equal, and the type of chocolate you use can affect the tempering process – look for high-quality chocolate with a high cocoa butter content for best results
- Don’t over-temper: Over-tempering can cause the chocolate to become too brittle or develop an unpleasant flavor – stop tempering once you’ve reached the ideal temperature range
- Use the right tools for the job: A good thermometer and a heat-proof bowl are essential tools for tempering chocolate – invest in quality equipment to ensure accurate temperature readings and a smooth tempering process
- Practice makes perfect: Tempering chocolate is an art that requires practice to master – don’t be discouraged if your first attempts don’t yield perfect results, keep trying and you’ll soon develop the skills and confidence to temper like a pro
Key Takeaways for Mastering Chocolate Tempering
Understanding the concept of tempering and its role in creating stable crystals in chocolate is crucial for achieving a smooth, glossy finish and a satisfying snap when broken
By following a simple step-by-step process involving heating, cooling, and re-heating chocolate to specific temperature ranges, anyone can successfully temper chocolate at home
Practicing with different types of chocolate and experimenting with various tempering methods, such as the seeding or tabling method, will help you develop the skills and confidence to tackle more complex chocolate work and recipes
The Art of Tempering
Tempering chocolate isn’t about following a recipe, it’s about understanding the dance between heat, time, and crystallization – once you grasp this harmony, you’ll unlock the secret to creating professional-grade chocolates that shine with elegance and taste.
Beatrice Quinn
Tempering Chocolate with Confidence
As we’ve explored the world of chocolate tempering together, I hope you’ve come to realize that it’s not magic, but rather a combination of science and technique. We’ve broken down the steps, from understanding the different types of chocolate to the various methods of tempering, including the popular seed method and the more precise tempering machine method. By mastering these techniques and understanding the importance of temperature control, you’ll be well on your way to creating beautifully tempered chocolate that will elevate your baked goods and candies to the next level.
So, as you continue on your chocolate tempering journey, remember that practice makes perfect. Don’t be discouraged if your first few attempts don’t yield the desired results – it’s all part of the process. With patience, persistence, and a willingness to learn, you’ll soon be tempering chocolate like a pro. And when you do, you’ll unlock a world of possibilities, from creating stunning chocolate decorations to crafting delicious, professionally-finished chocolates that are sure to impress.
Frequently Asked Questions
What is the ideal temperature range for tempering different types of chocolate?
For dark, milk, and white chocolate, the ideal tempering temperature ranges are slightly different. Dark chocolate typically falls between 88°F to 90°F, while milk chocolate ranges from 86°F to 88°F. White chocolate, being the most delicate, requires a narrower range of 82°F to 84°F. Remember, precision is key when it comes to tempering chocolate.
How do I know if my chocolate has been properly tempered, and what are the signs of incorrectly tempered chocolate?
To check if your chocolate is properly tempered, look for a smooth, glossy finish and a satisfying snap when broken. Incorrectly tempered chocolate will appear dull, streaked, or bloomed, and may bend or crumble instead of snapping cleanly. Trust me, with practice, you’ll develop an eye for it!
Can I reuse or re-temper already tempered chocolate, or does it need to be used immediately?
While it’s technically possible to re-temper already tempered chocolate, it’s not always the best approach. Tempered chocolate can be reused if it’s stored properly, but re-tempering can be tricky and may affect the chocolate’s stability. If you need to reuse tempered chocolate, it’s best to re-melt and re-temper it from scratch for optimal results.