I still remember the first time I attempted to temper chocolate – it was a disaster. I had heard that it was all about seeding the chocolate with a small amount of already-tempered chocolate, but what I didn’t realize was that I was making some of the common chocolate tempering mistakes to avoid. My chocolate was a dull, streaky mess, and I was left wondering what had gone wrong. As a pastry instructor, I’ve seen this same scenario play out time and time again with my students, and it’s usually due to a few key mistakes that can easily be avoided.
In this article, I’ll be sharing my expertise on how to identify and avoid these common pitfalls, so you can achieve perfectly tempered chocolate every time. I’ll walk you through the science behind tempering, and provide you with practical tips and tricks to ensure your chocolate turns out smooth, glossy, and professional-looking. By the end of this guide, you’ll have a solid understanding of the why behind each step, and you’ll be empowered to take your chocolate work to the next level. Whether you’re a beginner or an experienced baker, this article will give you the honest, no-hype advice you need to succeed with tempering chocolate.
Table of Contents
Guide Overview: What You'll Need
Total Time: 1 hour 15 minutes
Estimated Cost: $10 – $20
Difficulty Level: Intermediate
Tools Required
- Double Boiler (or a heatproof bowl set over a pot of simmering water)
- Thermometer (accurate to 1 degree Fahrenheit)
- Spreader or Offset Spatula (for smoothing chocolate)
Supplies & Materials
- High-Quality Chocolate (with a high cocoa butter content)
- Chocolate Molds (to shape tempered chocolate)
- Gloves (to prevent fingerprints on chocolate)
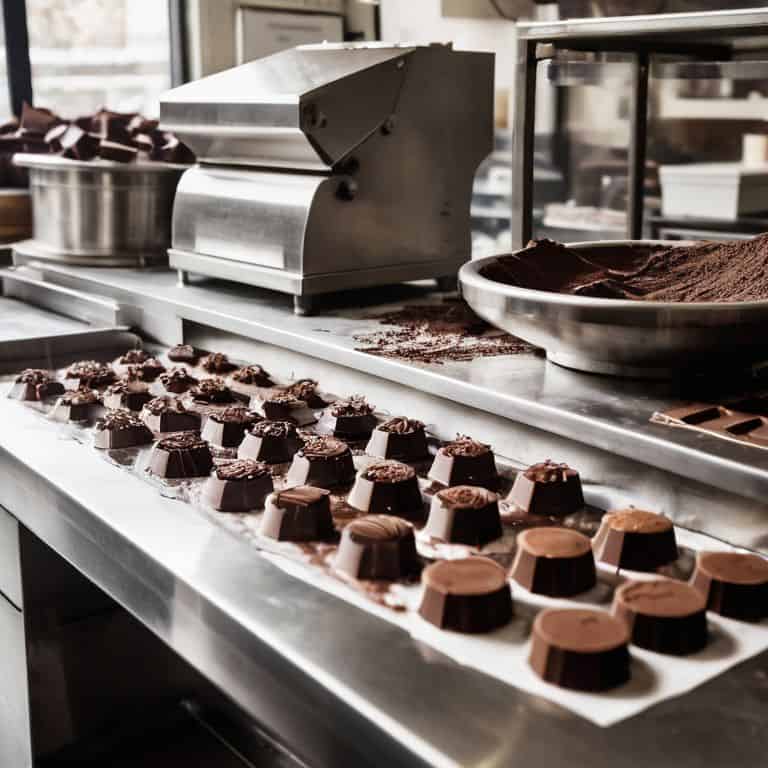
Step-by-Step Instructions
- 1. First, let’s start with the fundamentals of tempering: it’s essential to understand that tempering chocolate is all about creating a stable crystal structure that gives the chocolate its glossy appearance and satisfying snap. To begin, you’ll need to melt your chocolate to around 105°F to 115°F (40°C to 46°C), which is slightly above the melting point of the cocoa butter.
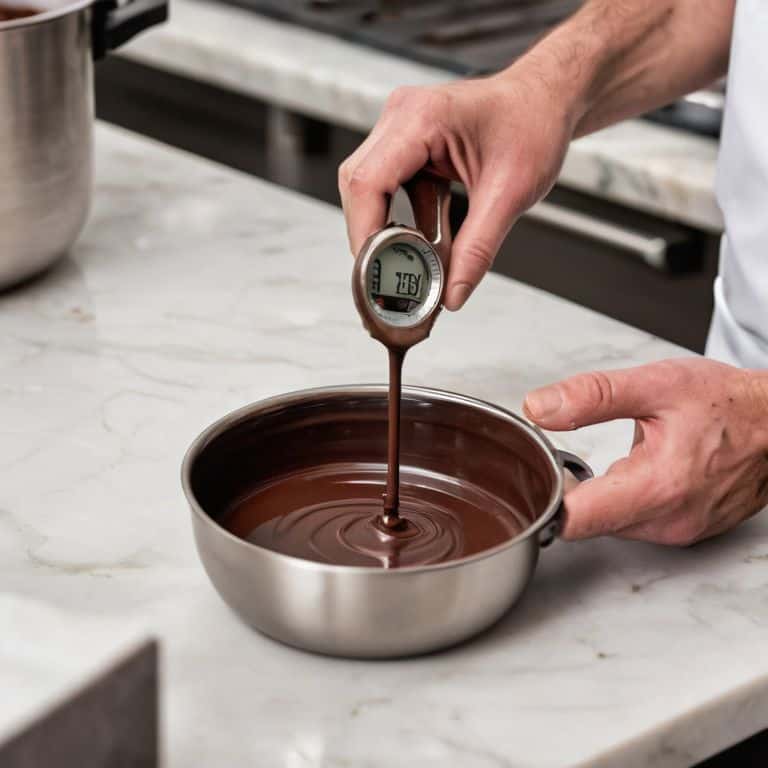
- 2. Next, you’ll want to cool the melted chocolate down to around 82°F to 86°F (28°C to 30°C) to allow the crystals to start forming. This is a critical step, as it sets the stage for the rest of the tempering process. Be careful not to cool it too quickly, as this can cause the chocolate to seize up and become grainy.
- 3. Now it’s time to heat the chocolate back up to a working temperature, which is typically between 88°F and 90°F (31°C and 32°C). This is where the magic happens, and the crystals start to form a stable structure. You’ll know you’ve reached the right temperature when the chocolate has a smooth, glossy appearance.
- 4. To ensure that your chocolate is properly tempered, you’ll need to test its temperature and texture. One way to do this is to dip a knife or spatula into the chocolate and let it cool to room temperature. If the chocolate is tempered correctly, it should set with a smooth, even finish and a satisfying snap when broken.
- 5. Another common mistake to avoid is over-tempering the chocolate. This can happen when you heat the chocolate too high or hold it at the working temperature for too long. Over-tempered chocolate can become brittle and prone to blooming, which is when a white, chalky coating forms on the surface of the chocolate.
- 6. To avoid over-tempering, it’s essential to work with the chocolate at the right temperature and to use it within a reasonable time frame. If you’re not using the chocolate immediately, you can store it in a warm, draft-free place to keep it at a stable temperature. Just be sure to check its temperature regularly to ensure it’s still within the optimal range.
- 7. Finally, let’s talk about troubleshooting common issues that can arise during the tempering process. If your chocolate is too thick or too thin, it can be difficult to work with and may not set properly. To fix this, you can try adjusting the temperature or adding a small amount of shortening to thin out the chocolate. With a little practice and patience, you should be able to achieve beautifully tempered chocolate every time.
Avoiding Common Tempering Mistakes
As we delve into the world of chocolate tempering, it’s essential to understand the science behind chocolate crystallization. This process can be a bit finicky, but with the right techniques, you’ll be well on your way to creating professional-looking chocolates. One common issue that can arise is blooming, which occurs when the chocolate is not tempered correctly, causing it to develop a white, chalky appearance. To avoid this, it’s crucial to use the right chocolate tempering techniques for beginners, such as seeding or using a tempering machine.
When it comes to troubleshooting chocolate tempering problems, it’s often a matter of identifying the root cause of the issue. Is your chocolate too warm or too cool? Are you using the right type of chocolate? By understanding the importance of temperature control, you can avoid many common pitfalls and achieve a smooth, glossy finish. Additionally, using chocolate seeding methods can help to ensure that your chocolate is tempered correctly, resulting in a more stable crystal structure.
To take your chocolate tempering to the next level, consider investing in a chocolate tempering machine for home use. These machines can help to streamline the tempering process, making it easier to achieve consistent results. By combining the right techniques with the right tools, you’ll be well on your way to creating beautifully tempered chocolates that are sure to impress. Remember, practice makes perfect, so don’t be discouraged if it takes a few attempts to get the hang of it – with patience and persistence, you’ll be a pro in no time.
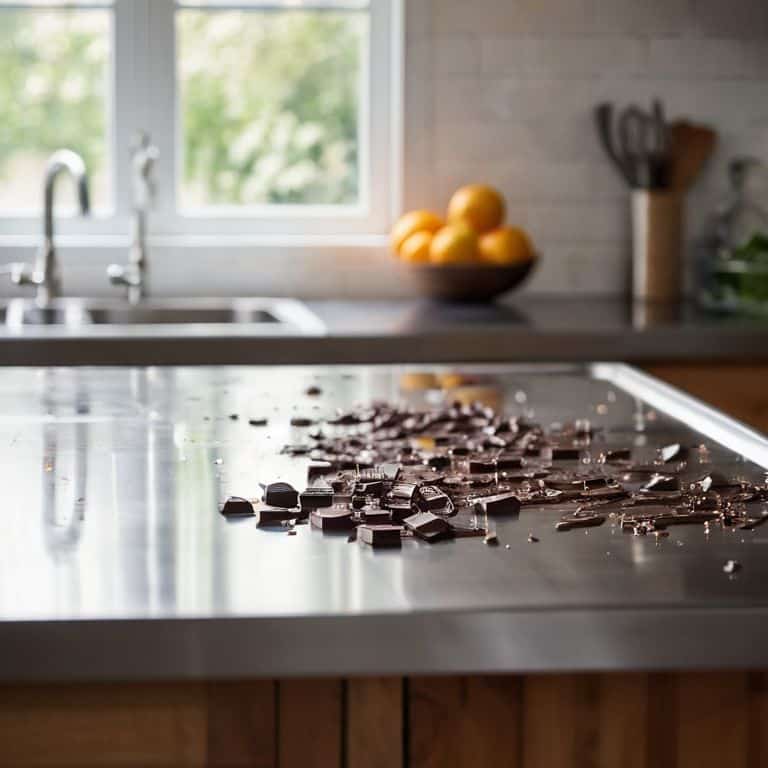
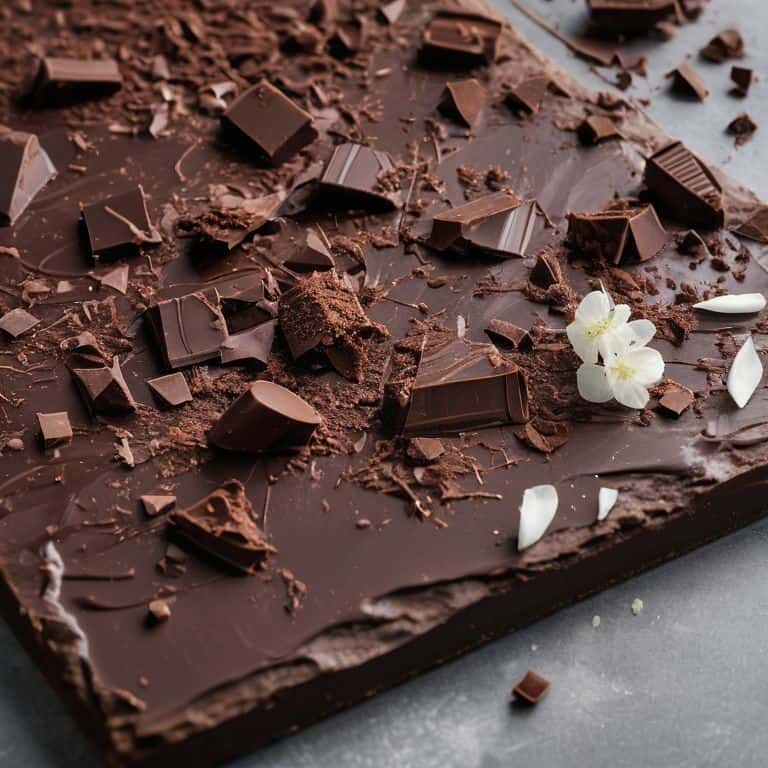
The Science Behind Chocolate Blooming
Now that we’ve covered the basics of tempering and common mistakes to avoid, let’s dive into the science behind chocolate blooming. This phenomenon occurs when the cocoa butter in chocolate rises to the surface, creating a dull, streaked appearance. Blooming is often a result of poor tempering or exposure to temperature fluctuations. When chocolate is not tempered correctly, the cocoa butter molecules don’t crystallize uniformly, leading to an uneven surface. By understanding the science behind blooming, you can take steps to prevent it and achieve a smooth, glossy finish on your tempered chocolate.
Troubleshooting Crystallization Issues
When crystallization issues arise, it’s essential to understand that chocolate can form six different crystal types, but only one is desirable for a smooth, glossy finish. If your chocolate has developed a streaky or chalky appearance, it may be due to inadequate cooling or incorrect seeding. To troubleshoot, try re-tempering the chocolate, ensuring it reaches the optimal temperature range for crystal formation.
By carefully controlling the cooling process and monitoring the chocolate’s temperature, you can encourage the formation of the desirable crystal type, resulting in a beautifully tempered finish. Remember, patience is key, as rushed tempering can lead to crystallization issues. Take your time, and with practice, you’ll develop the skills to consistently produce professional-looking, beautifully tempered chocolate.
Tempering Like a Pro: 5 Key Tips to Save Your Chocolate
- Never overheat your chocolate, as this can cause the formation of unwanted crystal structures that lead to blooming and a dull appearance
- Always use high-quality chocolate with a high cocoa butter content, as this will give you a more stable crystal structure and a smoother finish
- Be gentle when handling tempered chocolate, as scratches or vibrations can cause the crystal structure to collapse, leading to a loss of gloss and texture
- Monitor your chocolate’s temperature carefully, aiming for the ideal working range of 88°F to 90°F (31°C to 32°C) for dark chocolate, to ensure a stable crystal structure
- Practice, practice, practice – tempering chocolate is an art that requires patience and skill, so don’t be discouraged if it takes a few attempts to get it just right, and use each mistake as an opportunity to learn and improve your technique
Key Takeaways for Mastering Chocolate Tempering
Understanding the science behind chocolate tempering is crucial for achieving professional-looking results, as it allows you to manipulate the crystalline structure of cocoa butter to create a stable crystal form that gives chocolate its glossy appearance and satisfying snap.
Common mistakes such as overheating, undercooling, or improper seeding can lead to chocolate blooming, crystallization issues, or incomplete tempering, but recognizing these errors and applying corrective measures can help you rescue your chocolate and achieve the desired temper.
By following precise temperature controls, using high-quality chocolate, and practicing patience and attention to detail, you can successfully temper chocolate and unlock a world of possibilities for creating beautiful, professional-grade chocolates and confections that will impress even the most discerning palates.
Tempering with Confidence
The art of tempering chocolate is not about avoiding mistakes, but about understanding the science behind the process – with every perfectly tempered piece, you’re not just coating a cake, you’re mastering the delicate balance of crystals and temperature.
Beatrice Quinn
Mastering the Art of Chocolate Tempering
As we’ve explored the world of chocolate tempering together, I hope you’ve gained a deeper understanding of the science behind the process. From avoiding common mistakes to troubleshooting crystallization issues, it’s clear that tempering chocolate requires patience, practice, and a willingness to learn. By understanding the why behind each step, you’ll be better equipped to tackle even the most daunting chocolate projects. Remember, it’s all about creating the perfect crystal structure to give your chocolate that smooth, glossy finish.
So, the next time you’re working with chocolate, don’t be discouraged if things don’t turn out as planned. Instead, view it as an opportunity to learn and improve. With time and practice, you’ll develop the skills and confidence to create beautifully tempered chocolate that will impress even the most discerning palates. And when you do, you’ll know that it’s not just magic, but the result of a deep understanding of the science and technique that goes into creating truly exceptional chocolate.
Frequently Asked Questions
What are the most common reasons why my tempered chocolate loses its gloss and develops a streaked appearance?
My friend, a loss of gloss and streaked appearance in tempered chocolate usually indicates that the chocolate has bloomed or that crystallization issues have occurred. This can happen when the chocolate is exposed to heat, humidity, or if it’s not tempered correctly. Let’s take a closer look at the science behind this, shall we?
How can I prevent chocolate from seizing up or becoming too thick during the tempering process?
To prevent chocolate from seizing up or becoming too thick, it’s essential to control the temperature and avoid introducing cold ingredients too quickly. I recommend tempering in a warm environment and using a thermometer to monitor the chocolate’s temperature, aiming for a stable range between 86°F and 90°F. This will help maintain a smooth, workable consistency.
Are there any specific temperature or humidity conditions that can affect the quality of my tempered chocolate and what can I do to mitigate these factors?
Ah, excellent question, my friend! Temperature and humidity indeed play a crucial role in tempering chocolate. Ideally, you want a cool, dry environment, around 60-70°F (15-21°C) and 50-60% humidity. If it’s too hot or humid, your chocolate may bloom or become too soft. To mitigate this, use an air-conditioned space or a temperature-controlled environment, and consider using a dehumidifier to maintain optimal conditions.