As I sit in my cozy bakery, surrounded by the sweet aroma of freshly baked cakes and the gentle hum of my mixer, I often think about the magic that happens when I pick up my trusty star piping tip. It’s a game-changer, and I’m excited to share my secrets with you in this a guide to the star piping tip. I’ve seen many bakers struggle with this humble tool, but with a little practice and patience, you’ll be creating twinkling masterpieces in no time.
In this article, I promise to share my honest, no-hype advice on how to unlock the full potential of the star piping tip. You’ll learn the essential techniques to create beautiful, delicate designs that will elevate your cakes to the next level. From the basics of choosing the right consistency of buttercream to the advanced tips for creating intricate patterns, I’ll guide you through it all. By the end of this a guide to the star piping tip, you’ll be confident in your ability to create stunning cakes that will impress your friends and family, and maybe even inspire you to try new and exciting designs.
Table of Contents
- Guide Overview: What You'll Need
- Step-by-Step Instructions
- A Guide to the Star Piping Tip
- Frosting Consistency for Piping the Key to Starry Success
- Piping Techniques for Beginners Star Tip Secrets
- Twinkling Masterpieces: 5 Essential Tips for Mastering the Star Piping Tip
- Twinkling Masterpieces: 3 Key Takeaways
- Unlocking the Star's Twinkle
- Unlocking the Full Potential of the Star Piping Tip
- Frequently Asked Questions
Guide Overview: What You'll Need
Total Time: 1 hour 15 minutes
Estimated Cost: $10 – $20
Difficulty Level: Easy
Tools Required
- Piping Bag (16 inches or larger)
- Star Piping Tip (size 1M or 2D)
- Coupler (for piping bag)
- Turntable (optional)
- Offset Spatula (for smoothing)
- Wax Paper (for practicing)
Supplies & Materials
- Buttercream Frosting (or other piping material)
- Food Coloring (optional)
- Decorative Sprinkles (optional)
Step-by-Step Instructions
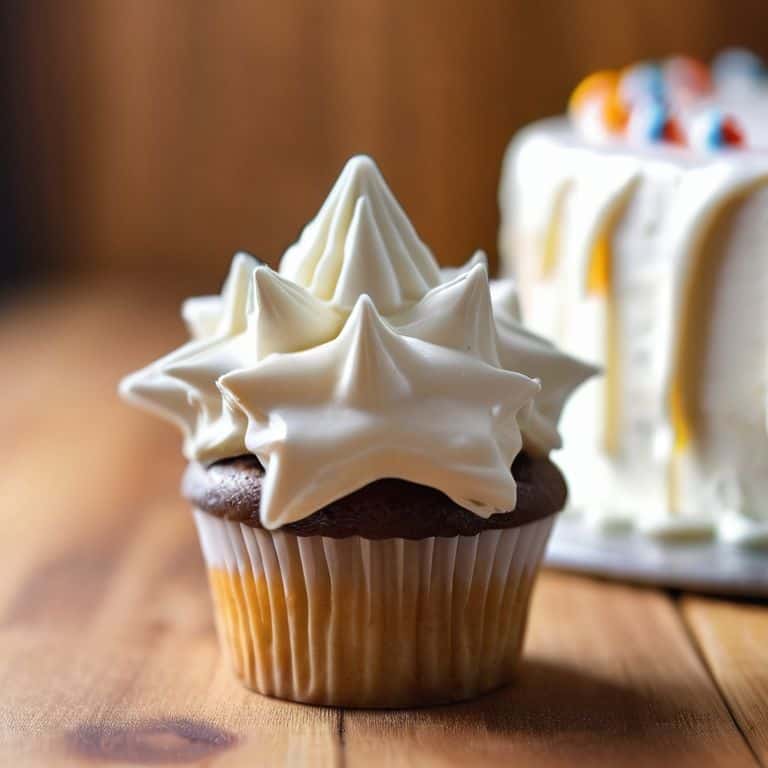
- 1. To begin with, let’s talk about the star piping tip itself – it’s a versatile tool that can add a touch of elegance to any cake, and I just adore how it can create intricate designs with minimal effort. First, make sure you have your star piping tip ready, and if you’re new to cake decorating, don’t worry if you’re not sure which one it is – it’s usually marked with a star symbol or has a series of small, rounded points at the tip.
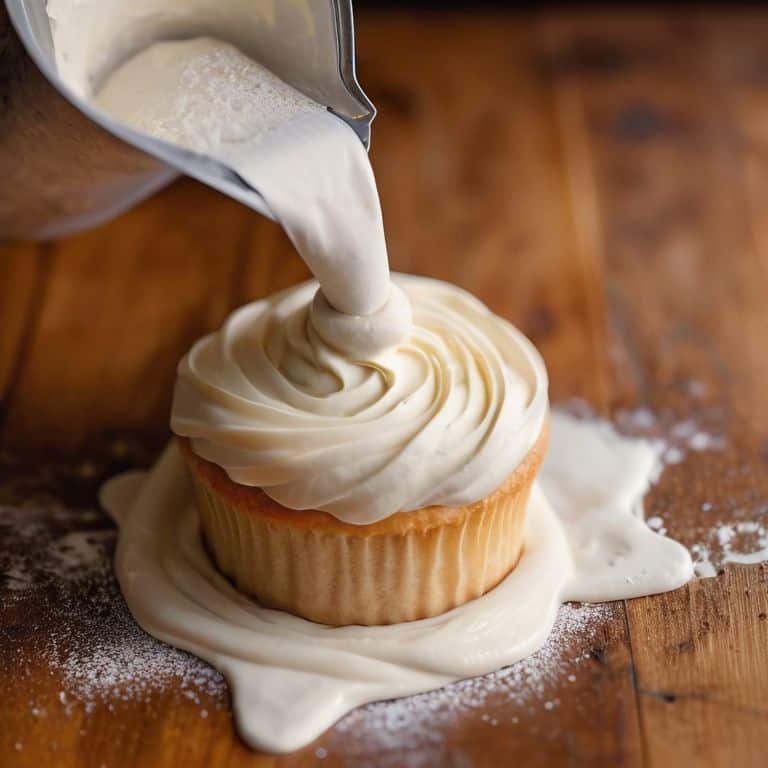
- 2. Next, you’ll need to prepare your piping bag by fitting it with the star piping tip – this is where the magic happens, and I love how the right consistency of buttercream can make all the difference in achieving those perfect, smooth lines. To get the right consistency, make sure your buttercream is at room temperature, and if it’s too stiff, you can always add a little bit of cream or milk to thin it out.
- 3. Now, let’s move on to filling the piping bag – this is a crucial step, as you want to make sure you have enough buttercream to create the designs you want, but not so much that it’s overflowing and hard to manage. I like to fill my piping bag about three-quarters full, leaving just enough room at the top to twist and close it without making a mess.
- 4. With your piping bag ready, it’s time to start piping – hold the bag at a 45-degree angle and squeeze gently, applying consistent pressure to create smooth, flowing lines. Remember, the key to mastering the star piping tip is to practice, practice, practice, so don’t be discouraged if your first attempts don’t turn out perfectly – it’s all about developing that muscle memory.
- 5. As you pipe, focus on creating uniform rosettes – to do this, try to maintain a consistent pressure and speed, and don’t be afraid to experiment with different sizes and shapes to add some visual interest to your design. I love how the star piping tip can create everything from delicate, lacy patterns to bold, statement pieces, just by adjusting the size and style of your rosettes.
- 6. Once you’ve piped your design, take a step back and evaluate – are there any areas where the buttercream is a bit uneven or sparse? If so, don’t worry – you can easily go back and touch up any areas that need a little extra attention. I like to use a small, damp paintbrush to smooth out any imperfections and create a seamless finish.
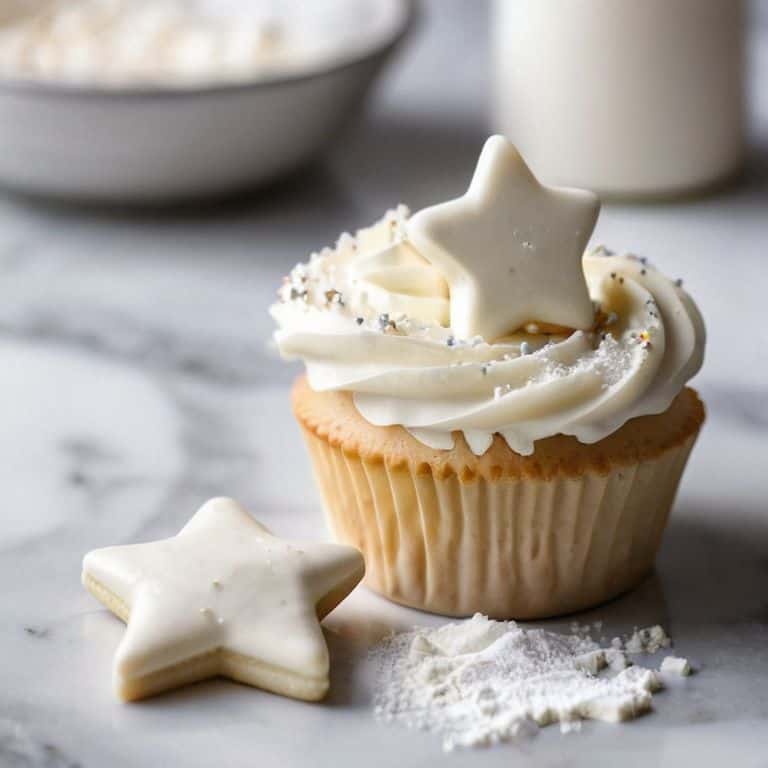
- 7. Finally, let’s talk about adding some extra flair to your design – this is where you can really get creative and add some personality to your cake. Consider adding some delicate sugar flowers, a sprinkle of edible glitter, or even a few fresh berries to give your cake a pop of color and texture. The possibilities are endless, and I just love seeing what my students come up with when they’re given the freedom to experiment and try new things.
A Guide to the Star Piping Tip
As I delve deeper into the world of piping techniques for beginners, I find that mastering the star piping tip is a game-changer. It’s all about achieving the perfect frosting consistency for piping, which allows for smooth, even stars that adorn your cakes and cupcakes. To get this just right, I recommend experimenting with different ratios of buttercream to powdered sugar until you reach a consistency that’s both pliable and firm.
When it comes to star tip decorating ideas, the possibilities are endless. From delicate, lacy patterns to bold, statement designs, the star piping tip can add a touch of whimsy to any cake. For cupcake design inspiration, try pairing the star tip with complementary tips, like the round or petal tip, to create intricate, multi-textured designs. This combination can elevate even the simplest of cupcakes into a work of art.
To take your piping to the next level, don’t forget to invest in quality cake decorating tools for stars, including a durable piping bag and a variety of star tips in different sizes. With these essentials and a bit of practice, you’ll be well on your way to creating piping bag tips and tricks that will leave your friends and family in awe. Remember, the key to mastering the star piping tip is patience and practice, so don’t be discouraged if it takes a few tries to get the hang of it.
Frosting Consistency for Piping the Key to Starry Success
To achieve those perfect, delicate stars, frosting consistency is paramount. I like to think of it as the foundation upon which our starry masterpieces are built. The ideal consistency for piping with the star tip is one that’s smooth, pliable, and holds its shape without being too stiff or too soft. When you lift your piping bag, the frosting should softly hold its peak, like the gentle curve of a petal. If it’s too runny, your stars will lose their definition; if it’s too thick, they’ll be stiff and lack the whimsy we’re aiming for.
By adjusting the consistency of your buttercream, you’ll find that piping becomes almost effortless, allowing you to focus on the creative aspect of your design. Remember, practice makes perfect, so don’t be discouraged if it takes a few tries to get the hang of it. With the right consistency and a bit of patience, you’ll be creating twinkling masterpieces in no time, each star a testament to your growing skill and artistry.
Piping Techniques for Beginners Star Tip Secrets
As a cake artist, I’ve found that mastering the star piping tip is a game-changer for adding texture and visual interest to your designs. For beginners, it’s all about getting a feel for the right pressure and motion. Start by practicing on a piece of parchment paper – you’ll get a sense of how the tip responds to different touch. Remember, it’s all about gentle, smooth strokes to create those perfect, delicate stars.
To take your star piping to the next level, try experimenting with different piping consistencies and angles. A slightly stiffer buttercream will hold its shape beautifully, while a softer one will create more delicate, wispy patterns. Don’t be afraid to play and find what works best for you – with a little practice, you’ll be piping like a pro in no time!
Twinkling Masterpieces: 5 Essential Tips for Mastering the Star Piping Tip
- Start with the right consistency: your frosting should be smooth and pliable, but not too soft, to achieve those perfect star shapes
- Choose the right star tip size for your design – smaller tips create delicate, intricate patterns, while larger tips make bold statements
- Practice your piping pressure: applying gentle, consistent pressure is key to creating uniform stars that add a touch of magic to your cakes
- Experiment with different piping angles to add depth and visual interest to your star designs – from 90-degree stars to more playful, slanted patterns
- Don’t be afraid to get creative and combine your star tip with other piping techniques, like rosettes or borders, to create truly show-stopping cake designs
Twinkling Masterpieces: 3 Key Takeaways
Mastering the star piping tip is all about experimenting with different piping pressures and speeds to achieve a variety of star shapes and sizes, from delicate twinkles to bold, show-stopping designs
Ensuring the right frosting consistency is crucial for piping success – it should be smooth, pliable, and just firm enough to hold its shape, allowing you to craft intricate stars that add a touch of magic to any cake
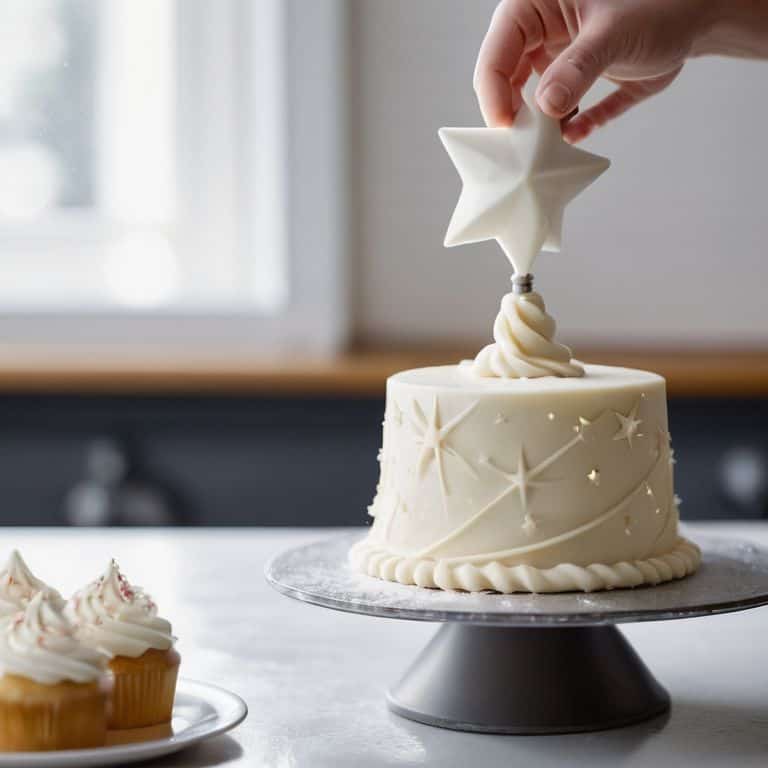
With practice and patience, you can unlock the full creative potential of the star piping tip, using it to add texture, dimension, and visual interest to your cakes, and turning even the simplest bakes into breathtaking works of art that shine like celestial wonders
Unlocking the Star's Twinkle
The star piping tip is not just a tool, but a key to unlocking the whimsy and wonder in every cake, allowing us to weave a tapestry of sweetness and magic with every delicate starburst.
Chloé Dubois
Unlocking the Full Potential of the Star Piping Tip
As we conclude this guide to the star piping tip, let’s take a moment to reflect on the journey. We’ve covered the essential piping techniques for beginners, including the star tip secrets that will elevate your cake decorating skills. We’ve also discussed the importance of achieving the right frosting consistency for piping, which is crucial for creating those perfect, starry designs. By mastering these fundamentals, you’ll be well on your way to creating breathtaking cakes that showcase your unique style and flair.
As you continue to experiment and push the boundaries of what’s possible with the star piping tip, remember that practice is key. Don’t be afraid to try new things, to make mistakes, and to learn from them. With patience, dedication, and a willingness to take risks, you’ll unlock the full potential of this versatile tool and create cakes that are truly works of art. So go ahead, get creative, and make your cakes shine with the magic of the star piping tip!
Frequently Asked Questions
What are some common mistakes to avoid when using the star piping tip for the first time?
When using the star piping tip for the first time, beware of overfilling the bag, as this can lead to uneven stars and messy edges. Also, be gentle with your pressure to avoid star tips that look more like blobs – start light and build up to achieve those perfect, delicate points.
How do I achieve a consistent star pattern with my piping tip, especially on larger cakes?
To achieve a consistent star pattern, I recommend piping in sections, using a gentle, steady touch, and maintaining a consistent frosting pressure. For larger cakes, try dividing the surface into quadrants and piping in a continuous motion, rotating the cake as you go, to ensure uniformity and a beautiful, even design.
Can I use the star piping tip with any type of frosting, or are there specific types that work best?
While you can experiment with various frostings, I find that American buttercream and Swiss meringue buttercream work beautifully with the star piping tip. Their smooth, pliable consistency allows for crisp, defined stars. Avoid overly thin or thick frostings, as they can be tricky to work with.