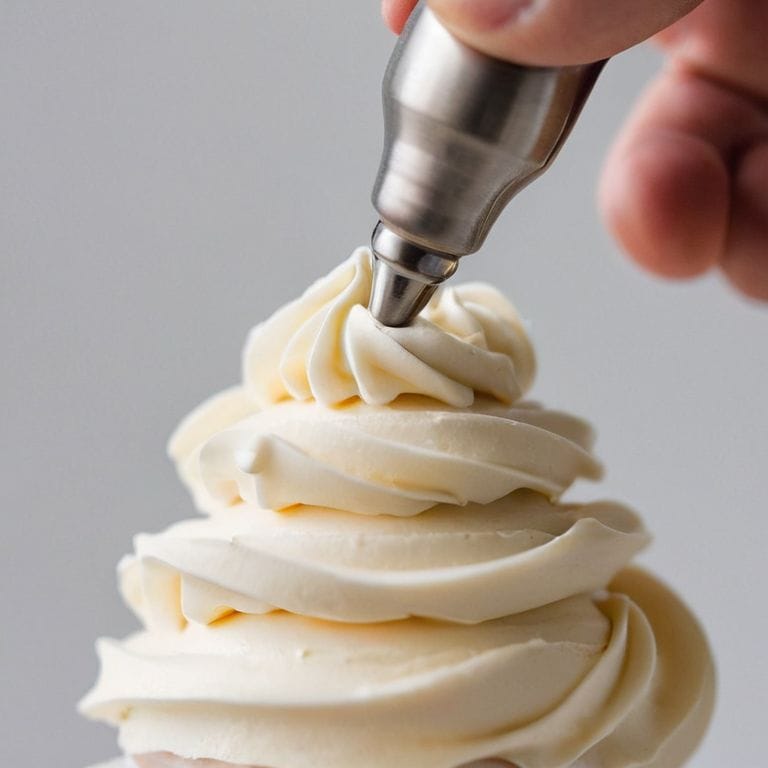
As I sit in my cozy studio, surrounded by half-finished cakes and paint-splattered easels, I’m reminded of the countless times I’ve been asked about my favorite tool for creating those perfect, swirling petals: a guide to the round piping tip. It’s a question that never gets old, and one that I’m excited to dive into today. I’ve lost count of how many hours I’ve spent perfecting my technique with this humble tool, and I’m eager to share my knowledge with you. Whether you’re a seasoned baker or just starting out, I believe that mastering the round piping tip is an essential step in taking your cakes from bland to grand.
In this article, I’ll be sharing my top tips and tricks for getting the most out of your round piping tip, from choosing the right consistency of buttercream to creating intricate, delicate designs that will make your cakes stand out. I’ll walk you through the process of using the round piping tip to create beautiful, professional-looking finishes, and provide you with the confidence to experiment and try new things. By the end of this guide, you’ll be well on your way to becoming a piping pro, and I just can’t wait to see the beautiful creations you’ll come up with!
Table of Contents
Guide Overview: What You'll Need
Total Time: 1 hour 15 minutes
Estimated Cost: $10 – $20
Difficulty Level: Easy
Tools Required
- Piping Bag (for holding frosting or icing)
- Round Piping Tip (various sizes available)
- Coupler (for attaching tip to piping bag)
- Twist Tie (for securing bag)
- Turntable (optional, for display)
- Offset Spatula (for smoothing frosting or icing)
Supplies & Materials
- Frosting or Icing
- Piping Gel or Piping Medium (for thinning frosting or icing)
- Cake or Cupcake (for decorating)
- Wax Paper or Parchment Paper (for practicing piping techniques)
- Measuring Cups and Spoons (for measuring ingredients)
Step-by-Step Instructions
- 1. To begin with, let’s get familiar with the round piping tip, understanding its versatility and how it can be used to create a variety of designs, from simple borders to intricate patterns. Start by selecting the right size of round piping tip for your project, considering the scale and detail you wish to achieve.
- 2. Next, prepare your piping bag by fitting it with the chosen round piping tip. It’s essential to ensure the tip is securely attached to prevent any movement or leakage during the piping process. I find that using a coupler can be very helpful in switching between different tips, but for now, let’s focus on mastering the round one.
- 3. Fill your piping bag with the prepared buttercream or frosting, making sure to remove any air pockets that might affect the flow and consistency of the piping. You want the buttercream to be smooth and pliable, allowing for effortless piping. If you’re new to piping, it might take a little practice to get the right consistency, but don’t worry, it’s all part of the learning process.
- 4. Now, let’s practice the basic piping techniques using the round tip. Start with a simple straight line, holding the piping bag at a 90-degree angle to the surface. Apply gentle to moderate pressure, depending on the thickness of line you desire. Remember, the key to achieving a smooth line is to keep the piping bag steady and maintain consistent pressure.
- 5. Once you’re comfortable with straight lines, it’s time to move on to curves and swirls. To create a curve, simply adjust the angle of the piping bag as you pipe, allowing the line to flow smoothly into the desired shape. For swirls, apply a bit more pressure as you move the bag in a circular motion. This is where the magic happens, and your cake starts to look truly professional.
- 6. To add more detail and dimension to your design, try using the round piping tip to create rosettes and stars. These can be achieved by piping in a circular motion, starting from the outside and working your way in for rosettes, or by piping in a series of short, curved lines that meet at a central point for stars. These elements can really make your cake stand out and add a personal touch.
- 7. Finally, practice, practice, practice! The more you use the round piping tip, the more comfortable you’ll become with its capabilities and limitations. Don’t be afraid to experiment with different techniques and designs – it’s all part of the creative process. And remember, the placement of your design on the cake stand is just as important as the design itself, so take your time and have fun with the entire process of creating your baking masterpiece.
A Guide to the Round Piping Tip
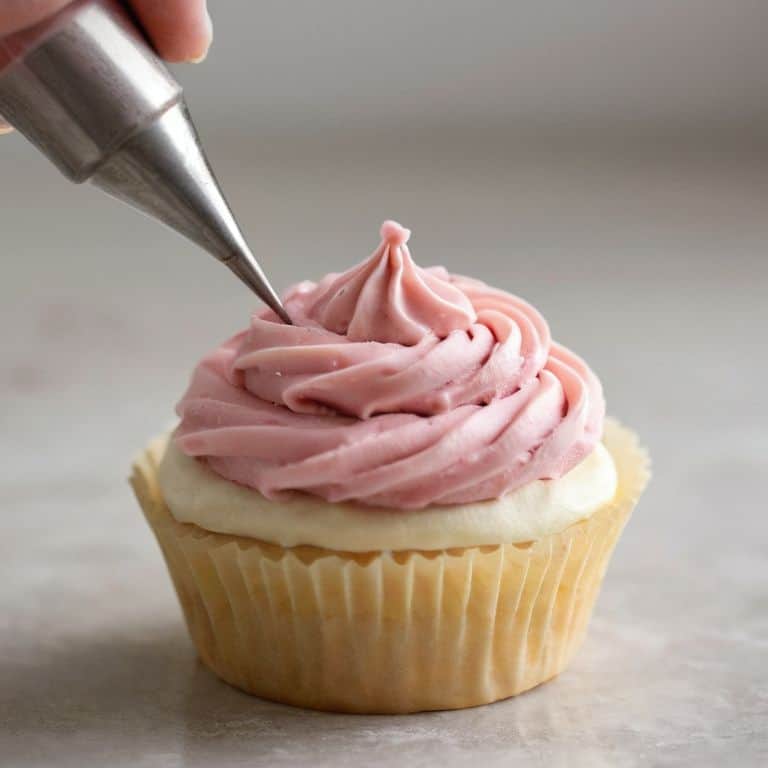
As I delve deeper into the world of piping techniques for beginners, I want to share a crucial tip that has made all the difference in my own decorating journey: the importance of piping consistency. When working with a round tip, it’s essential to achieve a smooth, even flow of buttercream to create those perfect swirls and borders. To achieve this, I recommend investing in a high-quality piping bag and tip, as well as taking the time to properly prepare your buttercream.
One of my favorite ways to use the small round piping tip is to create intricate piping border designs. By adjusting the pressure and angle of the tip, you can achieve a variety of effects, from delicate lines to intricate patterns. For a more polished look, try using a turntable to display your cake, allowing you to easily access all sides and create a seamless design.
When it comes to tips for smooth piping, I always emphasize the importance of relaxing your grip on the piping bag. A gentle, consistent touch will help you achieve those beautiful, flowing lines that make a cake truly special. With practice and patience, you’ll be creating stunning round tip cake decorating designs in no time, and I’m excited to see the beautiful creations you’ll come up with using these piping bag tips and tricks.
Piping Techniques for Beginners Getting Started
To get started with the round piping tip, it’s essential to understand the basics of piping techniques. As a beginner, I recommend practicing with small amounts of buttercream or frosting to get a feel for the tip and the pressure required. Start by holding the piping bag at a 90-degree angle to the cake, with the tip just above the surface. Squeeze the bag gently, allowing the frosting to flow smoothly and consistently. Remember, it’s all about control and finesse – don’t be discouraged if it takes a few tries to get the hang of it! With a little patience and practice, you’ll be creating beautiful swirls and designs in no time.
Tips for Smooth Piping Mastering the Round Tip
To achieve silky smooth piping, it’s all about the pressure and flow. I like to think of it as dancing with the piping bag – gentle, yet deliberate movements. As you squeeze the bag, remember to keep your touch light, allowing the buttercream to flow effortlessly through the round tip. This will help prevent any harsh lines or unevenness, resulting in a beautiful, professional-looking finish.
For an extra touch of elegance, try piping in a continuous motion, using long, sweeping strokes to cover your cake. This technique not only ensures a smooth finish but also helps to create a sense of movement and fluidity on your design. With a little practice, you’ll be piping like a pro, and your cakes will be transformed into stunning works of art.
5 Essential Tips to Master the Round Piping Tip
- Piping Pressure is Key: Apply gentle, consistent pressure to achieve smooth, even lines and swirls on your cake
- Tip Size Matters: Experiment with different round piping tip sizes to find the perfect fit for your design, from delicate details to bold statements
- Practice Makes Perfect: Don’t be discouraged if your first attempts at using the round piping tip don’t turn out as expected – it’s all about practice and developing your own technique
- Temperature Check: Make sure your buttercream or frosting is at the right temperature and consistency for piping, as this can affect the flow and overall appearance of your design
- Creative Freedom: Don’t be afraid to think outside the box and use the round piping tip in unconventional ways, such as creating textured effects or patterns on your cake
Key Takeaways for Mastering the Round Piping Tip
I’ve found that practicing with the round piping tip on a spare piece of parchment paper before decorating your actual cake can make all the difference in achieving smooth, consistent lines and swirls
Remember, the key to mastering the round piping tip lies in the gentle pressure and steady movement of your hand – it’s all about finesse and control, much like the delicate strokes used in watercolor painting
Experimenting with different piping consistencies and tip sizes can help you discover new textures and effects to add to your cake decorating repertoire, from intricate details to broad, sweeping designs that showcase the beauty of buttercream as a sculptural medium
The Art of Piping
The round piping tip is not just a tool, but a brush that paints sweetness and beauty onto every cake, and with a little practice, you can unlock its full potential to create edible masterpieces that touch the heart.
Chloé Dubois
Bringing It All Together: Mastering the Round Piping Tip
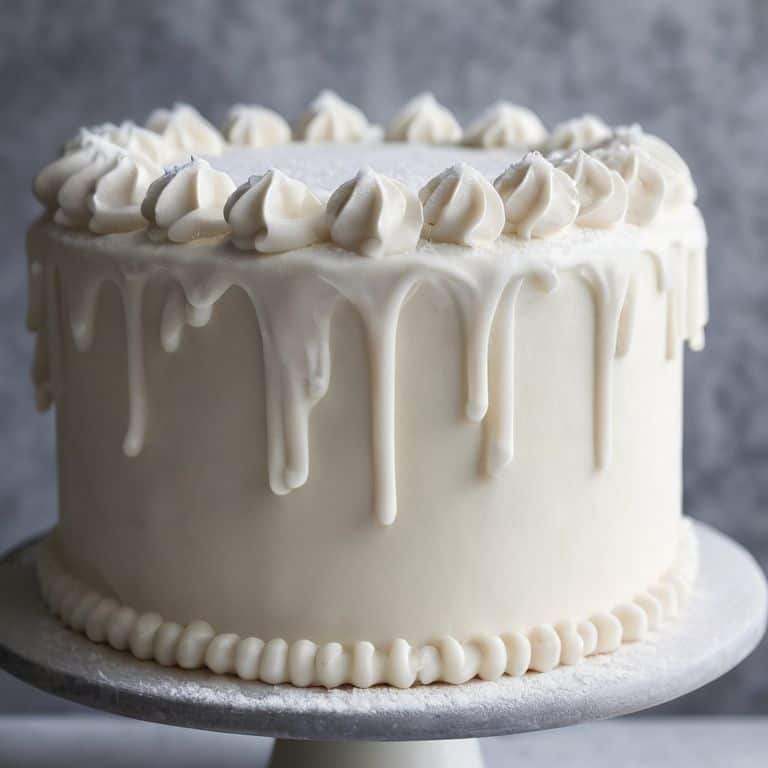
As we conclude this guide to the round piping tip, let’s take a moment to reflect on the journey. We’ve covered the basics of piping techniques for beginners, including getting started with the right tools and mastering the round tip for smooth, professional-looking results. We’ve also dived into more advanced tips and tricks, such as using the round piping tip to create beautiful borders, patterns, and even intricate designs. By now, you should feel more confident in your ability to use the round piping tip to elevate your cake decorating skills and create truly stunning cakes.
As you continue on your cake decorating journey, remember that practice is key to mastering the round piping tip. Don’t be afraid to experiment and try new things – it’s all part of the creative process. With patience, persistence, and a willingness to learn, you can unlock the full potential of the round piping tip and take your cake decorating skills to the next level. So go ahead, get creative, and make your cakes truly works of art!
Frequently Asked Questions
What are some common mistakes to avoid when using a round piping tip for cake decoration?
When working with a round piping tip, I’ve found that common mistakes include applying too much pressure, which can cause the buttercream to bulge or even burst, and moving the tip too quickly, resulting in uneven lines. To avoid these mishaps, remember to pipe with a gentle touch and steady hand.
How do I achieve consistent piping pressure and flow with a round tip?
To achieve consistent piping pressure and flow, I recommend holding the piping bag at a 90-degree angle and squeezing with a gentle, steady motion. Practice applying even pressure, and don’t be afraid to adjust your grip as needed. Remember, it’s all about finding that sweet spot where the buttercream flows smoothly and effortlessly!
Can I use a round piping tip to create intricate details and designs, or is it better suited for broader strokes and borders?
While round tips are perfect for borders and swirls, you can also use them to create intricate details with a bit of practice. Try using a smaller round tip or adjusting your piping pressure to achieve finer lines and delicate designs.